


How to get a flaky, tender homemade pie crust using real butter?
Unlocking the Secret to a Superior Pie Crust
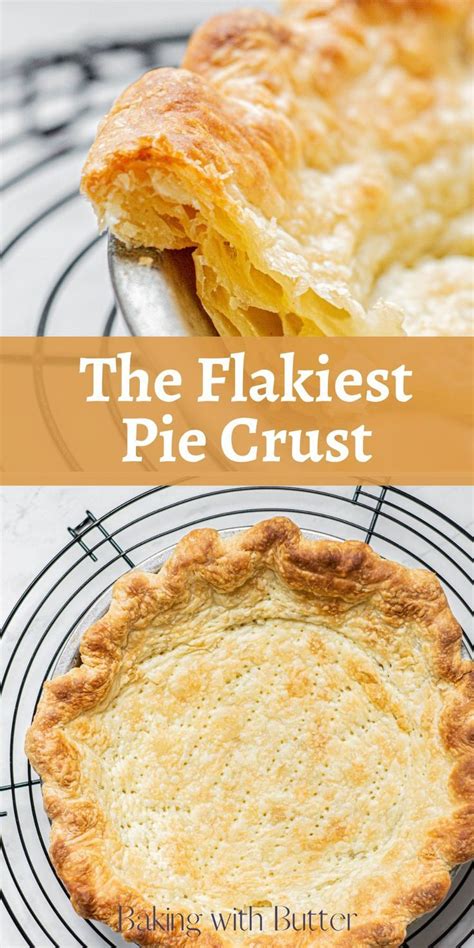
There’s nothing quite like the satisfaction of a homemade pie, and at its heart lies a truly exceptional crust. While many shortcuts exist, aspiring bakers know that the real magic happens when you embrace traditional methods, particularly when using real butter. A butter-based pie crust offers an unparalleled depth of flavor and a texture that is both wonderfully flaky and delicately tender. Forget the myths; achieving this culinary masterpiece is entirely within your reach with a few key techniques.
The Essential Ingredients and Their Roles
Crafting the perfect butter pie crust begins with understanding your ingredients. Quality butter, all-purpose flour, a touch of salt, and ice-cold water are your primary tools. Each plays a vital role in developing the desired texture and flavor.
1. The Power of Real Butter
Butter is the star here. Its unique composition of fat and water is what creates the coveted flakiness. As the butter melts in the oven, its water content turns to steam, pushing apart the layers of flour and creating those distinctive pockets of air. Opt for unsalted butter, as it gives you control over the overall saltiness of your crust.
2. Cold Butter is Non-Negotiable
This is perhaps the most critical rule: your butter must be COLD, preferably straight from the refrigerator and cut into small cubes or grated. This ensures that the butter remains in distinct pieces within the dough. If the butter is too warm, it will melt into the flour, resulting in a tough, dense crust rather than a flaky one.
Mastering the Mixing Technique
The way you combine your ingredients is just as important as the ingredients themselves. The goal is to incorporate the butter without overworking the dough, which develops gluten and leads to toughness.
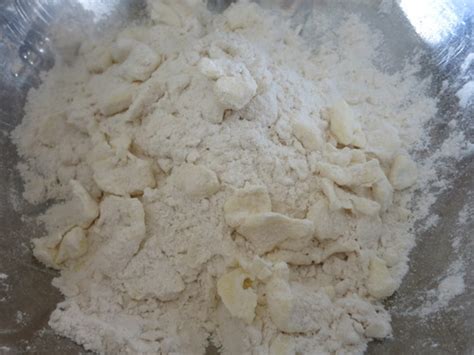
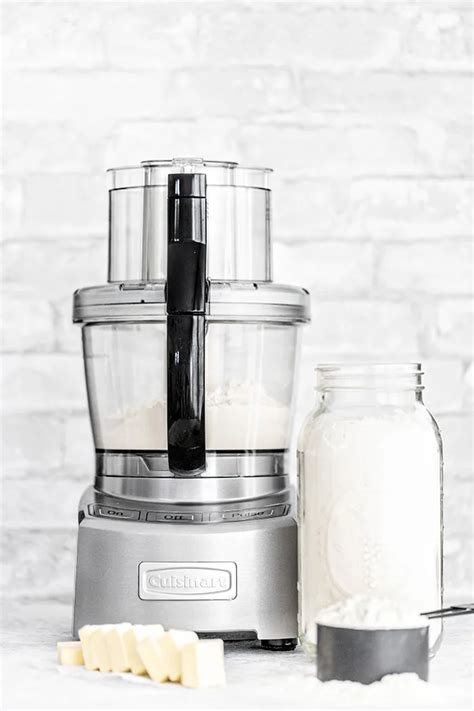
1. Cutting in the Butter
There are several methods for incorporating cold butter into flour. A pastry blender, two knives, or even your fingertips (working quickly to avoid warming the butter) are common tools. The ideal consistency is a mixture that resembles coarse meal with some pea-sized chunks of butter still visible. These larger butter pieces are what contribute to the super flaky layers.
2. Adding Ice Water Judiciously
Once the butter is incorporated, gradually add ice-cold water, a tablespoon at a time. The amount of water can vary based on flour type and humidity, so add just enough for the dough to come together when squeezed, but not so much that it becomes sticky. Too much water will make your crust tough, while too little will make it crumbly and hard to roll.

The Art of Handling and Chilling
After mixing, how you handle the dough before baking is crucial for tenderness and ease of rolling.
1. Minimal Handling is Key
Resist the urge to overwork the dough. Gather it gently into a disc, wrap it tightly in plastic wrap, and avoid kneading. Excessive handling develops gluten, leading to a tough crust. You want just enough mixing for the dough to hold together.

2. The All-Important Chill Time
Chilling the dough for at least 30 minutes, or preferably an hour or more (up to two days), allows the butter to firm up and the gluten to relax. This makes the dough much easier to roll out without shrinking, and it prevents the butter from melting too quickly when it hits the hot oven, ensuring maximum flakiness.
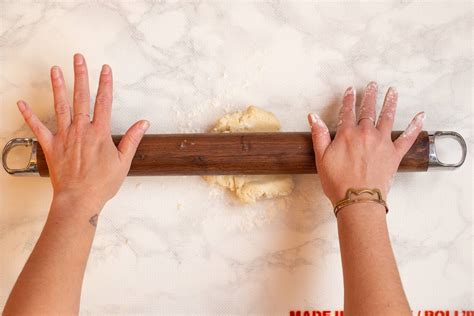
3. Rolling with Care
When ready to roll, work on a lightly floured surface. Roll from the center outwards, rotating the dough frequently to prevent sticking and ensure an even thickness. If the dough starts to feel sticky or warm, pop it back in the fridge for 10-15 minutes.
Baking for Perfection
Once your pie crust is shaped and filled (or blind-baked), bake it according to your recipe’s instructions. Keep an eye on the edges, which tend to brown faster, and use a pie shield or aluminum foil if necessary to prevent over-browning. The aroma of a baking butter crust is truly one of life’s simple pleasures.
By adhering to these simple yet vital principles – cold butter, minimal water, gentle handling, and ample chilling – you’ll consistently achieve a flaky, tender, and incredibly flavorful homemade pie crust that will be the star of any dessert. Happy baking!