


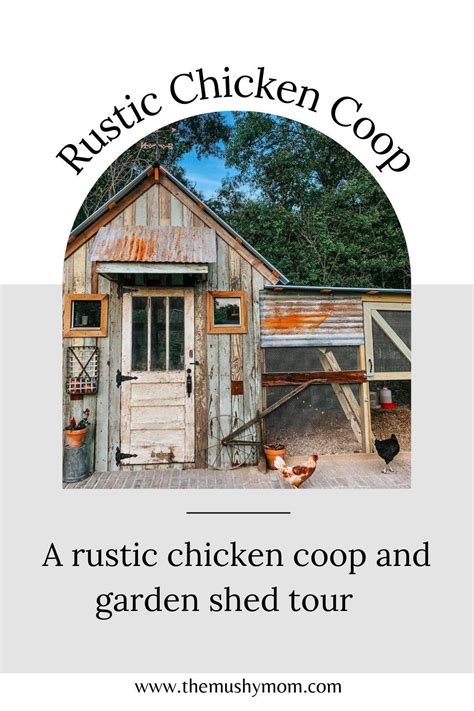
How to build a rustic DIY chicken coop on a budget?
Embrace the Charm of a Rustic, Budget-Friendly Chicken Coop
Dreaming of fresh eggs every morning and the delightful clucking of a backyard flock? Building your own chicken coop can be a rewarding experience, especially when you achieve a charming rustic look without breaking the bank. A DIY chicken coop on a budget isn’t just about saving money; it’s about resourcefulness, sustainable living, and creating a unique home for your feathered friends that perfectly complements your backyard aesthetic.
This guide will walk you through planning, sourcing materials, and constructing a durable yet rustic coop, proving that functionality and style can go hand-in-hand with affordability.
Planning Your Rustic Retreat: Design & Location
Before you even pick up a hammer, thoughtful planning is crucial. Consider the number of chickens you intend to keep – a general rule is 2-4 square feet per bird inside the coop, plus 8-10 square feet per bird in an attached run. Sketch out your design, keeping simplicity and efficiency in mind. Factor in essential elements like ventilation, predator protection, and ease of cleaning.
Choose a level, well-drained spot for your coop, preferably with some morning sun and afternoon shade. Proximity to water and electricity sources (if desired) can also be a convenience. Think about how the coop will fit into your landscape – a rustic design often blends beautifully with natural surroundings.
Sourcing Budget-Friendly Materials for Authenticity
The secret to a rustic, budget-friendly coop lies in your material choices. Embrace the beauty of reclaimed, recycled, and repurposed items. This not only saves money but also adds character and a unique story to your coop.
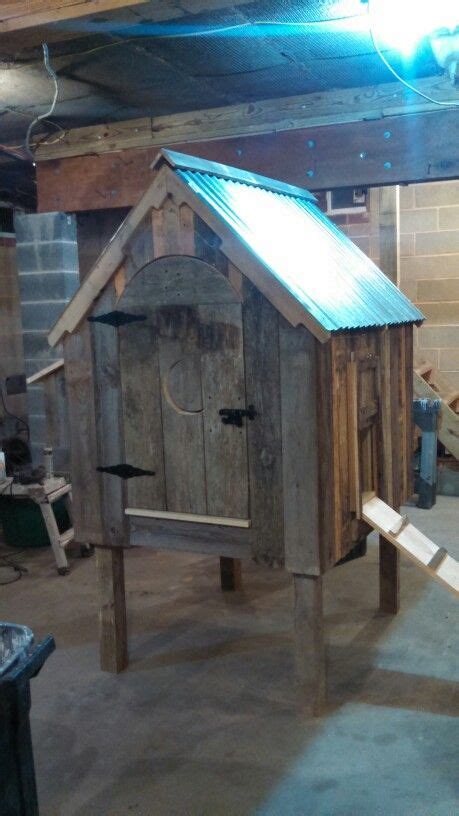
- Reclaimed Wood: Pallets are a goldmine for free lumber. Check local businesses, construction sites (with permission), or online marketplaces. Barn wood, old fence boards, or salvaged lumber can also provide a beautiful aged look.
- Roofing: Scraps of tin roofing, old corrugated metal sheets, or even salvaged shingles can be very affordable and contribute to the rustic vibe.
- Windows & Doors: Look for old windows at thrift stores, architectural salvage yards, or online. They add natural light and charm. For doors, repurposed cabinet doors or simple framed plywood can work.
- Hardware: Scour flea markets or garage sales for hinges, latches, and handles that have a vintage feel.
- Foundation: Concrete blocks, old tires, or sturdy logs can serve as an inexpensive, stable base to keep your coop off the ground and away from moisture.
- Hardware Cloth: While not ‘free,’ invest in good quality 1/2-inch hardware cloth for predator proofing. It’s non-negotiable for flock safety.
Essential Coop Features for Happy Hens
A rustic coop doesn’t mean sacrificing comfort or safety for your chickens. Ensure your design incorporates these vital elements:
- Ventilation: Adequate airflow is crucial to prevent respiratory issues. Include vents near the roofline (covered with hardware cloth) and possibly a small window for cross-ventilation.
- Predator Proofing: This is paramount. Use 1/2-inch hardware cloth, not chicken wire, for all openings. Bury the hardware cloth 6-12 inches deep around the perimeter of the run, or create an apron to deter digging predators. Secure all doors and windows with sturdy latches.
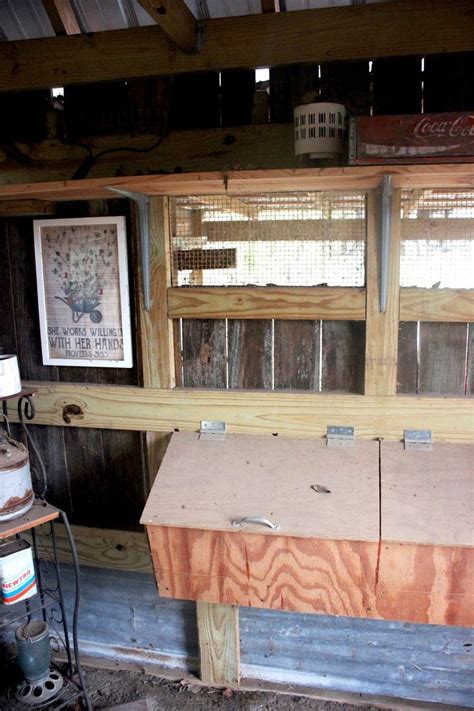
- Nesting Boxes: Provide at least one nest box for every 3-4 hens. They should be dark, quiet, and easily accessible for egg collection. Repurposed crates or buckets can work well.
- Roosting Bars: Chickens instinctively roost at night. Provide sturdy, smooth bars (1.5-2 inches wide, with rounded edges) placed higher than the nesting boxes to encourage roosting there.
- Easy Cleaning Access: Design your coop with large access doors or a removable roof section to make regular cleaning manageable.
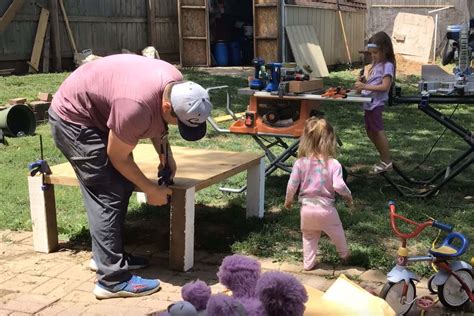
Step-by-Step Construction Guide
1. Laying the Foundation
Start by creating a solid, level base. You can use concrete blocks, pressure-treated skids, or even stacked tires. This elevates the coop, protecting it from ground moisture and making it harder for predators to dig underneath.
2. Framing the Structure
Using your reclaimed wood (pallets are great for this), construct the basic frame of your coop. Keep it simple – typically a rectangular box shape. Ensure all connections are secure. This is where the structural integrity begins, so take your time.

3. Walls and Roofing
Attach your wall panels, whether they are pallet planks, plywood, or repurposed siding. Ensure there are no gaps that could allow predators in. For the roof, build a simple gable or lean-to style. Attach your chosen roofing material – corrugated metal sheets are often easiest and provide a great rustic look.
4. Adding Doors, Windows & Ventilation
Cut openings for your entrance door, a smaller ‘pop-door’ for chickens, and any windows or ventilation points. Frame these openings securely. Install your repurposed windows, ensuring they can be opened and closed for ventilation, and are predator-proof when shut. Cover all ventilation holes with hardware cloth.
5. Interior Fixtures
Install your roosting bars securely, making sure they are level and strong enough to hold multiple birds. Build and install your nesting boxes. Line them with straw or pine shavings. If you’re adding an attached run, now is a good time to build its frame and cover it with hardware cloth.

6. Predator Proofing & Finishing Touches
Double-check every inch of your coop for potential entry points for predators. Install your hardware cloth, securing it tightly with screws and washers. Install all doors and latches. If desired, apply a natural wood stain or sealant to protect the wood, or leave it unfinished for an even more weathered, rustic look. Add any decorative elements like old signboards or natural branches.
Bringing Out the Rustic Charm
The beauty of a rustic coop often lies in its imperfections and the stories told by its materials. Don’t strive for perfection; instead, embrace the character of weathered wood, mismatched hardware, and simple, functional design. A natural wood finish, perhaps with a touch of distressed paint, can enhance the rustic appeal. Landscaping around the coop with native plants or a small herb garden can further integrate it into your natural environment.
Coop Maintenance for Happy, Healthy Hens
Even the most rustic coop requires regular maintenance. Clean out bedding frequently, check for any wear and tear on the structure, and ensure predator defenses remain intact. Regularly inspect your chickens for signs of illness. A well-maintained coop ensures a healthy and productive flock, allowing you to enjoy your fresh eggs and the satisfaction of your DIY achievement for years to come.
Conclusion
Building a rustic DIY chicken coop on a budget is a fulfilling project that combines practicality with aesthetic appeal. By leveraging reclaimed materials and thoughtful design, you can create a charming, safe, and functional home for your chickens without a significant financial outlay. So roll up your sleeves, gather your materials, and get ready to enjoy the rewards of your very own handmade, rustic chicken haven!