


Simple tips for canning summer berry jam safely for beginners?

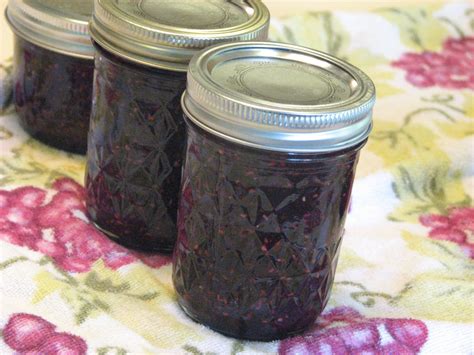
Embrace the Sweetness: Your Guide to Beginner Berry Jam Canning
There’s nothing quite like the taste of homemade summer berry jam, especially when you’ve preserved the season’s bounty yourself. For beginners, the idea of canning can seem daunting, but with a few simple tips and a focus on safety, you’ll be enjoying your own delicious preserves in no time. This guide will walk you through the essential steps to safely can summer berry jam.
Gather Your Essential Equipment
Before you even touch a berry, ensure you have the right tools. Investing in proper canning equipment is crucial for safety and success. You’ll need:
- Canning Pot with Rack: A large pot deep enough to cover jars with at least 1-2 inches of water, along with a rack to keep jars off the bottom.
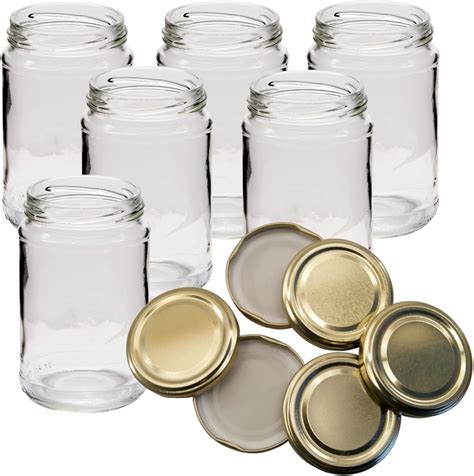
- Canning Jars with Lids and Bands: Use only jars specifically designed for canning. New lids are essential for a proper seal; bands can be reused if not rusty.
- Jar Lifter: To safely place and remove hot jars from the canner.
- Headspace Tool/Ruler: To measure the space between the jam and the rim of the jar.
- Funnel: A wide-mouth funnel makes filling jars much cleaner.
- Ladle: For transferring hot jam.
- Bubble Remover/Non-metallic Spatula: To remove air bubbles from filled jars.
- Clean Towels: For wiping jar rims and general clean-up.
Choosing and Preparing Your Berries
The quality of your jam starts with the fruit. Select ripe, firm, and unblemished berries. Wash them gently under cool running water, then remove stems and any leaves. Pat them dry or let them air dry completely before proceeding.
The Jam-Making Process: Simplicity is Key
For beginners, a reliable recipe is your best friend. Many recipes call for berries, sugar, and pectin (a natural gelling agent) and often lemon juice for acidity, which is vital for safe canning. Always follow the recipe’s measurements and cooking times precisely.
Typically, you’ll combine the prepared berries with sugar and other ingredients in a large, heavy-bottomed pot. Bring the mixture to a rolling boil that cannot be stirred down, and cook for the specified time, stirring frequently to prevent scorching. Use a candy thermometer if the recipe calls for a specific temperature, or perform a gel test (placing a small amount on a cold plate to see if it sets).
Sterilizing Jars and Lids
This is a critical safety step to prevent spoilage. Wash your jars, lids, and bands in hot, soapy water, rinse well. For jars that will be processed for less than 10 minutes (common for jams), sterilize them by boiling in water for at least 10 minutes. Keep them hot in the canning pot or a warm oven until ready to fill. Lids and bands should be simmered (not boiled) in a separate pot of hot water to soften the sealing compound, then kept hot until needed.
Filling Jars and Ensuring Proper Headspace
Carefully ladle the hot jam into the hot sterilized jars, using a canning funnel. Leave the correct amount of headspace – the empty space between the jam and the rim of the jar. For jams, this is typically 1/4 inch. Too little headspace can cause jam to bubble out during processing; too much can prevent a proper seal.
Once filled, slide a non-metallic spatula or bubble remover around the inside of the jar to release any trapped air bubbles. Re-check the headspace and add more jam if necessary. Wipe the jar rims thoroughly with a clean, damp cloth to remove any sticky residue, which could prevent sealing. Place a hot lid centered on the jar and screw on the band fingertip-tight (just until you feel resistance, then a slight turn).

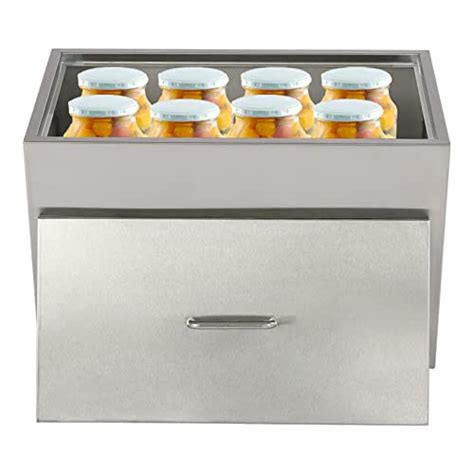
The Water Bath Canning Method
Carefully place the filled, lidded jars onto the rack in your canning pot using a jar lifter. Ensure the jars are not touching each other. Add hot water to the canner until the jars are covered by at least 1-2 inches of water. Cover the pot with a lid and bring the water to a full, rolling boil. Once boiling, start your processing time, which will be specified in your recipe (usually 5-10 minutes for jam, adjusting for altitude).
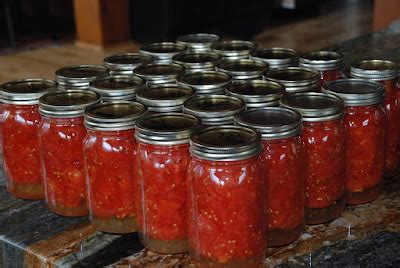
Cooling, Sealing, and Storing Your Jam
Once the processing time is complete, turn off the heat and carefully remove the jars from the canner using the jar lifter. Place them upright on a clean towel on your counter, ensuring there’s space between each jar for air circulation. Do not disturb them for 12-24 hours. As they cool, you’ll hear the satisfying ‘pop’ as the lids seal.
After 24 hours, check the seals by pressing on the center of each lid. If it doesn’t flex, it’s sealed. Remove the bands (they can trap moisture and cause rust), wipe the jars clean, label them with the contents and date, and store them in a cool, dark, dry place. Unsealed jars should be refrigerated and consumed within a few weeks.
Remember: Safety First
Always follow a tested canning recipe from a reliable source (like university extension offices or reputable canning books). Do not cut corners or improvise ingredients, especially when it comes to acidity, as this can compromise safety. With these simple tips, you’re ready to enjoy the rewarding process of canning your own delicious summer berry jam!