


How to build a sturdy, budget-friendly raised garden bed using reclaimed wood or logs?
Creating a raised garden bed is an excellent way to improve soil drainage, extend the growing season, and manage pests, all while adding an attractive feature to your yard. Doing so with reclaimed wood or logs not only keeps costs down but also adds rustic charm and a sustainable touch to your outdoor space. This guide will walk you through building a sturdy and budget-friendly raised bed using materials often found for free or at a very low cost.
Why Choose Reclaimed Materials?
Opting for reclaimed wood or logs offers significant advantages. Financially, it drastically reduces the expense compared to purchasing new lumber. Environmentally, it’s a fantastic way to divert waste from landfills, giving discarded materials a new purpose. Aesthetically, reclaimed materials bring a unique, weathered character that new materials simply can’t replicate, blending seamlessly into natural landscapes.
Selecting Your Reclaimed Materials
Reclaimed Wood
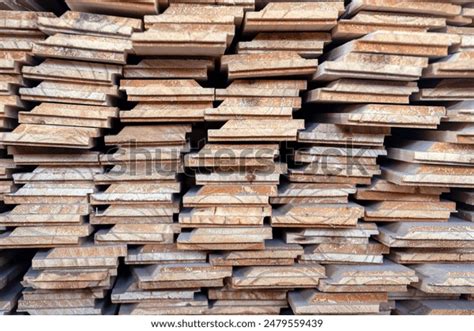
Look for materials like old fence planks, decking, sturdy pallets (check for heat treatment ‘HT’ rather than chemical treatment ‘MB’), barn wood, or even discarded lumber from construction sites. Prioritize wood that is structurally sound and free from excessive rot or hazardous chemical treatments. If using pallets, ensure they haven’t been treated with methyl bromide (MB), as this can leach chemicals into your soil. Heat-treated (HT) pallets are generally safe.
Logs
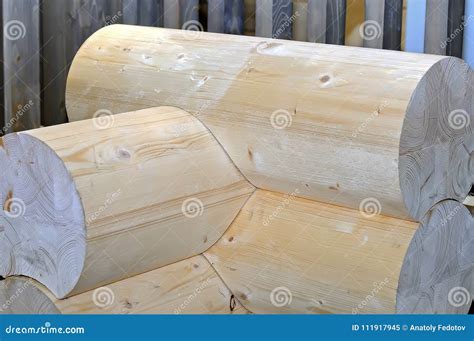
Logs, especially those from fallen trees on your property or through local tree service companies, are ideal for a more natural, permaculture-style raised bed. Hardwoods like oak, cedar, or locust will last longer than softer woods. Aim for logs of similar diameter and length to ensure a stable structure. Avoid logs showing signs of extensive decay or fungal growth, unless you’re specifically going for a hugelkultur mound where decomposition is part of the plan.
Planning Your Raised Bed
Before you begin building, decide on the size and location of your bed. A common width is 3-4 feet, allowing easy access to the center from either side. Length can vary. Aim for a depth of at least 10-12 inches for most vegetables, though 24 inches is ideal for root crops. Choose a spot that receives adequate sunlight (at least 6-8 hours for most vegetables) and is relatively level. Mark out your dimensions with stakes and string.
Essential Tools and Supplies
- Tape measure
- Level
- Saw (hand saw, circular saw, or chainsaw depending on materials)
- Drill and screws (galvanized or exterior-grade) or hammer and nails
- Shovel or spade
- Gloves and safety glasses
- Optional: Corner braces, landscape fabric, weed barrier, compost, topsoil
Step-by-Step: Building with Reclaimed Wood
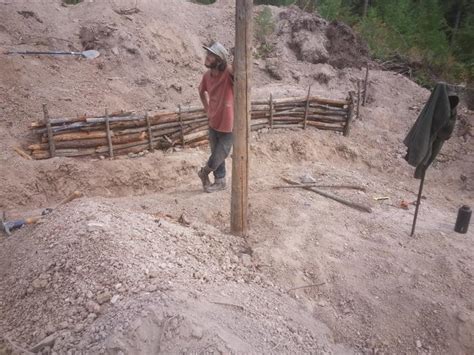
Step 1: Prepare the Site
Clear the chosen area of any weeds, grass, or debris. If the ground isn’t level, do your best to make it so. You can lay down a layer of cardboard or newspaper as a weed barrier, which will decompose over time.
Step 2: Cut and Assemble Your Frame
Cut your reclaimed wood planks to the desired lengths for the sides of your bed. For a simple rectangular bed, you’ll need two pieces of one length and two pieces of another. You can stack multiple planks to achieve the desired height. At each corner, join the planks using screws or nails, ensuring they are flush and square. You can use simple butt joints, or for added strength, use corner braces or reinforce the corners with vertical posts.

Step 3: Secure the Structure
Once your basic frame is assembled, ensure it’s level. You can use additional stakes or pieces of wood driven into the ground on the inside or outside of the bed to provide extra stability, especially if your wood is thinner or if you’re building a very tall bed. For very long beds, add vertical bracing in the middle of the longest sides.
Step 4: Add a Liner (Optional)
If your reclaimed wood is untreated and you’re concerned about it rotting quickly, or if you want to prevent soil from touching potentially treated wood (like some older decking), you can line the inside of the bed with landscape fabric or thick plastic sheeting. Staple it to the inside of the wood, leaving drainage holes at the bottom.
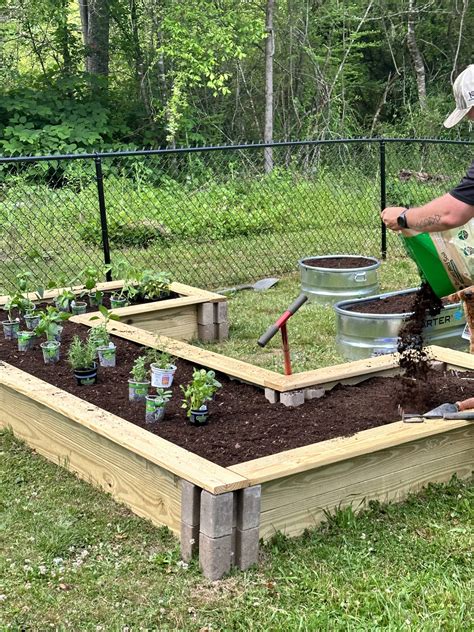
Step 5: Fill Your Bed
Fill the bottom with a layer of coarser materials like small branches, wood chips, or leaves for drainage and to reduce the amount of expensive topsoil needed. Then, layer with a good quality soil mix, ideally a blend of compost, topsoil, and peat moss or coconut coir for optimal plant growth.
Step-by-Step: Building with Logs
Step 1: Select and Prepare Logs
Gather your logs, ensuring they are relatively straight and of similar diameter. Remove any small branches or knots. If necessary, trim them to your desired bed length.
Step 2: Lay the Foundation
Clear and level your site. Lay down your first layer of logs, forming the perimeter of your bed. Ensure they are as level as possible. You can slightly embed them in the soil to prevent rolling.
Step 3: Stack and Secure
Stack subsequent layers of logs, staggering the joints like bricks for stability. For added security, you can drill holes through the logs at the corners or at intervals along the length and drive rebar or long stakes through them into the ground. Another method is to use timber screws to connect logs at their contact points. Continue stacking until you reach your desired height.
Step 4: Fill Your Log Bed
Like with the wood bed, start with coarser organic matter at the bottom (branches, leaves, wood chips – this is an excellent application for a hugelkultur approach) to promote drainage and provide long-term nutrients as they decompose. Fill the remaining space with a rich blend of compost and topsoil. The decomposition of the logs themselves will also enrich the soil over time.
Finishing Touches and Long-Term Care
Once your bed is filled, water it thoroughly to help settle the soil. You may need to add more soil after a few days. Consider adding a layer of mulch on top to conserve moisture and suppress weeds. With log beds, expect some settling and eventual decomposition; simply replenish soil and add new logs as needed. For reclaimed wood beds, periodically check for loose fasteners and reinforce as necessary. Enjoy your new, sustainable, and budget-friendly garden oasis!
Conclusion
Building a raised garden bed with reclaimed wood or logs is a rewarding DIY project that saves money, benefits the environment, and provides a beautiful, productive space for your plants. With a little planning and effort, you can create a sturdy and long-lasting garden bed that will serve you for many growing seasons to come.