
How to build a simple root cellar for garden harvest?
Unlock Nature’s Refrigerator: Why Build a Simple Root Cellar?
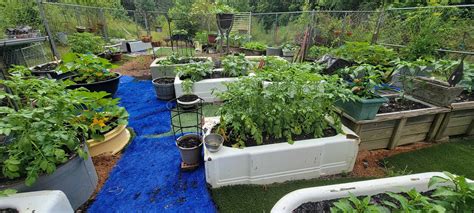
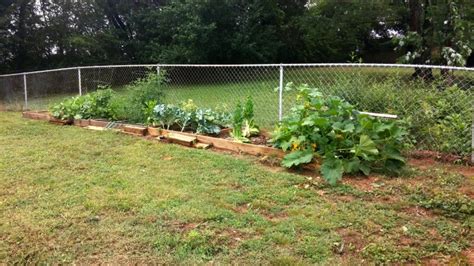
After months of diligent tending, your garden has rewarded you with a bountiful harvest. While canning, freezing, and dehydrating are popular preservation methods, a root cellar offers a simple, energy-efficient, and often overlooked way to extend the freshness of many vegetables and fruits. Essentially, a root cellar is a cool, humid, and dark space designed to mimic ideal storage conditions found naturally underground. Building one doesn’t have to be complicated or expensive; with a few basic materials and some elbow grease, you can create a natural refrigerator right in your backyard.
The Principles of Successful Root Storage
To keep produce fresh, a root cellar primarily controls three key environmental factors: temperature, humidity, and darkness. Good ventilation is also crucial to prevent mold and stale air.
- Temperature: Most root vegetables thrive in temperatures between 32-50°F (0-10°C). Consistency is key, so choose a spot that maintains a stable, cool environment.
- Humidity: A relative humidity of 85-95% is ideal to prevent produce from drying out and shriveling. This is often achieved naturally underground or by keeping a bucket of damp sand/sawdust.
- Darkness: Light can cause many vegetables (like potatoes) to sprout or turn green, affecting flavor and safety. A dark environment inhibits this.
- Ventilation: Air circulation helps prevent the buildup of ethylene gas (which can accelerate ripening) and reduces the risk of mold and rot.
Choosing Your Simple Root Cellar Type
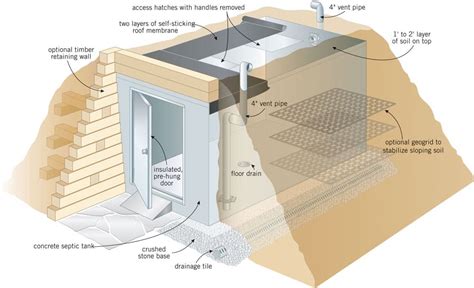
There are several easy ways to create a functional root cellar. We’ll focus on the buried container method, which is highly effective and requires minimal construction skills.
- Buried Container (Trash Can/Drum): This involves burying a large, watertight container, like a sturdy plastic trash can or an old food-grade barrel, in the ground. It leverages the earth’s natural insulation.
- Modified Shed or Crawl Space: If you have an existing shed or an accessible crawl space, you might be able to adapt a section of it by insulating and providing ventilation.
- Straw Bale Box: An above-ground option where straw bales are used for insulation around a storage box. This is more temporary but effective in cooler climates.

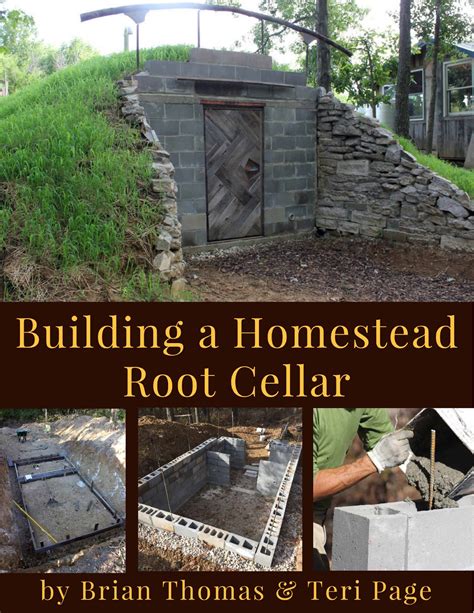
Building Your Buried Container Root Cellar: Step-by-Step
1. Select Your Site
Choose a shady, well-drained spot in your yard. Avoid areas prone to standing water. The north side of a building or under a large tree can offer additional shade and temperature stability. Ensure it’s convenient enough for you to access regularly.
2. Gather Materials
You’ll need:
- A large, durable plastic trash can with a tight-fitting lid, or a food-grade plastic barrel (30-55 gallons).
- Shovel and digging tools.
- Gravel or sand for drainage.
- Perforated drain pipe or PVC pipe for ventilation.
- Hardware cloth or fine mesh screen.
- Straw, leaves, or old blankets for insulation.
- Optional: Thermometer/hygrometer to monitor conditions.
3. Dig the Hole
Dig a hole that is slightly wider than your container and deep enough so that the top edge of the container sits a few inches below ground level when placed. The deeper the better for temperature stability. At the bottom of the hole, lay 4-6 inches of gravel or sand for drainage. This helps prevent water from accumulating around the container.
4. Prepare the Container and Add Ventilation
Drill several small holes (1/4 inch) in the bottom of your trash can for drainage, then line the bottom with a few inches of gravel. Next, you’ll need to create ventilation. Cut two openings near the top of the container’s side, opposite each other. Insert PVC pipes (2-4 inches in diameter) into these openings. One pipe will be your intake vent, extending down into the cellar. The other will be the exhaust vent, positioned higher. Cover both ends of the pipes with hardware cloth or mesh to keep pests out. For the lid, consider drilling a few small holes as well and covering them with mesh.
5. Place and Bury the Container
Carefully lower your prepared container into the dug hole. Ensure it is level. Backfill around the sides with soil, compacting it gently as you go. The soil acts as insulation. Once buried, mound extra soil over the lid, leaving only the ventilation pipes exposed. This extra layer of soil provides excellent insulation and helps maintain darkness. You can even cover the soil mound with straw or leaves for additional insulation during colder months.
6. Add Final Touches and Test
Place a heavy, insulated lid (perhaps a wood pallet covered with straw or a second, larger trash can lid) over the exposed container lid to further insulate and keep critters out. Consider burying a thermometer/hygrometer inside for a few days to monitor the internal temperature and humidity before adding your harvest. Adjust ventilation if needed.
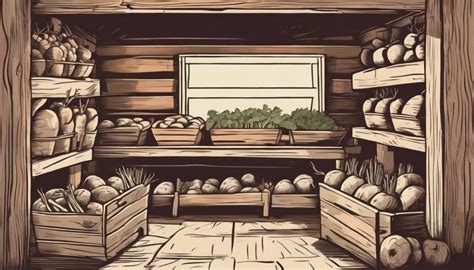
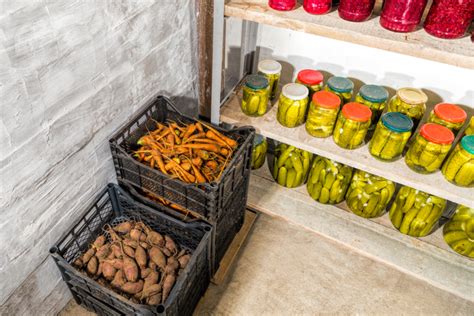
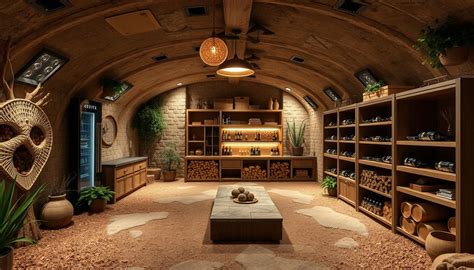
Storing Your Harvest
Not all produce is suitable for root cellaring, and some require specific conditions. Here’s a general guide:
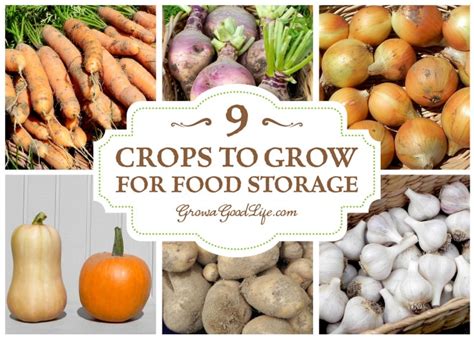
- Potatoes: Store in bins or breathable sacks. Don’t wash before storing.
- Carrots, Beets, Turnips, Parsnips: Pack them in damp sand, sawdust, or peat moss to maintain humidity and prevent shriveling. Trim greens before storing.
- Apples: Store separately from most vegetables, as they release ethylene gas which can cause other produce to ripen faster. Wrap individually in newspaper.
- Cabbage: Can be hung upside down or stored on shelves.
- Onions & Garlic: Prefer cooler, *drier* conditions than other root vegetables. A root cellar might be too humid; consider a cool, dry pantry for these.
Always ensure produce is clean, dry, and free from blemishes or damage before storing, as one bad apple can spoil the bunch.
Maintain and Monitor
Check your root cellar regularly (weekly or bi-weekly) for any signs of spoilage, mold, or pests. Remove any compromised items immediately. Monitor the temperature and humidity, adjusting ventilation or adding a bucket of water (if too dry) or damp sand as needed. With proper care, your simple root cellar can provide you with fresh, homegrown produce long after the growing season has ended, connecting you more deeply to your food source and reducing waste.