


Simplest DIY method for dehydrating garden herbs without special equipment?

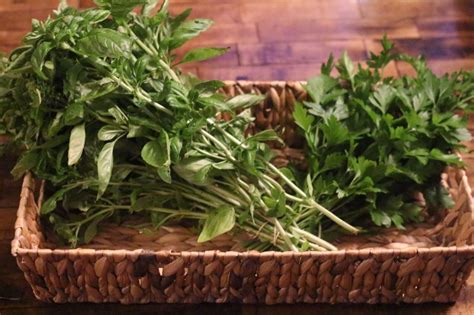
Harvesting and Preparing Your Herbs
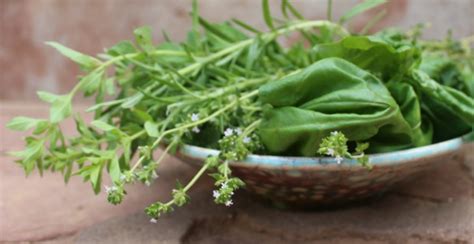
There’s immense satisfaction in growing your own herbs, and even more in preserving their fresh flavors to enjoy long after the growing season ends. Dehydrating is one of the oldest and simplest methods, locking in aroma and taste. The best part? You don’t need fancy dehydrators or expensive gadgets. With just a few household items and a little patience, you can have a pantry full of dried herbs.
The first step to successful dehydration is proper harvesting. Choose herbs that are vibrant and healthy, ideally in the morning after the dew has evaporated but before the midday sun becomes too intense. Avoid any herbs showing signs of disease or pest damage. Gently rinse them under cool water to remove any dirt or insects, then pat them thoroughly dry with a clean cloth or paper towels. Excess moisture can lead to mold during the drying process, so this step is crucial.
Method 1: The Classic Air-Drying Technique
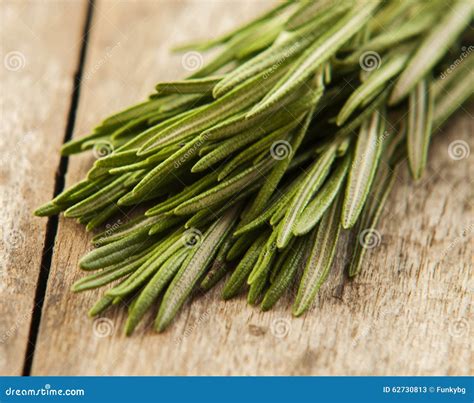
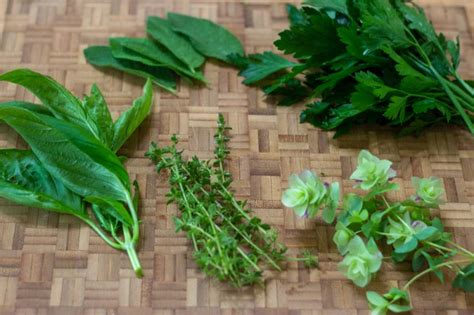
Air drying is arguably the easiest and most hands-off method, perfect for herbs with sturdy stems and low moisture content like rosemary, thyme, oregano, bay leaves, sage, and mint. It requires good air circulation and a dry, warm environment.
Step-by-Step Air Drying:
- Bundle Your Herbs: Gather small bunches of 4-6 stems, tying them together securely at the base with kitchen twine or a rubber band. Don’t make the bundles too large, as this can hinder air circulation and lead to mold.
- Find the Right Spot: Hang your herb bundles upside down in a warm, dry, well-ventilated area away from direct sunlight. A pantry, an attic, or even a corner of your kitchen (if it’s not too humid) works well. Direct sunlight can bleach the herbs and diminish their flavor and color.
- Consider Paper Bags (Optional): For herbs prone to collecting dust or to prevent seeds from scattering, you can place bundles inside a paper bag. Punch a few holes in the bag for ventilation, then tie the bag’s opening around the herb stems before hanging.
- Monitor and Wait: Drying time varies depending on the herb, humidity, and temperature, but typically takes 1-3 weeks. Your herbs are fully dry when their leaves are brittle and crumble easily between your fingers. Stems should snap, not bend.
Method 2: Low-Temperature Oven Drying
If you’re short on time or your climate is too humid for effective air drying, your oven can be a viable alternative. This method requires closer monitoring to prevent ‘cooking’ the herbs instead of drying them.
Step-by-Step Oven Drying:
- Preheat Your Oven: Set your oven to its absolute lowest temperature setting, ideally between 100-180°F (38-82°C). If your oven doesn’t go that low, you might need to prop the oven door open slightly with a wooden spoon to prevent excessive heat buildup.
- Prepare Trays: Spread your clean, dry herb leaves in a single layer on baking sheets. You can line the sheets with parchment paper for easier cleanup, but avoid aluminum foil as it can trap moisture.
- Bake Slowly: Place the baking sheets in the oven. Turn the herbs every 30 minutes to ensure even drying. Drying time can range from 1 to 4 hours, depending on the herb and oven temperature. Keep a close eye on them to prevent scorching.
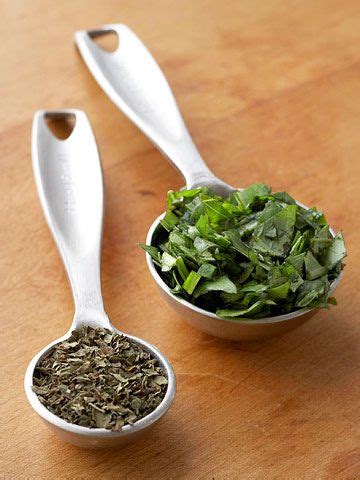
- Test for Dryness: Herbs are dry when they crumble easily. Remove them from the oven immediately and let them cool completely on the baking sheets.
Method 3: Simple Screen or Rack Drying
For herbs with smaller leaves or those that don’t bundle well, like bay leaves, mint, or sage leaves, drying them on a screen or rack can be effective. You can repurpose old window screens (cleaned thoroughly!), cooling racks, or even make a simple frame with cheesecloth.
Step-by-Step Screen Drying:
- Lay Out Herbs: Arrange your clean, dry herb leaves in a single layer on your chosen screen or rack. Ensure there’s space between leaves for air circulation.
- Elevate and Circulate: Elevate the screen on blocks or cans to allow air to flow underneath. Place it in a warm, dry, well-ventilated room, again avoiding direct sunlight.
- Turn Regularly: Gently turn the herbs every day or two to promote even drying.
- Check for Dryness: Like air drying, this method takes 1-2 weeks. The herbs are ready when they are brittle and crumble easily.
Storing Your Dehydrated Herbs
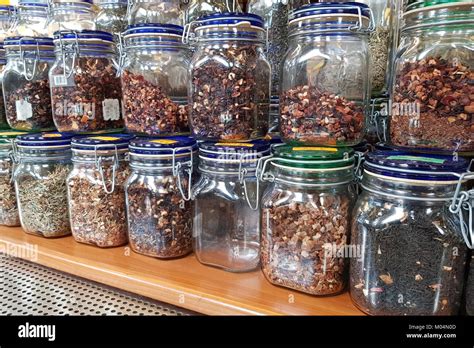
Once your herbs are thoroughly dry, proper storage is key to maintaining their potency and flavor. Remove the leaves from the stems (if not already done) and gently crumble them or leave them whole, depending on your preference. Store them in airtight containers – glass jars with tight-fitting lids are ideal. Label each jar with the herb name and the date of dehydration.
Keep your dried herbs in a cool, dark, and dry place, away from light and heat, which can degrade their quality. Stored correctly, most dried herbs will retain their flavor and aroma for 6 months to a year. Enjoy the fruits of your labor!