


Simple home canning tips for beginners preserving summer tomatoes?

Embracing the Summer Tomato Harvest
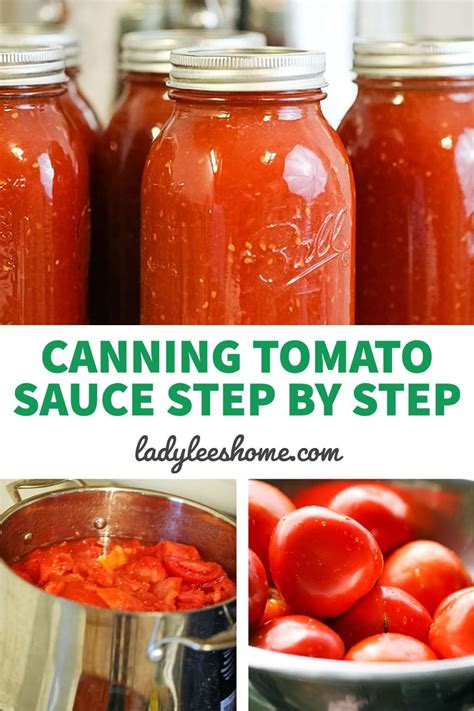
There’s nothing quite like the taste of a fresh summer tomato, bursting with flavor from your garden or local farm. But what if you could capture that taste and enjoy it all year long? Home canning is a time-honored tradition that allows you to do just that. For beginners, preserving tomatoes is one of the most rewarding entry points into the world of canning, offering delicious results with relatively straightforward techniques. Let’s dive into simple steps to get you started on your journey to a pantry full of summer’s bounty.
Why Can Your Own Tomatoes?
Beyond the immense satisfaction of DIY, canning your own tomatoes offers several benefits. You control the ingredients, avoiding unwanted additives and preservatives found in store-bought options. It’s often more economical, especially when dealing with a surplus from a successful harvest or a great deal at the market. Plus, the flavor of home-canned tomatoes simply can’t be beaten, bringing a taste of summer to your winter soups, sauces, and stews.
Essential Tools for Beginner Canning
Don’t be intimidated by the array of canning equipment. For water bath canning, which is ideal for high-acid foods like tomatoes, you only need a few key items to start. A large stockpot with a rack (or a dedicated water bath canner), canning jars with new lids and bands, a jar lifter, a canning funnel, and a bubble remover tool are your basic essentials. Ensure your jars are specifically designed for canning and are free of nicks or cracks.

Selecting and Preparing Your Tomatoes
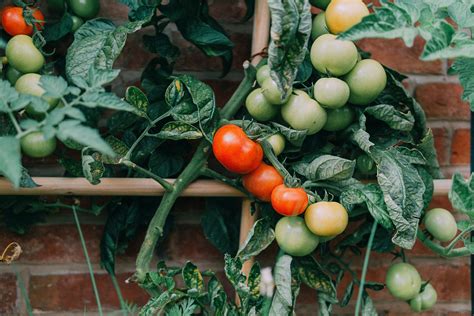
The secret to great canned tomatoes starts with great fresh tomatoes. Choose ripe, firm, unblemished tomatoes. Any variety will work, but paste tomatoes like Roma often yield a thicker sauce with less effort due to their lower water content. Wash your tomatoes thoroughly under cool running water. For most canning recipes, you’ll need to peel and core them. An easy way to do this is to blanch them in boiling water for 30-60 seconds, then immediately transfer them to an ice bath. The skins will slip off easily. After peeling, remove the core and any green parts, then chop or crush according to your recipe.
Understanding Acidity and Safety
Tomatoes are generally considered a high-acid food, making them safe for water bath canning. However, modern tomato varieties can sometimes have lower acidity levels, making it crucial to add an acid to ensure safety. For every quart jar, add 2 tablespoons of bottled lemon juice or ½ teaspoon of citric acid. For pint jars, use 1 tablespoon of bottled lemon juice or ¼ teaspoon of citric acid. Do not use fresh lemon juice, as its acidity can vary. The added acid helps prevent the growth of harmful bacteria, particularly Clostridium botulinum, which thrives in low-acid, oxygen-free environments.

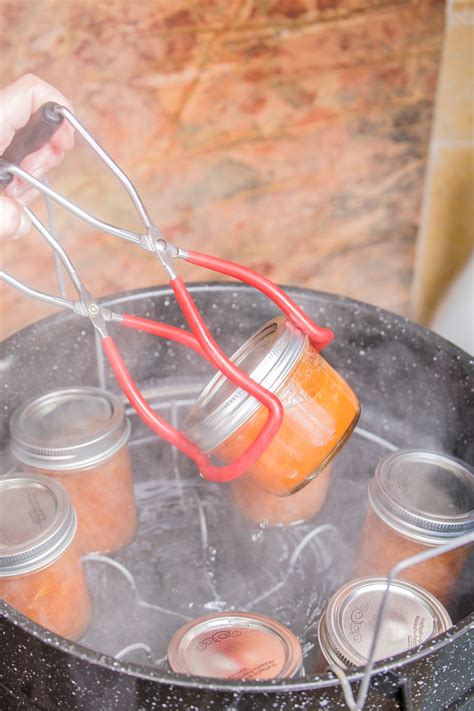
The Water Bath Canning Process: Step-by-Step
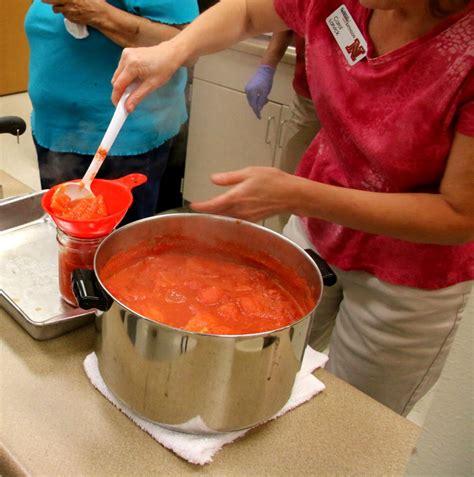
Once your tomatoes are prepared and you’ve added the necessary acid, it’s time to fill your jars. Heat your prepared tomatoes to a simmer (if the recipe calls for hot pack) and have your sterilized jars ready. Using a canning funnel, fill the hot jars with tomatoes, leaving appropriate headspace (usually ½ inch) as specified by your recipe. This headspace is crucial for a proper seal. Remove any air bubbles by gently running a non-metallic spatula or bubble remover tool around the inside of the jar. Wipe the jar rims clean with a damp cloth – any food particles can prevent a good seal. Place a new, clean lid on top, followed by a band, tightened fingertip-tight.
Carefully lower the filled jars onto the rack in your water bath canner, ensuring they are not touching each other. The water in the canner should cover the tops of the jars by at least one inch. Bring the water to a rolling boil, then start your processing time according to your recipe and altitude adjustments. This is not the time to guess; follow tested recipes from reliable sources like the National Center for Home Food Preservation (NCHFP) or university extension services. Once the processing time is complete, turn off the heat, remove the canner lid, and let the jars sit for 5 minutes before carefully lifting them out.
Cooling, Checking Seals, and Storage
Place the hot jars on a clean towel on your countertop, leaving space between them for air circulation. Do not disturb them for 12-24 hours. As the jars cool, you’ll likely hear a satisfying “ping” as the lids seal. After the cooling period, check the seals: the center of the lid should be depressed and not flex when pressed. If a lid does not seal, refrigerate the jar and consume the contents within a week, or reprocess with a new lid if within 24 hours. Remove the screw bands for long-term storage, wipe jars clean, label them with the contents and date, and store in a cool, dark, dry place. Properly canned tomatoes can last for at least a year.

Enjoying Your Hard Work
Congratulations! You’ve successfully preserved a taste of summer. Your home-canned tomatoes are now ready to be transformed into countless delicious meals. Imagine the flavor of your own homemade marinara sauce, a hearty chili, or a comforting tomato soup made with your preserved harvest. Home canning is a skill that grows with practice, and with these simple tips, you’re well on your way to enjoying the fruits of your labor year-round.