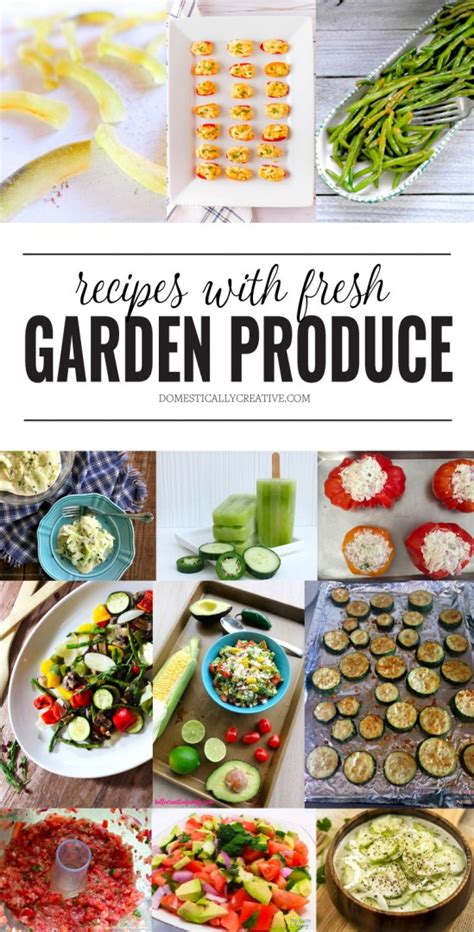

Preserving garden bounty: Best practical recipes?
Maximizing Your Harvest: The Joy of Garden Preservation
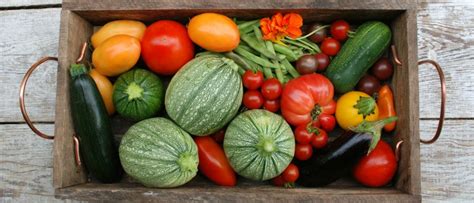
There’s immense satisfaction in nurturing a garden and watching it flourish. But what happens when the harvest comes in faster than you can eat it? The answer lies in preservation – a time-honored tradition that extends the life of your fresh produce, reduces waste, and allows you to enjoy the taste of summer long after the season ends. Beyond being a practical skill, preserving your garden’s bounty transforms fresh ingredients into pantry staples, saving money and ensuring healthy, wholesome food is always on hand. This guide will walk you through some of the best practical recipes and methods to capture those peak-season flavors.
The Cornerstone Methods: Canning, Freezing, and Dehydrating
Before diving into specific recipes, understanding the primary preservation methods is key. Each technique suits different types of produce and offers unique benefits regarding texture, flavor, and storage.
Canning: Sealing in Freshness
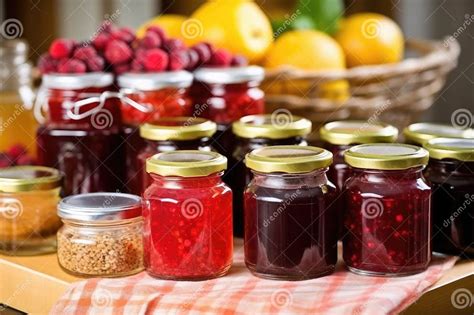
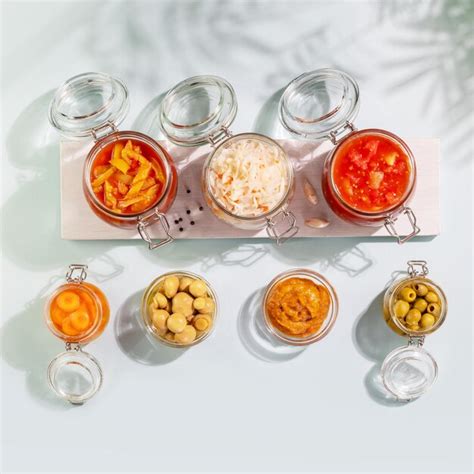
Canning involves sealing food in jars and heating them to destroy microorganisms and create a vacuum seal. It’s excellent for shelf-stable items like jams, pickles, sauces, and stews.
- Water Bath Canning: Ideal for high-acid foods (fruits, pickles, tomatoes with added acid). It’s simpler and requires less specialized equipment.
- Pressure Canning: Essential for low-acid foods (most vegetables, meats, poultry, seafood). This method reaches higher temperatures to safely preserve these items.
Practical Canning Recipes:
1. Classic Strawberry Jam: A perfect entry point for water bath canning. Combine 4 cups crushed strawberries with 4 cups sugar and 2 tablespoons lemon juice. Bring to a rolling boil, stirring frequently, until it reaches the gelling point (around 220°F or a spoonful wrinkles when cooled). Ladle into hot, sterilized jars, leaving 1/4 inch headspace. Process in a boiling water bath for 10 minutes. This recipe captures the vibrant taste of summer berries, perfect for toast, yogurt, or as a dessert topping.
2. Tangy Dill Pickles: Crisp, dilly cucumbers are a garden staple. For a batch, you’ll need pickling cucumbers, fresh dill sprigs, garlic cloves, mustard seeds, and a brine made from equal parts water and vinegar with pickling salt. Pack clean cucumbers, dill, garlic, and spices into sterilized jars. Pour hot brine over them, leaving 1/2 inch headspace. Process in a boiling water bath for 10-15 minutes, depending on jar size. These add a delightful crunch and tang to any meal.
3. Versatile Tomato Sauce: Transform your ripe tomatoes into a rich, ready-to-use sauce. Core and quarter ripe tomatoes (e.g., Roma or paste varieties) and simmer them until soft. Press through a food mill to remove skins and seeds. Simmer the resulting pulp until it reaches your desired consistency, seasoning with salt, pepper, and herbs (oregano, basil) if desired. For safe water bath canning, add 1 tablespoon bottled lemon juice or 1/4 teaspoon citric acid per pint jar (2 tablespoons or 1/2 teaspoon per quart). Ladle into hot jars, leaving 1/2 inch headspace, and process for 35 minutes for pints or 40 minutes for quarts. This homemade sauce is infinitely better than store-bought and forms the base for countless Italian dishes.
Freezing: The Fast Lane to Freshness
Freezing is arguably the easiest method for preserving garden produce, maintaining much of its fresh flavor, color, and nutrients. Most vegetables require blanching (briefly boiling, then plunging into ice water) before freezing to stop enzyme action that degrades quality.
Practical Freezing Recipes:
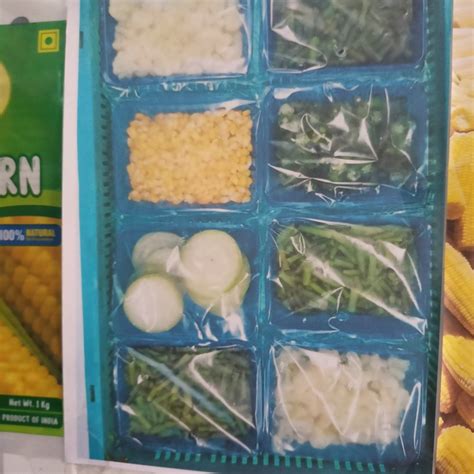
1. Blanch-and-Freeze Mixed Vegetables: A fantastic way to save peas, green beans, corn, and carrots. Wash and chop vegetables. Blanch small batches in boiling water for 2-5 minutes (depending on the vegetable), then immediately transfer to an ice bath to stop cooking. Drain thoroughly, pat dry, and spread in a single layer on a baking sheet to freeze solid. Once frozen, transfer to freezer bags, removing as much air as possible. These mixed vegetables are perfect for stir-fries, soups, or as a quick side dish.
2. Berry Smoothie Packs: For fruits like blueberries, raspberries, or sliced peaches, freezing is effortless. Wash and dry berries; spread them on a baking sheet to freeze individually. Once frozen, transfer to freezer bags. For smoothie packs, combine pre-portioned amounts of frozen berries, a handful of spinach, and perhaps some banana slices in individual bags. Grab-and-blend convenience for busy mornings!
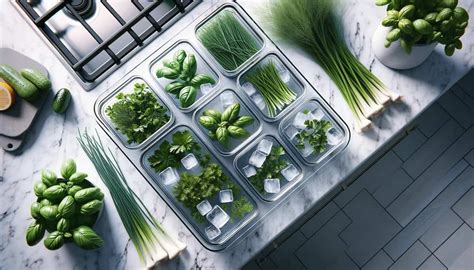
3. Herb Ice Cubes: Don’t let excess herbs go to waste. Finely chop fresh herbs like basil, parsley, or cilantro. Pack them into ice cube trays, fill with olive oil or water, and freeze. Once frozen, transfer the herb cubes to freezer bags. Pop one into soups, stews, or sauces for instant fresh flavor.
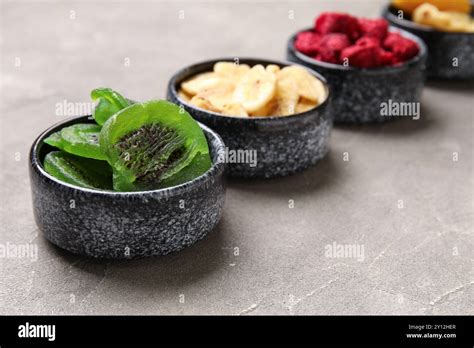
Dehydrating: Concentrating Flavors
Dehydration removes moisture from food, inhibiting spoilage and concentrating flavors. It’s energy-efficient and creates lightweight, space-saving storage. A food dehydrator is ideal, but a low oven setting can also work.
Practical Dehydrating Recipes:
1. Dried Apple Slices: Core and slice apples thinly (1/8 to 1/4 inch). You can briefly soak them in lemon water to prevent browning, though it’s optional. Arrange slices in a single layer on dehydrator trays or baking sheets. Dehydrate at 135°F (57°C) for 6-12 hours until leathery and pliable. These make a healthy, portable snack or can be rehydrated for pies and crumbles.
2. Homemade Sun-Dried Tomatoes: Slice ripe tomatoes (Roma or paste varieties work best) into 1/4-inch pieces. Arrange on dehydrator trays or a wire rack set over a baking sheet. Dehydrate at 135°F (57°C) for 8-16 hours until they are dry and leathery but still somewhat pliable. Store in airtight containers or packed in olive oil (if using oil, they are no longer shelf-stable and must be refrigerated). These intensify the tomato flavor, perfect for pasta, salads, and focaccia.
Fermentation: Probiotic Powerhouses
Fermentation is an ancient preservation method that uses beneficial bacteria to transform vegetables into tangy, probiotic-rich foods. It’s surprisingly simple to do at home.
Practical Fermentation Recipes:
1. Easy Sauerkraut: All you need is cabbage and salt! Shred cabbage finely and place it in a large bowl. Sprinkle with sea salt (about 2 tablespoons per 3 pounds of cabbage). Massage the salt into the cabbage for 5-10 minutes until it releases plenty of brine. Pack the cabbage tightly into a clean glass jar, pressing down until the brine covers the cabbage completely. Use a weight (like a smaller jar filled with water or a clean rock) to keep the cabbage submerged. Cover loosely and ferment at room temperature for 1-4 weeks, tasting periodically. Once it reaches your desired tanginess, refrigerate. Sauerkraut is fantastic with sausages, in sandwiches, or as a digestive aid.
2. Refrigerator Dill Pickles (No Canning Required): For quick gratification, make refrigerator pickles. Slice cucumbers and pack them into a jar with fresh dill, garlic, and optional spices (peppercorns, mustard seeds). Bring a brine of equal parts water and white vinegar with a tablespoon of pickling salt to a boil. Pour hot brine over cucumbers, seal, and let cool before refrigerating. They’ll be ready to eat in a few days and keep for several weeks in the fridge.
Tips for Preservation Success
- Start with Fresh, Quality Produce: The better the input, the better the preserved product.
- Cleanliness is Key: Sterilize jars and equipment thoroughly, especially for canning.
- Follow Recipes Precisely: Especially for canning, altering ingredient ratios (like acid levels) can compromise safety.
- Label and Date: Clearly label all preserved items with their contents and date of preservation for easy identification and rotation.
- Store Properly: Keep canned goods in a cool, dark place. Frozen foods in the freezer. Dehydrated items in airtight containers.
Embrace Your Inner Preserver
Preserving your garden’s bounty is a rewarding journey that connects you more deeply with your food and the seasons. Whether you’re a seasoned gardener or a beginner, these practical recipes offer accessible ways to transform your harvest into delicious, long-lasting provisions. Experiment with different methods, discover your favorites, and enjoy the delicious fruits (and vegetables!) of your labor all year long. Happy preserving!