

How to prevent soggy bottoms in homemade fruit pies using real country ingredients?
Conquering the Soggy Bottom: A Country Baker’s Guide
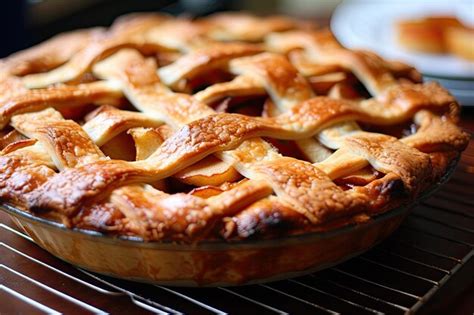
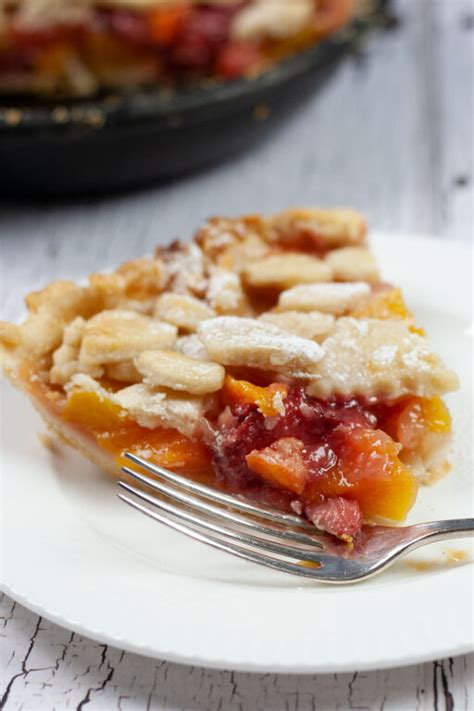
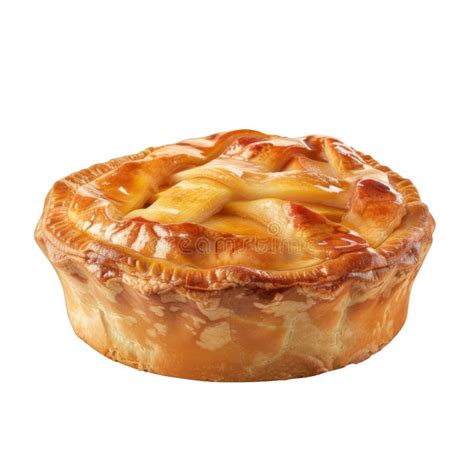
There’s nothing quite as disheartening as cutting into a beautiful homemade fruit pie, only to find the bottom crust a pale, gummy mess. The dreaded soggy bottom is a common woe for bakers, but fear not! With a little traditional wisdom and the right country ingredients, you can ensure your pies are flaky and golden all the way through.
Drawing on generations of farmhouse baking, we’ll explore methods that focus on natural absorption, proper crust development, and smart baking techniques. Say goodbye to watery fillings and hello to perfect pies!
The Foundation: A Robust Country Crust
1. The Right Fat for Flakiness
Forget the modern shortcuts; real country pie crust starts with the right fat. A blend of unsalted butter and leaf lard (or even high-quality vegetable shortening if lard isn’t available) creates an unparalleled tender, flaky texture that’s also remarkably resistant to moisture. Lard, in particular, offers a higher melting point, which means more steam release and less moisture saturation during baking.
2. Keep it Cold, Work it Fast
Whether using butter, lard, or a combination, ensure all fats and your water are ice-cold. Cold ingredients prevent the fat from melting too soon, creating those pockets of steam that result in a flaky crust. Work the dough just enough to bring it together, avoiding overmixing, which develops gluten and leads to a tough crust.
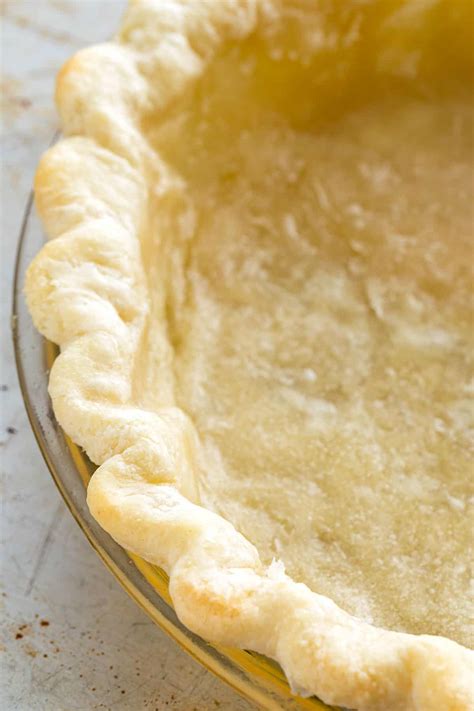
3. Blind Baking (Pre-baking) Your Crust
This is arguably the most crucial step for a crisp bottom. Blind baking partially or fully cooks the bottom crust before adding the filling. Line your pie dish with the rolled-out dough, crimp the edges, then prick the bottom generously with a fork (this is called docking). Line it with parchment paper and fill with pie weights, dried beans, or rice. Bake at a higher temperature (e.g., 400°F / 200°C) for 15-20 minutes, then remove weights and paper and continue baking for another 5-10 minutes until lightly golden.
Mastering the Filling: Moisture Management
1. Choose Your Fruit Wisely
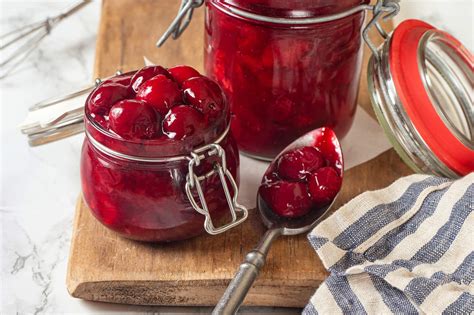
Use ripe but firm fruit. Overripe fruit releases more liquid. If your fruit is particularly juicy (like berries or peaches), consider gently macerating it with some sugar for 30 minutes, then draining off excess liquid before adding it to the pie shell.
2. The Power of Natural Thickeners
Country cooks rely on simple, effective thickeners:
- Flour or Cornstarch: These are reliable staples. For most fruit pies, a few tablespoons are sufficient. Cornstarch gives a clearer, glossier finish, while flour results in a cloudier, more opaque filling.
- Tapioca: Granulated or instant tapioca is a fantastic secret weapon. It absorbs moisture without becoming gummy and bakes clear. Allow the fruit and tapioca to sit for 15-30 minutes before baking to give the tapioca time to begin absorbing juices.
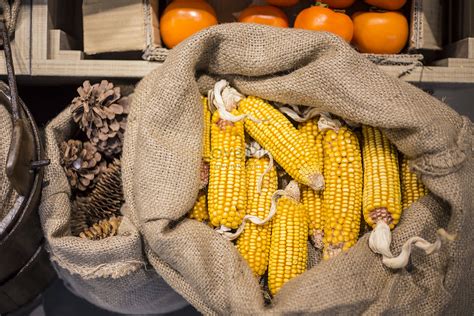
- Stale Breadcrumbs or Crushed Cereal: An old-fashioned, frugal trick! Sprinkle a thin layer of fine stale breadcrumbs, crushed oats, or cornflakes on the bottom of your unbaked pie crust before adding the fruit filling. These humble ingredients act as a sponge, soaking up excess juices released during baking.
Baking Smart: Heat, Time, and Position
1. Hot Oven, Hot Start
Always preheat your oven thoroughly. Starting your pie in a hot oven (e.g., 425°F / 220°C for the first 15-20 minutes) helps to set the bottom crust quickly before the fruit has a chance to release too much moisture. After the initial blast, reduce the temperature to 375°F / 190°C to finish baking.
2. The Bottom Rack Advantage
Place your pie on the lowest oven rack. This allows the bottom of the pie to receive more direct heat, promoting a crisper crust. If your bottom crust still struggles, some bakers place a preheated baking sheet or pizza stone on the bottom rack before placing the pie on it, providing an extra boost of direct heat.
3. Don’t Be Afraid to Bake Longer
Underbaked pies are a prime candidate for a soggy bottom. Bake until the crust is deeply golden brown and the filling is visibly bubbling thickly in the center. This indicates the starches have gelatinized and the fruit has cooked down sufficiently. If the top crust starts to brown too quickly, loosely tent it with aluminum foil.
The Crucial Final Step: Cooling Properly
Once your pie comes out of the oven, the temptation to slice into it immediately is strong, but resist! This is where many a perfectly baked pie falls victim to a soggy bottom. As the pie cools, the filling continues to thicken and set, and any remaining steam has a chance to dissipate without being trapped under the crust.
Allow your fruit pie to cool completely on a wire rack for at least 3-4 hours, or even longer for very juicy fillings. For best results, some pies (especially those with berry fillings) benefit from cooling overnight. Patience is a virtue, and in pie baking, it truly pays off with a perfectly set, deliciously flaky pie from top to bottom.