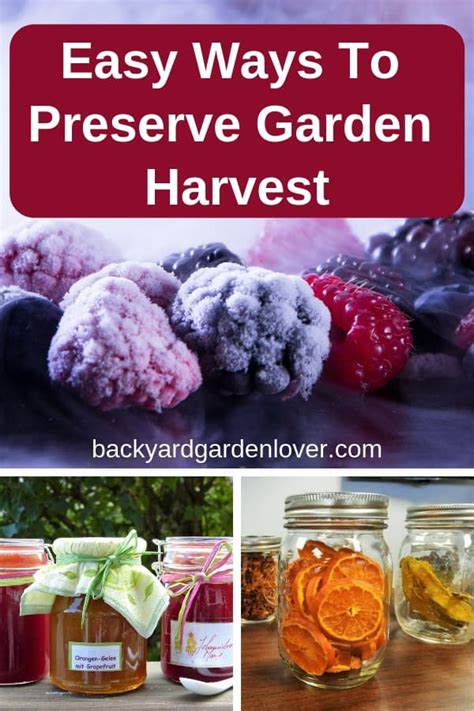


Simple canning tips for preserving your summer harvest of garden tomatoes?
Why Can Your Tomatoes?
There’s nothing quite like the taste of a fresh, ripe garden tomato. But when your plants are overflowing, what do you do with all that delicious bounty? Canning is a fantastic way to capture that summer flavor and enjoy it months later. From sauces to diced tomatoes, preserved tomatoes are a versatile pantry staple. It might seem daunting at first, but with a few simple tips, you’ll be canning like a pro in no time!
Gather Your Essentials: Equipment Checklist
Before you begin, ensure you have all the necessary equipment. Having everything ready will make the process smoother and safer.
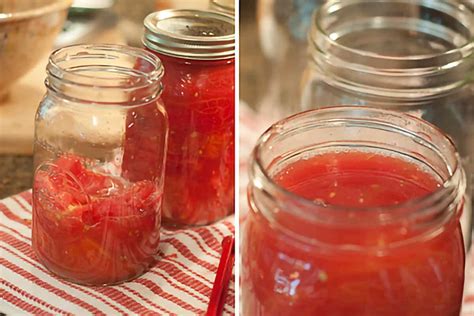
- Canning Jars: Mason jars with new lids and bands (lids are single-use, bands are reusable).
- Water Bath Canner: A large pot with a lid and a rack to keep jars off the bottom.
- Jar Lifter: Essential for safely placing and removing hot jars.
- Funnel: Helps prevent spills when filling jars.
- Bubble Remover/Headspace Tool: A non-metallic utensil to release air bubbles and measure headspace.
- Non-Reactive Pot: For cooking tomatoes (stainless steel is ideal).
- Basic Kitchen Tools: Knives, cutting board, large bowls, ladle, clean towels.
Step 1: Selecting and Preparing Your Tomatoes
Choose the Best Tomatoes
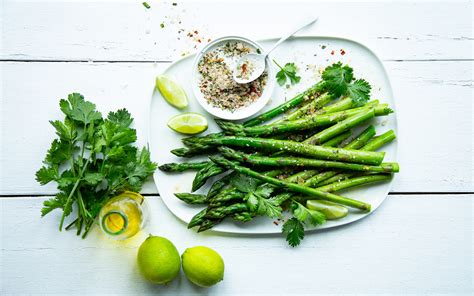
Quality in equals quality out! Select firm, ripe, unblemished tomatoes. Overripe or bruised tomatoes can affect the flavor and safety of your canned product. Roma or paste tomatoes are often preferred for canning due to their lower water content and meaty texture, but any flavorful tomato can work.
Washing and Peeling
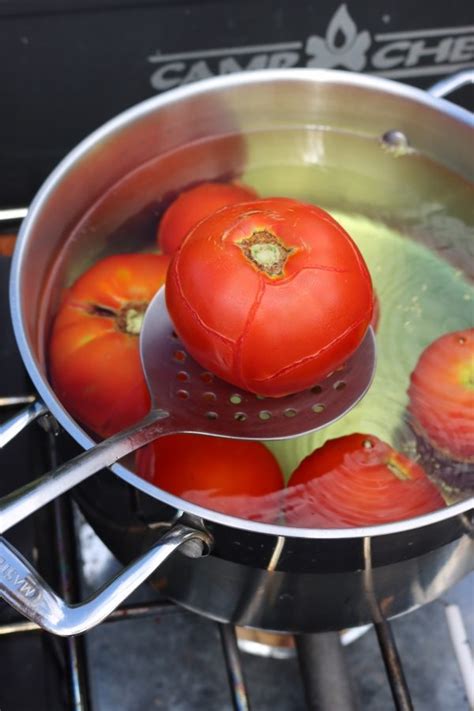
- Wash Thoroughly: Rinse tomatoes under cool running water to remove any dirt or debris.
- Blanch for Peeling: Cut a small ‘X’ on the bottom of each tomato. Briefly immerse them in boiling water for 30-60 seconds, then immediately transfer them to an ice bath. The skins should slip off easily.
- Core and Chop: Remove the core, and then chop or halve your tomatoes according to your recipe (e.g., diced, crushed).
Step 2: Acidification and Processing
Why Acid is Crucial
Tomatoes are a borderline acidic food, meaning their pH can vary. For safe water bath canning, it’s critical to add extra acid to ensure the pH is low enough to prevent the growth of harmful bacteria. Always add one of the following to each pint jar:
- 1 tablespoon bottled lemon juice
- 1/2 teaspoon citric acid
- 2 tablespoons bottled lemon juice (for quarts)
- 1 teaspoon citric acid (for quarts)
You can also add salt for flavor, but it’s optional and not for preservation.
Filling Jars and Headspace
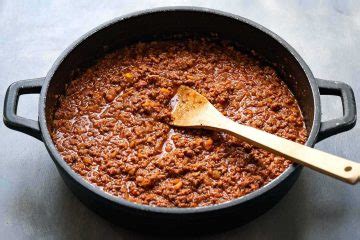
Carefully ladle your prepared tomatoes (hot pack is generally recommended for denser products and better quality) into hot, sterilized jars. Leave 1/2 inch of headspace (the space between the food and the rim of the jar). Remove any air bubbles by running a non-metallic spatula or bubble remover around the inside of the jar. Wipe jar rims clean with a damp cloth before placing on new, prepared lids and securing with bands to fingertip tightness.
Step 3: The Water Bath Canning Process
- Prepare Canner: Fill your water bath canner halfway with water and heat to a simmer (180°F/82°C).
- Load Jars: Using a jar lifter, carefully place filled jars onto the rack in the canner, ensuring they don’t touch each other.
- Add Water: Add more hot water if needed, ensuring the water level covers the tops of the jars by at least 1-2 inches.
- Boil and Process: Bring the water to a rolling boil. Once boiling, start your processing time according to a tested recipe for your specific tomato product and jar size. Adjust processing time for altitude if necessary.
- Cool Down: Once processing is complete, turn off the heat and let the jars sit in the canner for 5 minutes before carefully removing them with the jar lifter.
Step 4: Cooling, Sealing, and Storage
Place the hot jars on a clean towel on your counter, leaving space between them for air circulation. Do not disturb them for 12-24 hours. You’ll hear the satisfying *ping!* as the lids seal. After cooling, check for seals by pressing the center of the lid; it should not flex. If a lid hasn’t sealed, refrigerate and use within a week, or re-process with a new lid within 24 hours.
Once sealed, remove the bands (to prevent rust and allow for easier detection of spoilage), label jars with contents and date, and store in a cool, dark, dry place for up to 18 months. Enjoy your taste of summer all year long!