


Efficient canning methods for summer’s tomato abundance?
As summer peaks, so too does the garden’s generosity, often leaving us with an overwhelming abundance of ripe, juicy tomatoes. While fresh tomatoes are a delight, preserving this seasonal bounty ensures you can enjoy their vibrant flavor long after the growing season ends. Canning is a time-honored tradition for good reason, providing shelf-stable ingredients for countless meals. The key to tackling a large harvest efficiently lies in smart preparation and understanding the right methods.
Why Can Your Tomatoes?
Canning tomatoes is more than just a chore; it’s an investment in your pantry and a celebration of self-sufficiency. Store-bought canned tomatoes often contain added sugars, salts, and preservatives, whereas home-canned versions allow you to control every ingredient. From rich pasta sauces and hearty chilis to vibrant salsas and comforting soups, a well-stocked supply of home-canned tomatoes forms the foundation of countless delicious meals throughout the colder months.
Essential Preparations for Efficient Canning
Efficiency starts before you even blanch your first tomato. A well-organized workspace and proper tools can save significant time and frustration.
Gather Your Tools
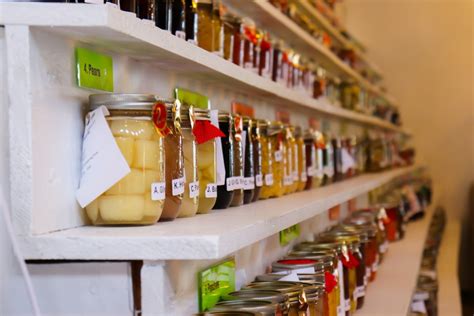
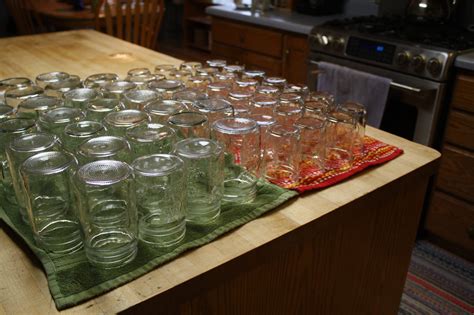
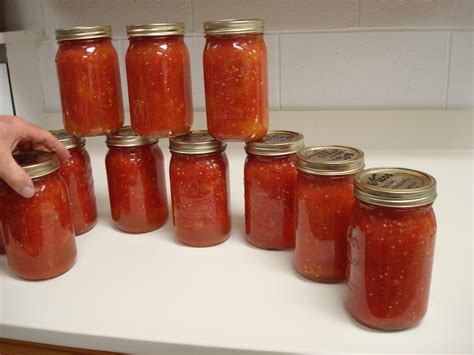
- Canning Jars: Sterilized, free from chips or cracks.
- New Lids and Rings: Lids are single-use; rings can be reused.
- Canner: A large stockpot for water bath canning or a pressure canner.
- Basic Canning Tools: Jar lifter, canning funnel, headspace tool, bubble remover.
- Large Pots: For blanching tomatoes and cooking sauces.
- Bowls: For ice water baths and collecting peeled tomatoes.
- Knives and Cutting Boards: Sharp tools speed up preparation.
Tomato Selection and Preparation
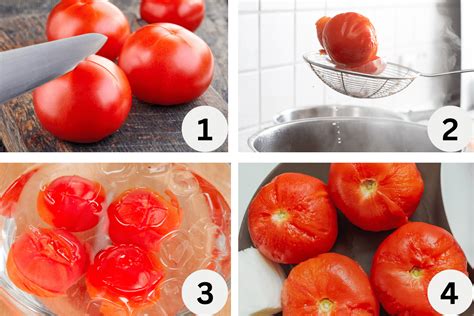
Choose firm, ripe tomatoes free of blemishes. Wash them thoroughly. The most time-consuming step is often peeling. An efficient way is to core the tomatoes, then score a shallow ‘X’ on the bottom. Blanch them in boiling water for 30-60 seconds until the skins start to split, then immediately transfer them to an ice bath. The skins will slip off easily, saving you precious time.
Method 1: Water Bath Canning for High-Acid Tomatoes
Water bath canning is suitable for high-acid foods like most tomatoes. However, due to variability in tomato acidity, it’s generally recommended to add acid (lemon juice or citric acid) to ensure safety, especially when canning whole, crushed, or diced tomatoes.
- Prepare Tomatoes: Peel, core, and chop or crush your tomatoes as desired.
- Add Acid: For pint jars, add 1 tablespoon of bottled lemon juice or 1/4 teaspoon of citric acid. For quart jars, double these amounts. You can also use 1/2 teaspoon of canning salt per pint/quart for flavor, if desired.
- Pack Jars: Hot pack (heating tomatoes first) or raw pack (packing raw tomatoes into hot jars) into clean, hot jars, leaving 1/2 inch of headspace.
- Remove Air Bubbles: Use a non-metallic utensil to remove air bubbles. Adjust headspace if necessary.
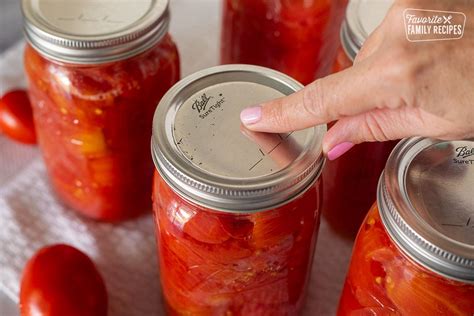
- Wipe Rims and Seal: Wipe jar rims clean, center new lids, and apply rings finger-tight.
- Process: Place jars in a boiling water canner, ensuring they are covered by at least 1 inch of water. Bring to a rolling boil and process according to recommended times for your recipe and altitude.

Method 2: Pressure Canning for Low-Acid or Mixed Products
Pressure canning is essential for low-acid foods, including purees, sauces with added low-acid vegetables (like onions or peppers), or any tomato product where you opt not to add acid for safety. This method reaches temperatures high enough to destroy harmful bacteria that thrive in low-acid environments.
- Prepare Tomatoes: Process tomatoes as needed for your specific recipe (e.g., pureeing for sauce). If canning whole tomatoes without added acid, pressure canning is required.
- Pack Jars: Fill clean, hot jars with your hot tomato product, leaving appropriate headspace (usually 1 inch for pressure canning).
- Remove Air Bubbles and Seal: Remove air bubbles, adjust headspace, wipe rims, and apply lids and rings finger-tight.
- Process: Place jars in the pressure canner with the recommended amount of water. Secure the lid, bring to a boil, and vent steam for 10 minutes. Place the weighted gauge or close the petcock. Bring pressure up to the recommended PSI for your altitude and process for the specified time.
- Cool Down: Allow the canner to cool naturally until the pressure gauge reads zero. Do not rush the cooling process.

Maximizing Efficiency: Tips for a Smooth Canning Day
- Batch Processing: Work in large batches. Peel and prep all tomatoes first, then move on to cooking and jarring.
- Assemble a Canning Station: Designate an area for prepping, another for filling jars, and one for the canner. This workflow minimizes movement.
- Work with a Partner: If possible, recruit help. One person can prep tomatoes while another fills jars, significantly speeding up the process.
- Prepare Ahead: Sterilize jars and gather all tools the day before.
Creative Ways to Preserve Your Tomato Abundance
Beyond basic crushed or diced tomatoes, consider these efficient uses for your harvest:
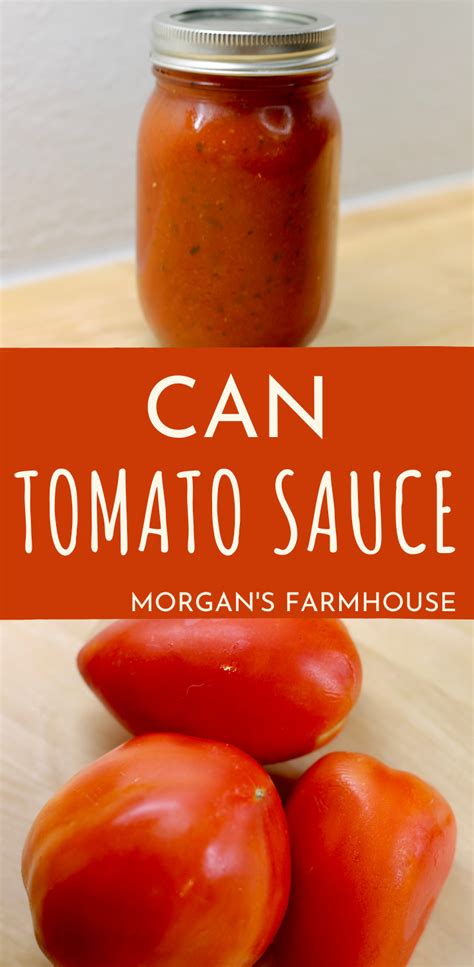
- Tomato Sauce/Puree: Cook down peeled and seeded tomatoes with herbs for a versatile base.
- Salsa: A fantastic way to preserve a mix of tomatoes, peppers, onions, and spices. Always follow tested, approved salsa canning recipes.
- Diced Tomatoes with Green Chilies: A Tex-Mex favorite, perfect for chilis and casseroles.
Safety First: Crucial Canning Reminders
Always prioritize safety. Use tested recipes from reliable sources (e.g., USDA, university extensions). Never alter ingredients or processing times. Ensure proper headspace and always check for a proper seal after jars have cooled for 12-24 hours. Any jar that hasn’t sealed should be reprocessed or refrigerated and used immediately.
With a little planning and the right techniques, you can efficiently transform your summer tomato glut into a year-round supply of wholesome, homemade goodness. Enjoy the fruits of your labor!