


Beginner steps for making homemade lye soap safely?

Embarking on the journey of homemade soap making can be a deeply satisfying experience, allowing you to create personalized, natural products for your skin. The core ingredient in traditional soap making is lye (sodium hydroxide), a powerful chemical that, when handled correctly, transforms oils into soap through a process called saponification. For beginners, the thought of working with lye can be daunting, but with the right knowledge and strict adherence to safety guidelines, you can safely create beautiful, effective soaps.
Understanding Lye and Why Safety is Paramount
Lye, or sodium hydroxide (NaOH), is a caustic chemical critical for true soap making. It reacts with fats and oils to create soap and glycerin. While essential, lye is also highly corrosive and can cause severe burns to skin and eyes, and damage to respiratory passages if inhaled. This is why safety is not just a suggestion, but an absolute necessity when preparing and working with a lye solution. Never attempt to make lye soap without proper safety measures in place.

Essential Safety Gear and Workspace Setup
Before you even think about measuring ingredients, prepare your workspace and don your protective gear. This step is non-negotiable for safe lye soap making:
- Eye Protection: Always wear safety goggles or glasses that fully enclose your eyes.
- Gloves: Heavy-duty rubber or nitrile gloves are crucial to protect your hands from splashes.
- Long Sleeves and Pants: Wear long-sleeved shirts and long pants to protect your skin from potential splashes.
- Closed-Toe Shoes: Protect your feet from spills.
- Ventilation: Work in a well-ventilated area, preferably outdoors, or near an open window with a fan. Avoid working in enclosed spaces.
- Clear Workspace: Ensure your work surface is clean, clear of clutter, and stable. Keep pets and children out of the area.
Gathering Your Tools and Ingredients
Having all your tools and ingredients ready before you start will make the process smoother and safer. You’ll need:
- Precision Scale: For accurate measurements of lye, water, and oils.
- Heat-Resistant Containers: Stainless steel or heavy-duty plastic (PP#5) for mixing lye solution and oils.
- Stick Blender: Essential for emulsifying the oils and lye solution quickly.
- Thermometers: Two are ideal – one for oils, one for lye solution.
- Spatulas and Whisks: Heat-resistant silicone or rubber.
- Soap Mold: Silicone or lined wooden molds.
- Distilled Water: Tap water can contain impurities that interfere with saponification.
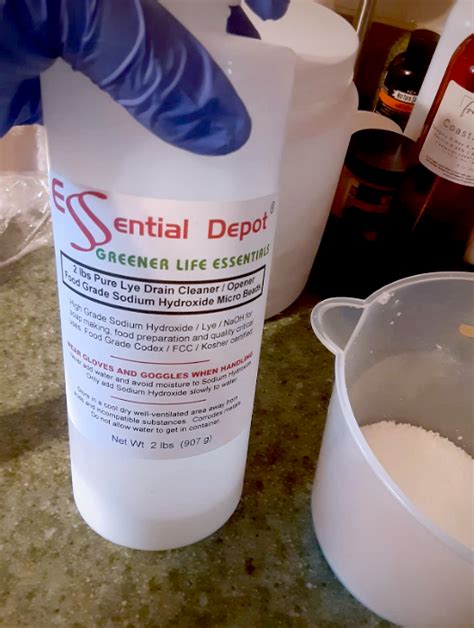
- Lye (Sodium Hydroxide): Always 100% pure, granular or flake form.
- Carrier Oils: Common beginner oils include olive oil, coconut oil, and palm oil (or alternatives like shea butter).
- Optional: Fragrance oils or essential oils, colorants.
Step-by-Step: Preparing the Lye Solution Safely
This is arguably the most critical step. Always remember: “Lye to water, not water to lye!”
- Measure Accurately: Using your precision scale, measure the exact amount of distilled water into a heat-resistant container. Then, carefully measure the exact amount of lye into a separate small container.
- Add Lye to Water: Slowly and carefully sprinkle the measured lye into the distilled water. Do not pour it all at once. Stir gently with a heat-resistant spatula until the lye dissolves completely.
- Ventilate: As the lye dissolves, it will generate heat and release fumes. Step back and avoid inhaling the fumes. Ensure your ventilation is working effectively. The solution will get very hot, sometimes exceeding 200°F (93°C).
- Cool Down: Allow the lye solution to cool down to your target temperature (typically between 100-120°F or 38-49°C, depending on your recipe). This can take 30-60 minutes.

Combining Oils and Lye: The Saponification Process
While your lye solution is cooling, prepare your oils:
- Melt Solid Oils: Measure all your oils. If your recipe includes solid oils (like coconut oil or shea butter), gently melt them in a separate heat-resistant pot until fully liquid.
- Combine Oils: Add any liquid oils to your melted solid oils.
- Achieve Target Temperatures: Monitor the temperatures of both your lye solution and your oil mixture. For most cold process recipes, you want both to be within 10 degrees Fahrenheit of each other, typically between 100-120°F (38-49°C).
- Careful Combination: Once both are at target temperatures, slowly pour the lye solution into the oils.
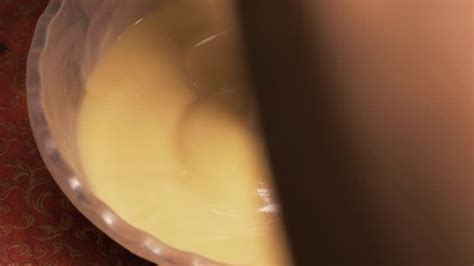
- Blend to Trace: Using your stick blender, pulse and stir the mixture. The mixture will begin to thicken and change consistency. “Trace” is when the mixture is thick enough to leave a temporary trail on the surface when you drizzle some of it back from the stick blender. This indicates saponification has begun. This can take anywhere from a few minutes to half an hour.
- Add Extras: At light trace, you can stir in fragrance oils, essential oils, or colorants if desired. Blend briefly to incorporate.
Pouring, Insulating, and Curing Your Soap
After reaching trace, the active work is mostly done, but the soap isn’t ready yet:
- Pour into Mold: Carefully pour the traced soap mixture into your prepared mold.
- Insulate (Optional but Recommended): Cover the mold with a lid or plastic wrap, then wrap it in towels or a blanket. This helps retain heat, promoting a process called the ‘gel phase,’ which can result in harder, longer-lasting soap with more vibrant colors.
- Wait 24-48 Hours: Leave the soap undisturbed for 24-48 hours. During this time, the saponification process continues.
- Unmold and Cut: After 24-48 hours, the soap should be firm enough to unmold. Carefully remove it from the mold and cut it into bars if necessary.
- Cure: Arrange the cut soap bars on a curing rack or a breathable surface in a well-ventilated area, away from direct sunlight. Allow them to cure for 4-6 weeks. Curing allows excess water to evaporate, making the soap harder, milder, and longer-lasting.
Enjoying Your Homemade Soap
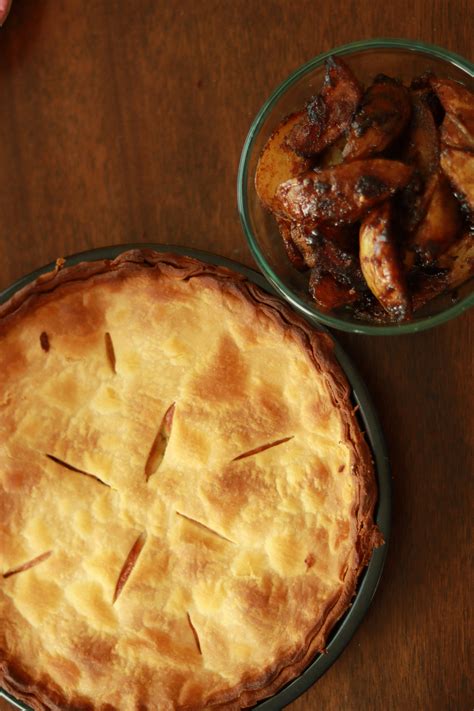
Once your soap has fully cured, it’s ready to use! You’ve successfully transformed simple ingredients into a beautiful, functional product through a precise and safe process. Always remember that safety is paramount in every step of lye soap making. With practice and caution, you’ll soon be creating a variety of custom soaps for yourself, your family, or as thoughtful gifts.


