


Best DIY compost for robust organic garden soil?

Creating your own nutrient-rich compost is perhaps the most impactful step you can take towards cultivating a truly robust and organic garden. More than just a soil amendment, homemade compost is a living ecosystem that revitalizes the earth, feeding plants naturally and sustainably. Say goodbye to synthetic fertilizers and hello to a thriving garden nurtured by your own efforts.
The Undeniable Magic of Homemade Compost
Compost acts as a multi-vitamin for your soil, offering a plethora of benefits that store-bought amendments struggle to match. It dramatically improves soil structure, transforming heavy clay into workable loam and binding sandy soils to retain moisture. This ‘black gold’ introduces a diverse array of beneficial microorganisms, which break down nutrients into forms readily available for plant uptake, bolstering plant immunity and root development.
Furthermore, compost enhances water retention, reducing the need for frequent irrigation, and helps buffer soil pH, making it more hospitable for a wider range of plants. It’s the ultimate foundation for a healthy, productive organic garden.

Essential Ingredients: The Greens and Browns Balance
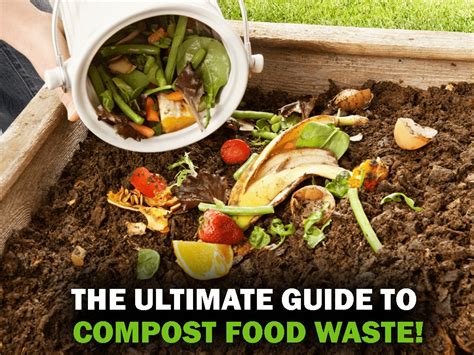
The secret to successful composting lies in balancing ‘greens’ and ‘browns.’ Greens are rich in nitrogen and include fresh plant material like kitchen scraps (fruit and vegetable peels, coffee grounds, tea bags), grass clippings, and fresh manure. Browns, on the other hand, are carbon-rich and consist of dry leaves, shredded newspaper, cardboard, wood chips, and straw.
Aim for a ratio of roughly two to three parts browns to one part greens. This balance is crucial for microorganisms to efficiently decompose the material without creating foul odors or slowing down the process. Avoid adding meat, dairy, oily foods, diseased plants, or pet waste, as these can attract pests and introduce pathogens.
Choosing Your Composting Method
There are several DIY composting methods, each suited to different space constraints and effort levels:
- Cold Composting: This is the simplest method, involving simply piling up organic materials and letting nature take its course. It’s slow but requires minimal effort.
- Hot Composting: For faster results, hot composting involves actively managing the pile by turning it regularly and maintaining a good balance of greens, browns, moisture, and aeration. This method generates heat, which speeds decomposition and kills weed seeds and pathogens.
- Vermicomposting (Worm Composting): Ideal for smaller spaces or indoor use, vermicomposting utilizes red wiggler worms to break down food scraps into nutrient-rich worm castings.
Select the method that best aligns with your available space, time commitment, and desired speed of decomposition.

Building and Maintaining Your Compost Pile
Regardless of the method, proper layering and maintenance are key. Start with a base of coarse browns for drainage and airflow. Then, alternate layers of greens and browns, making sure to moisten each layer as you build. The pile should be consistently damp, like a wrung-out sponge – too dry and decomposition slows, too wet and it can become anaerobic and smelly.
Regular turning (for hot composting) introduces oxygen, crucial for aerobic bacteria, and helps distribute moisture and heat evenly. For cold piles, occasional turning is still beneficial. Observe your pile: a healthy compost pile should have an earthy smell and gradually reduce in volume.

Troubleshooting Common Composting Problems
Don’t be discouraged by minor setbacks. If your compost smells foul, it’s likely too wet or has too many greens; add more browns and turn it. If decomposition is slow, check moisture levels and ensure a good greens-to-browns ratio. Pests can be deterred by burying food scraps deeply within the pile and ensuring your compost bin is covered.
Harvesting and Using Your Finished Compost
Your compost is ready when it’s dark brown, crumbly, has an earthy smell, and you can no longer identify the original materials. This process can take anywhere from a few weeks (hot composting) to several months (cold composting).
Finished compost can be used in numerous ways: spread a 1-2 inch layer over garden beds and gently work it into the topsoil; use it to top-dress existing plants; mix it with potting soil for containers; or even brew compost tea for a liquid nutrient boost. Its consistent use will dramatically improve your garden’s vitality and yield.

Conclusion
Embracing DIY composting is a powerful step towards sustainable living and a flourishing organic garden. By transforming everyday waste into a valuable resource, you’re not only enriching your soil but also reducing landfill waste and fostering a healthier environment. Start your composting journey today and witness the incredible transformation of your garden soil into a vibrant, life-giving foundation.


