


Best DIY method for building a raised garden bed with reclaimed wood?
Why Choose Reclaimed Wood for Your Raised Garden Bed?
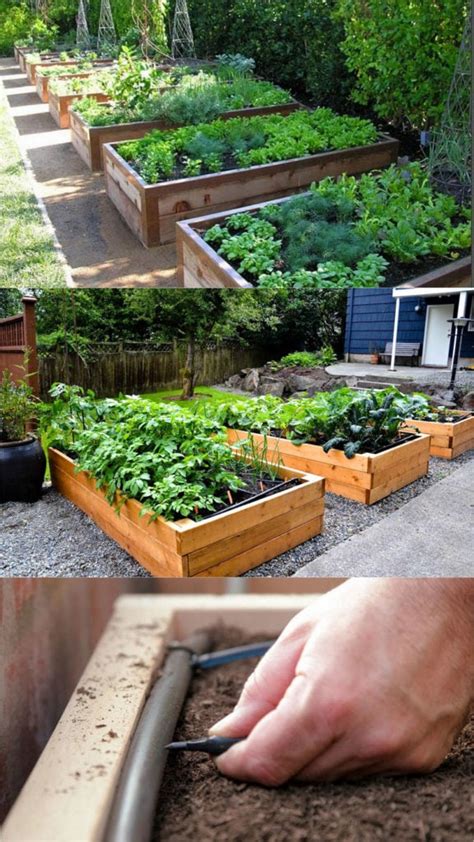
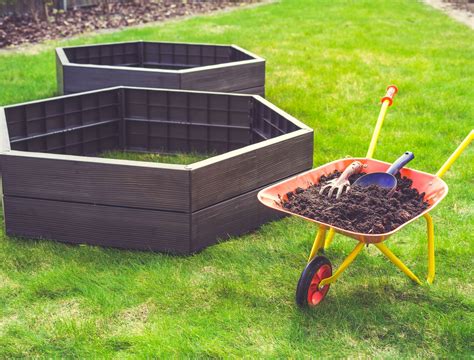
Building a raised garden bed offers numerous benefits, from better drainage and soil control to easier access for planting and harvesting. Opting for reclaimed wood not only makes your project more sustainable and eco-friendly but can also add unique character and charm to your garden space. It’s a cost-effective solution that diverts usable materials from landfills, giving them a second life in your green sanctuary.
However, working with reclaimed wood requires careful selection and preparation to ensure the longevity and safety of your garden bed. This guide outlines a robust method for constructing a sturdy and beautiful raised garden bed using repurposed materials.
Step 1: Planning and Design
Before gathering materials, determine the ideal size and location for your raised bed. Consider the amount of sunlight the area receives, the type of plants you intend to grow, and how much space you have available. Common dimensions are 4×8 feet or 4×4 feet, offering easy reach to the center from all sides. Sketch out your design, including the desired height (typically 10-18 inches), which will help you calculate the amount of wood needed.
Step 2: Sourcing and Preparing Reclaimed Wood
Sourcing: Look for reclaimed wood from old fences, pallets (ensure they are ‘HT’ heat-treated, not ‘MB’ methyl bromide treated), barn wood, or construction sites. Avoid pressure-treated wood made before 2003, as it may contain harmful chemicals (CCA) that can leach into your soil. Also, inspect wood for excessive rot or insect damage.
Preparation:
- Cleaning: Brush off dirt, loose paint, and debris. A power washer can be effective for stubborn grime.
- Inspecting for hardware: Use a metal detector to find and remove any hidden nails, screws, or staples. This is crucial for safety and to protect your tools.
- Cutting and dimensioning: Cut your wood to the planned lengths for the sides and ends of your bed. If using thinner planks, you might need to stack and secure multiple layers to achieve the desired height.
Step 3: Assembling the Frame
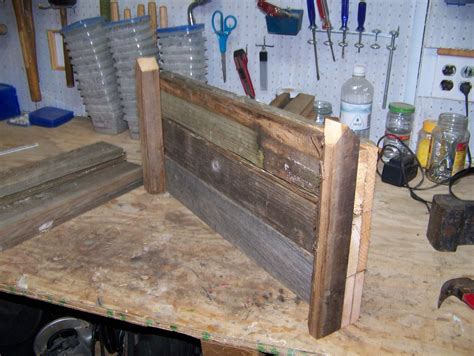
There are several methods for joining the corners of your raised bed, with varying levels of complexity and durability. For reclaimed wood, a simple and strong method is to use corner posts or robust external brackets.
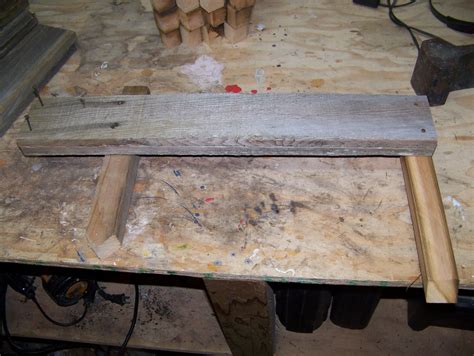
Method: Corner Posts for Maximum Strength
- Cut Corner Posts: Cut four vertical corner posts from durable wood (e.g., 2x4s or 4x4s) to the exact height of your raised bed. These posts will be installed on the inside corners.
- Pre-drill and Secure: Position the first side panel against two corner posts. Pre-drill pilot holes to prevent splitting the wood, especially important with older, drier reclaimed wood. Use exterior-grade screws (e.g., 3-inch deck screws) to secure the side panel to the posts. Use at least two screws per board per post.
- Build the Rectangle: Repeat this process for the remaining panels, attaching them to the corner posts to form a sturdy rectangle. Ensure all corners are square using a carpenter’s square before fully tightening screws.
- Reinforcement (Optional): For very long beds or taller designs, consider adding a cross brace in the middle to prevent bowing.
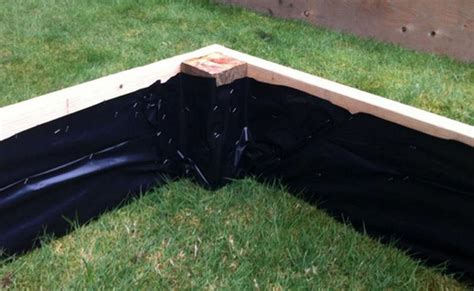
Step 4: Lining and Drainage
Once the frame is assembled, consider adding a liner. While not strictly necessary, a liner can help extend the life of your wood by preventing direct contact with moist soil. Options include:
- Landscape fabric: Allows water drainage while keeping soil contained. Staple it to the inside walls of the bed.
- Cardboard: Place a layer of cardboard at the bottom of the bed to suppress weeds and break down over time, enriching the soil.
Ensure good drainage by preparing the ground beneath the bed. If your soil is heavy clay, consider adding a layer of gravel or sand before placing the bed.
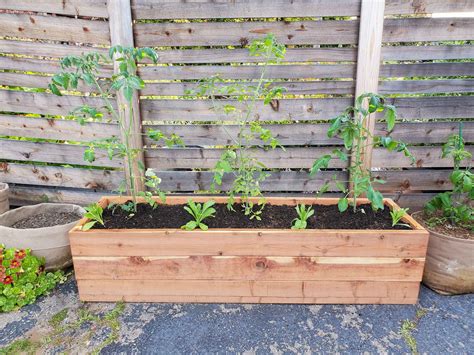
Step 5: Filling and Planting
With your raised bed constructed and lined, it’s time to fill it with nutrient-rich soil. A common and effective method is the ‘lasagna garden’ approach:
- Bottom layer: Logs, branches, or coarse woody debris (Hügelkultur principle).
- Middle layers: Leaves, grass clippings, compost, straw, aged manure.
- Top layer: High-quality potting mix or garden soil blend for planting.
This layered approach improves drainage, retains moisture, and provides a slow-release source of nutrients as the organic matter breaks down. Once filled, your reclaimed wood raised garden bed is ready for planting!
Maintaining Your Reclaimed Wood Bed
To maximize the lifespan of your reclaimed wood raised bed, consider these tips:
- External sealing: While not essential, applying an exterior, non-toxic wood sealer (e.g., tung oil, linseed oil) to the outside of the bed can protect it from weather elements. Avoid treatments that might leach chemicals into the soil.
- Regular inspection: Periodically check for loose screws, rot, or insect activity and address them promptly.
- Watering practices: Water your plants directly, trying to minimize constant saturation of the wood walls.
Building a raised garden bed with reclaimed wood is a rewarding project that combines sustainability with functionality. By following these steps, you can create a durable and beautiful focal point for your garden that will provide years of bountiful harvests.
