


Best DIY raised garden bed plans for beginner homesteaders on a budget?
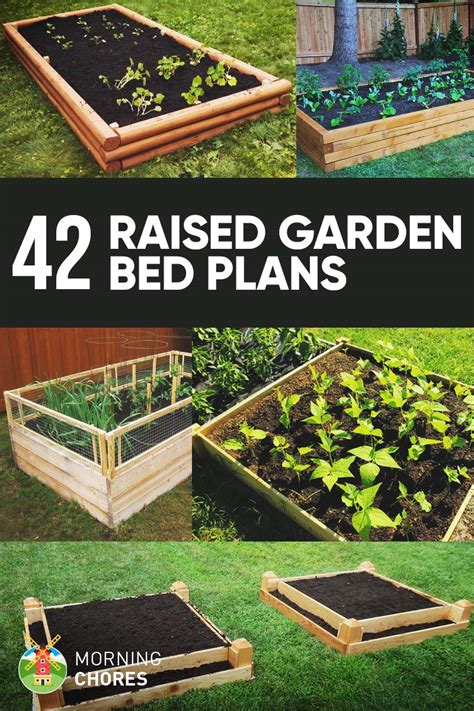
Why Raised Garden Beds Are Perfect for Beginners on a Budget
Starting a garden as a beginner homesteader can feel overwhelming, especially when you’re trying to stick to a tight budget. Raised garden beds offer an excellent solution, providing better drainage, easier soil management, and a defined growing space that simplifies the gardening process. They can extend your growing season and make weeding less of a chore. The good news is, you don’t need expensive kits or fancy lumber to build an effective raised bed. With a little creativity and some elbow grease, you can create a thriving garden spot that won’t drain your wallet.
Top Budget-Friendly DIY Raised Bed Plans
Here are some of the most accessible and cost-effective DIY raised garden bed plans, ideal for those just starting out.
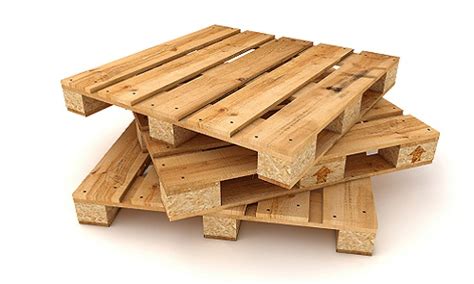
1. Repurposed Pallet Wood Raised Beds
Pallets are often available for free from local businesses, making them a fantastic resource for budget-conscious homesteaders. Look for ‘HT’ (heat-treated) stamps rather than ‘MB’ (methyl bromide) to ensure they’re safe for gardening. Disassembling pallets can be the most labor-intensive part, but once you have the individual planks, they can be easily screwed or nailed together to form a sturdy bed.
- Pros: Often free, readily available, relatively easy to work with once disassembled.
- Cons: Disassembly can be tough, need to ensure pallets are safe (HT stamp), wood may not last as long as treated lumber.
2. Cinder Block Garden Beds
Cinder blocks (or concrete blocks) are another excellent option for creating durable and long-lasting raised beds. They are relatively inexpensive to purchase new, but you might find them used for even less. Simply stack them in the desired shape (rectangle, square, L-shape) without mortar for an easy, no-tools-required assembly. The hollow cores can even be filled with soil and planted with herbs or small flowers.
- Pros: Extremely durable, easy to assemble (no tools needed), neat appearance, can be repurposed easily.
- Cons: Heavy to transport, can retain heat (potentially drying out soil faster in hot climates), may leach some lime into the soil (though generally considered safe).

3. Salvaged or Scrap Lumber Beds
Before buying new lumber, check local construction sites (with permission), classifieds, or even neighborhood clean-up days for scrap wood. Old fence pickets, decking, or even treated timbers from demolition projects can be repurposed into a functional raised bed. Be mindful of any paint or chemicals on the wood; untreated or naturally rot-resistant wood is ideal.
- Pros: Can be very low cost or free, allows for custom sizes, good use of salvaged materials.
- Cons: Requires basic carpentry skills and tools, wood quality can vary, longevity depends on wood type.
4. Woven Wattle or Branch Beds
For a truly natural and incredibly inexpensive option, consider a woven wattle raised bed. This involves driving stakes into the ground and then weaving flexible branches (like willow, hazel, or even garden trimmings) between them to create the walls of your bed. This method works best for shorter beds and adds a rustic charm to your homestead.
- Pros: Virtually free if you have access to natural materials, eco-friendly, adds unique aesthetic appeal.
- Cons: More labor-intensive to construct, may not last as long as wood or stone, requires flexible branches.

5. Straw Bale Gardening (Alternative Method)
While not a traditional raised bed, straw bale gardening offers a similar benefit of elevated growing space and excellent drainage. You condition the straw bales with water and fertilizer for a couple of weeks, and then plant directly into the decomposing straw. The bales eventually break down, enriching your soil.
- Pros: No construction needed, excellent drainage, warms up quickly, eventually turns into compost.
- Cons: Bales can be expensive, requires initial conditioning, needs consistent watering.
Essential Tips for Budget Raised Beds
- Source Materials Wisely: Always ask around! Local sawmills, construction companies, or even friends might have free or cheap materials. Check online marketplaces for used items.
- Fill Layers: Don’t fill your entire bed with expensive bagged soil. Use the ‘Hugelkultur’ method by layering branches, logs, leaves, grass clippings, and compost at the bottom, topped with good quality topsoil. This reduces costs and improves drainage and fertility over time.
- Start Small: Begin with one or two manageable raised beds. This allows you to learn and refine your techniques without getting overwhelmed or overspending.
- Plan Your Layout: Maximize your growing space by planning what you’ll plant before you build. Consider sunlight, water access, and companion planting.

Building your own raised garden beds doesn’t have to be an intimidating or costly endeavor. By utilizing recycled materials and smart gardening techniques, beginner homesteaders can create productive and beautiful growing spaces on a budget. Embrace the DIY spirit, start small, and enjoy the fruits (and vegetables!) of your labor!


