


Best DIY root cellar design for storing homegrown veggies without electricity?
Embrace Sustainable Storage: Why a Root Cellar?
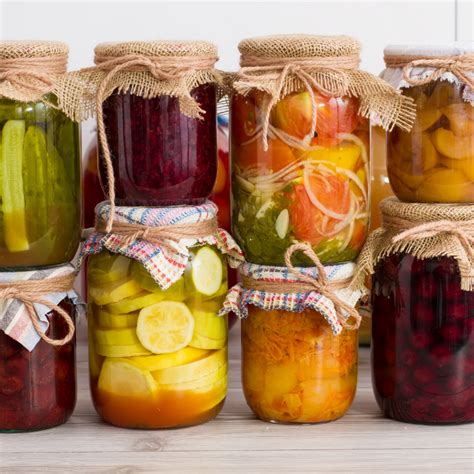
For centuries, root cellars have been the gold standard for preserving harvests, long before the advent of refrigeration. Today, with a growing interest in self-sufficiency and sustainable living, building a DIY root cellar offers an excellent, electricity-free solution for storing your homegrown vegetables. This guide explores the best designs and essential considerations to help you create an effective, natural cold storage system.
Understanding the Core Principles of a Root Cellar
A successful root cellar mimics natural cave conditions, providing a cool, dark, and humid environment that slows the respiration and decay of produce. The key elements are:
- Cool Temperature: Ideally between 35-50°F (2-10°C).
- High Humidity: 85-95% humidity prevents produce from drying out.
- Darkness: Prevents sprouting and maintains quality.
- Ventilation: Fresh air circulation prevents the buildup of ethylene gas (which can accelerate ripening and spoilage) and keeps the air fresh.
Choosing Your DIY Root Cellar Design
There’s a root cellar design for almost every budget and backyard. Consider your space, soil type, and the amount of produce you wish to store.
1. The Simple Pit or Trench Cellar
This is the most basic and oldest method. It involves digging a trench or pit, lining it with straw or leaves, placing your produce, and then covering it with more insulation and soil. It’s temporary but effective for a season, especially for root crops like carrots and potatoes. Ideal for smaller harvests or temporary storage.
2. Buried Container Cellar (Trash Can or Barrel)
A step up from a simple pit, this design uses a sturdy, food-grade plastic barrel or galvanized trash can buried mostly or entirely underground. Cut drainage holes in the bottom, add a layer of gravel, and then line with straw. Fill with produce, cover with insulation, and top with a lid. A small vent pipe can be added for air circulation.
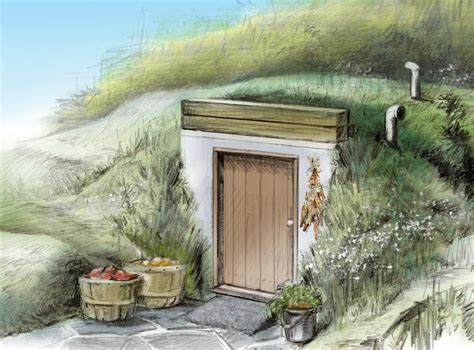
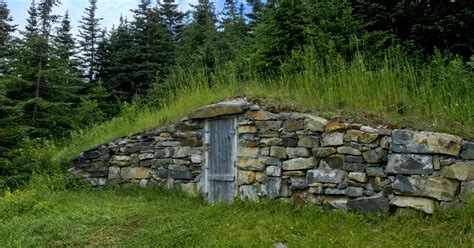
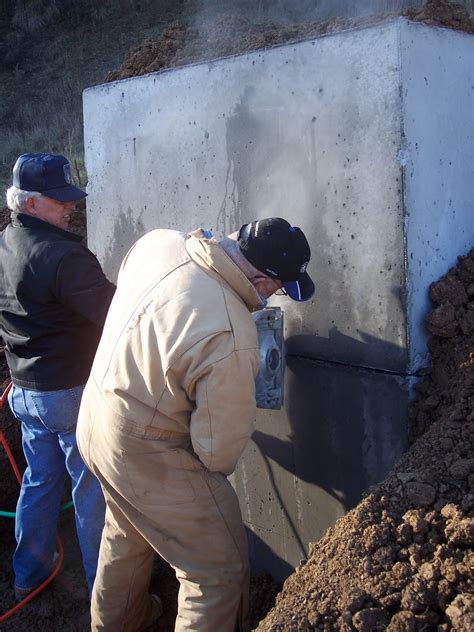
3. Earth-Bermed or Mound Cellar
This design involves building a small structure (e.g., from cinder blocks or wood) and then mounding soil over and around it to provide natural insulation. Often built into a hillside, these cellars can be walk-in or accessible via a hatch. They offer excellent temperature stability due to the insulating properties of the earth.
4. Utilizing an Existing Structure (Basement, Crawl Space)
If you have an unused corner of a basement, a cool crawl space, or even an old well house, you can convert it into a root cellar. The key is to insulate it from the rest of the house, provide ventilation, and manage humidity. A simple partition wall and an external vent can transform a suitable space.
Essential Design Considerations for Any Root Cellar
Location, Location, Location
Choose a shady spot, preferably on the north side of a building or under large trees. Ensure good drainage; avoid areas prone to standing water or high water tables. The soil type also matters – well-draining soil is ideal.
Ventilation is Key
Proper airflow is critical to prevent stale air, mold, and ethylene buildup. Most designs require two vents: an intake pipe near the floor and an exhaust pipe near the ceiling. Both should be screened to keep pests out and have caps to prevent rain entry.
Temperature and Humidity Control
The earth itself provides significant insulation. For above-ground sections, consider using straw bales, thick walls, or rigid foam insulation. For humidity, a dirt floor helps naturally. If your cellar has a concrete floor, a layer of damp sand or gravel can maintain moisture.
Drainage
Preventing water accumulation is paramount. Ensure your cellar is built on a slight rise or has a French drain around it. For in-ground structures, consider a gravel base to promote drainage away from the storage area.
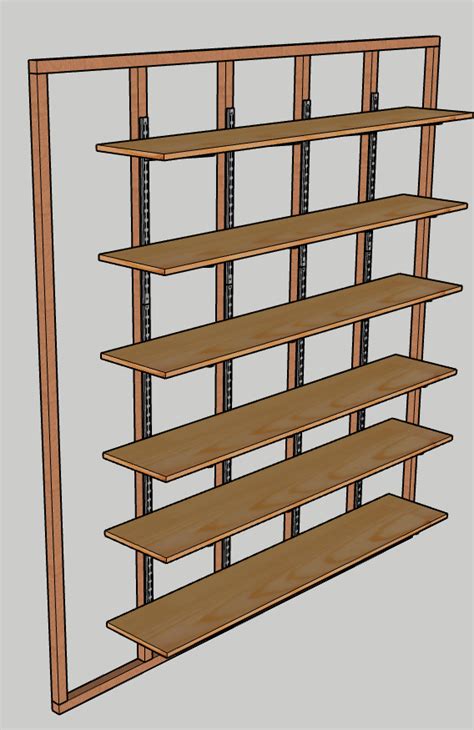
Shelving and Storage
Use sturdy, rot-resistant materials like cedar, treated lumber, or heavy-duty plastic shelving. Design shelves to allow air circulation around produce. Bins or crates are excellent for storing root vegetables in sand or sawdust.
Best Vegetables for Root Cellaring
Not all vegetables are suited for root cellaring. Those that thrive typically have thick skins and low moisture content. Excellent candidates include:
- Root Vegetables: Potatoes, carrots, beets, turnips, parsnips, rutabagas.
- Squash & Pumpkins: Winter squash varieties (butternut, acorn, spaghetti), pumpkins.
- Cabbage & Celery: Can be stored for shorter periods.
- Apples: Store separately, as they release ethylene gas.
Maintaining Your Root Cellar
Once built, a root cellar requires minimal maintenance. Monitor temperature and humidity regularly, especially during seasonal changes. Inspect produce periodically and remove any spoiled items to prevent decay from spreading. Clean the cellar thoroughly once a year, preferably before the new harvest.
Conclusion
Building a DIY root cellar is a rewarding project that reconnects you with traditional food preservation methods. It’s an empowering step towards greater self-sufficiency, ensuring your homegrown bounty can be enjoyed long after the growing season has ended, all without drawing a single watt of electricity. Choose the design that best fits your needs, pay attention to the fundamental principles of cooling, humidity, and ventilation, and you’ll soon be enjoying fresh produce through the winter months.
