


Best DIY steps for winterizing a small chicken coop to protect hens from cold?

Prepare Your Coop for Winter’s Chill
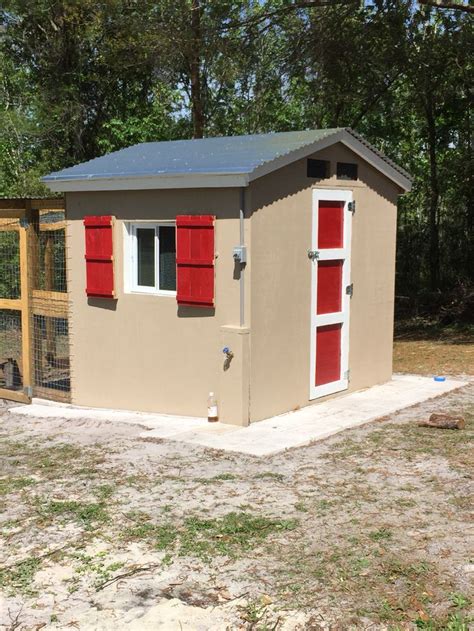
As temperatures drop, ensuring your feathered friends are protected from the cold is paramount. A well-winterized chicken coop can make all the difference in the health and happiness of your flock. Unlike larger structures, a small coop requires focused attention on key areas to maximize warmth without compromising air quality. These DIY steps will guide you through the process of creating a cozy, safe haven for your hens all winter long.
Step 1: Inspect and Seal Your Coop Thoroughly
Before you add any new materials, conduct a thorough inspection of your existing coop. Look for any cracks, gaps, or holes in the walls, floor, and roof. Even tiny openings can let in drafts that drastically lower the interior temperature. Use caulk, weatherstripping, or scraps of wood to seal these gaps. Pay close attention to windows, doors, and any areas where different materials meet. A draft-free coop is the first line of defense against the cold.
Step 2: Insulate Walls, Ceiling, and Floor
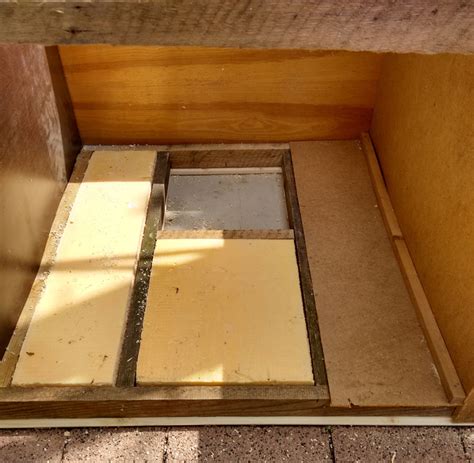
Insulation is key to retaining warmth. For a small coop, you have several DIY-friendly options. Consider attaching rigid foam insulation boards to the interior walls and ceiling. These are easy to cut and install. Alternatively, you can pack straw bales around the exterior base of the coop for temporary, effective insulation against ground cold. For the floor, a thick layer of bedding (discussed in a later step) will provide substantial insulation from below. Always ensure any insulation material is covered or inaccessible to hens to prevent pecking and ingestion.
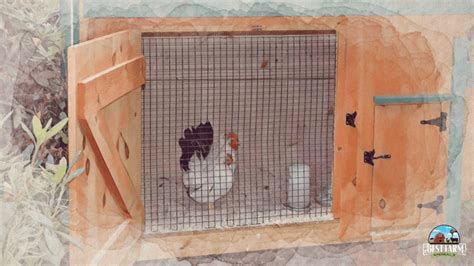
Step 3: Master the Art of Draft-Proofing vs. Ventilation
While sealing drafts is vital, proper ventilation is equally critical to prevent moisture buildup and ammonia fumes, which can cause respiratory issues for your hens. The goal is to eliminate drafts at hen level while maintaining airflow at the top of the coop. Ensure you have vents located high up near the roofline that remain open to allow stale, moist air to escape. These high vents prevent drafts directly on the hens while still providing essential air exchange. Never seal your coop airtight.
Step 4: Optimize Roosting and Bedding for Warmth
Hens naturally huddle together for warmth, especially when roosting. Ensure your roosting bars are high enough off the floor (at least 2-3 feet) to escape ground chill and drafts, and wide enough for hens to comfortably perch with their feet covered by their feathers. Implement the deep litter method by building up a thick layer (6-12 inches) of pine shavings or straw on the coop floor. This decomposition process generates a small amount of heat and provides excellent insulation.
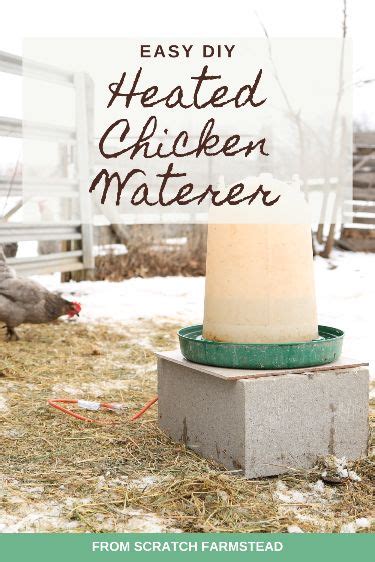
Step 5: Winter Water and Feed Management
Keeping water from freezing is a daily challenge in winter. Consider investing in a heated pet bowl or a DIY solution like placing a warm brick under the waterer (check frequently). Another trick is to offer water several times a day, bringing it inside at night. Hens also burn more calories to stay warm, so ensure they have constant access to high-quality feed. You can offer scratch grains in the afternoon to provide extra energy for overnight warmth, but only as a treat, not a replacement for their regular feed.
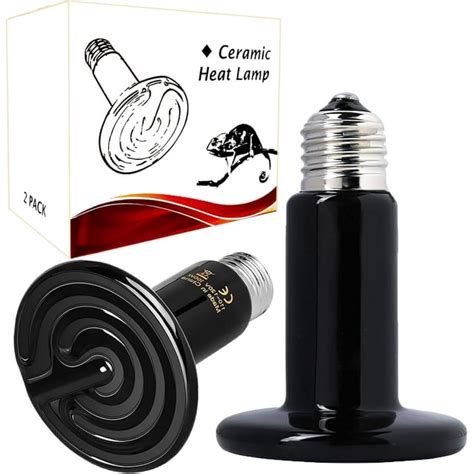
Step 6: Consider Supplemental Heat (With Caution)
For most healthy, cold-hardy breeds, supplemental heat is unnecessary and can even be dangerous if not managed properly. If you do opt for a heat source in extreme conditions, prioritize safety. Use a ceramic heat emitter (no light) or a ‘sweeter heater’ designed specifically for coops, installed securely and away from flammable materials. Never use household heat lamps or space heaters, which pose a significant fire risk. Always ensure your electrical setup is safe and weatherproofed.
Final Thoughts on Winterizing Your Small Coop
By following these DIY steps, you can create a winter-ready chicken coop that keeps your hens healthy, comfortable, and productive through the coldest months. Regularly check on your flock, especially during severe weather, to ensure their environment remains optimal. A little preparation goes a long way in ensuring your backyard flock thrives year-round.
