Best homemade compost recipe for nutrient-rich organic garden soil?

Why Homemade Compost is a Garden Game-Changer
Creating your own compost is one of the most rewarding and effective ways to boost your garden’s health. It’s an eco-friendly process that recycles organic waste, reduces landfill burden, and, most importantly, produces a rich, dark, crumbly soil amendment packed with essential nutrients and beneficial microorganisms. This ‘black gold’ improves soil structure, water retention, and aeration, leading to healthier plants and more vibrant yields without the need for synthetic fertilizers.
Understanding the Core Components: Greens and Browns
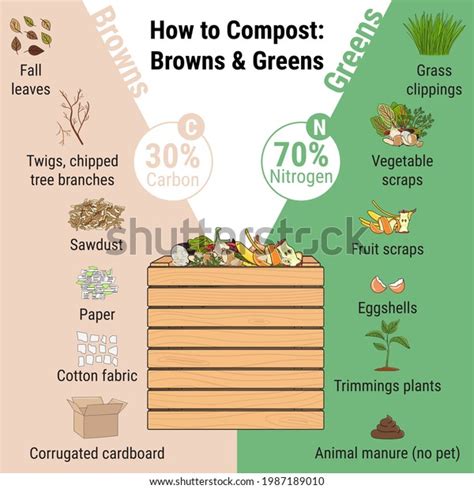
The secret to successful composting lies in balancing ‘greens’ and ‘browns’. These two categories provide the necessary carbon and nitrogen ratios that microorganisms need to break down organic matter efficiently. A good rule of thumb is to aim for a 2:1 or 3:1 ratio of browns to greens by volume, though exact measurements aren’t critical – composting is more art than science.
- Greens (Nitrogen-rich): These materials are typically fresh, moist, and provide the nitrogen necessary for microbial growth. Examples include fruit and vegetable scraps, coffee grounds, tea bags, grass clippings, and fresh plant trimmings.
- Browns (Carbon-rich): These are dry, woody materials that provide carbon and structure to the pile, preventing it from becoming a slimy, anaerobic mess. Examples include dried leaves, straw, wood chips, shredded newspaper, cardboard, and sawdust.
Essential Ingredients for Your Nutrient-Rich Compost
To create the best compost, you’ll need a mix of materials from both categories. Here’s an ideal ‘recipe’ for a balanced and productive compost pile:
Greens:
- Kitchen scraps (fruit and vegetable peels, cores, wilted produce)
- Coffee grounds and filters, tea bags
- Fresh grass clippings (in thin layers to prevent matting)
- Garden waste (spent flowers, soft plant stems, weeds without seeds)
Browns:
- Dried leaves (oak, maple, etc.)
- Shredded newspaper or cardboard (non-glossy, non-colored)
- Straw or hay (avoiding hay treated with persistent herbicides)
- Small wood chips or sawdust (use sparingly, as they decompose slowly)
Avoid: Meat, dairy products, oily foods (attract pests), diseased plants, pet waste, and chemically treated materials.
Step-by-Step Guide to Building Your Compost Pile
Once you have your ingredients, building your compost pile is straightforward:
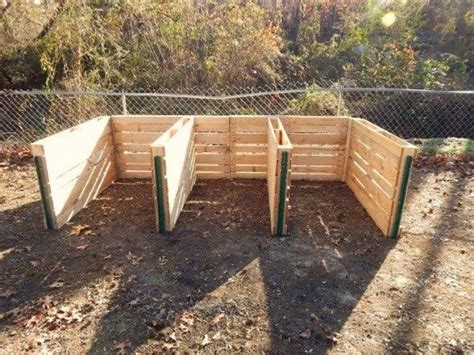
- Choose Your Location/Bin: Select a well-drained spot, preferably in partial shade, near your garden. You can use a dedicated compost bin, a simple three-sided enclosure, or just a freestanding pile.
- Start with a Base Layer: Begin with a 4-6 inch layer of coarse browns (twigs, wood chips) at the bottom. This helps with aeration and drainage.
- Layer It Up: Alternate layers of browns and greens. A good sequence is a 6-8 inch layer of browns, followed by a 2-4 inch layer of greens. Add a thin layer of garden soil or finished compost every few layers to introduce beneficial microorganisms.
- Moisten as You Go: Each layer should be moistened thoroughly, but not soaked. The pile should feel like a damp sponge.
- Continue Layering: Keep adding layers as you accumulate materials. Each time you add a significant amount of new material, give it a good mix to encourage decomposition.
Maintaining Your Compost for Optimal Results
For efficient decomposition, your compost pile needs attention:
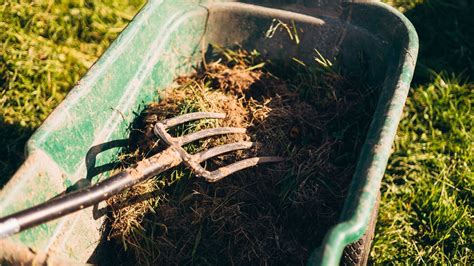
- Turn Regularly: Aerate your pile by turning it with a pitchfork every 1-2 weeks. This introduces oxygen, prevents compaction, and speeds up decomposition. Turning also helps distribute moisture and microbes evenly.
- Monitor Moisture: Check the moisture level frequently. If it’s too dry, add water. If it’s too wet and smells foul, add more browns and turn it.
- Size Matters: Chop or shred larger materials into smaller pieces (1-2 inches) before adding them to the pile. Smaller pieces break down much faster.
When is Your Compost Ready?
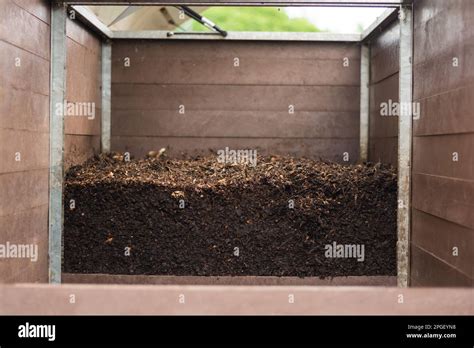
Patience is a virtue in composting. Depending on your method, materials, and climate, it can take anywhere from two months to a year for compost to mature. You’ll know your compost is ready when it:
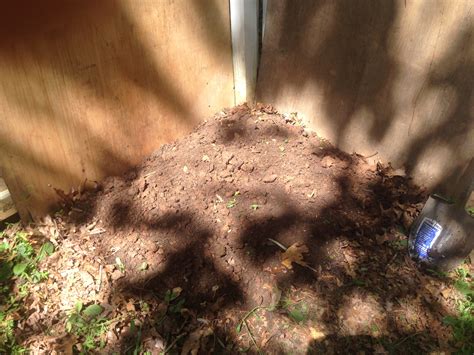
- Is dark brown or black in color.
- Has an earthy, pleasant smell (like forest floor soil).
- Has a crumbly texture, resembling rich soil.
- No longer contains recognizable original materials (except perhaps a few stubborn wood chips).
Once ready, your finished compost can be spread directly onto garden beds, mixed into potting soil, or used as a top dressing around plants. Your garden will thank you with thriving growth and abundant harvests.
Conclusion
Embracing homemade composting is a rewarding journey that transforms waste into a valuable resource for your garden. By understanding the balance of greens and browns, properly building and maintaining your pile, you can consistently produce nutrient-rich organic soil amendments that will dramatically improve your garden’s health and productivity for years to come.