


Best method for canning homegrown tomatoes safely and simply?

There’s nothing quite like the flavor of sun-ripened, homegrown tomatoes. But with a bountiful harvest, the question quickly turns to preservation. Canning is an excellent way to enjoy your garden’s bounty long after the growing season has ended, and with the right approach, it can be both safe and simple.
Understanding Tomato Acidity and Safety
When it comes to canning, safety is paramount, especially with low-acid foods. While tomatoes were once considered high-acid, modern varieties often have lower acidity levels, making proper acidification crucial to prevent the growth of harmful bacteria, particularly Clostridium botulinum. This is why adding an acidifying agent is a non-negotiable step for water bath canning tomatoes.
The Water Bath Canning Method: Your Go-To
For most tomato products – whole, crushed, diced, or sauce without added low-acid vegetables – the water bath canning method is the safest and simplest approach. It involves processing jars of food in boiling water, which heats the contents sufficiently to create a vacuum seal and destroy spoilage microorganisms in properly acidified food. Pressure canning is an alternative but is typically reserved for mixtures including low-acid vegetables or for plain low-acid vegetables themselves.
Step-by-Step Guide to Canning Tomatoes
1. Gather Your Supplies
- Fresh, ripe tomatoes
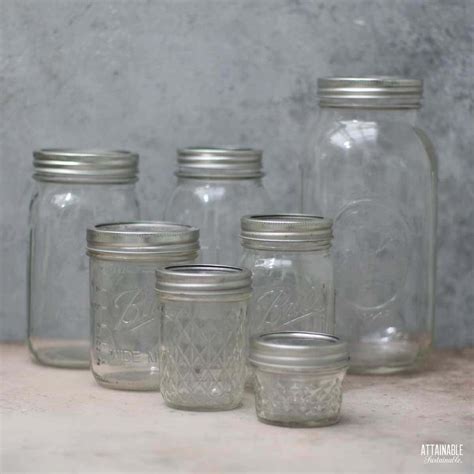
- Canning jars (pint or quart), lids, and bands
- Large stockpot (water bath canner) with a rack
- Jar lifter, canning funnel, headspace tool, bubble remover
- Large saucepan for blanching
- Lemon juice (bottled is recommended for consistent acidity) or citric acid
- Salt (optional, for flavor)
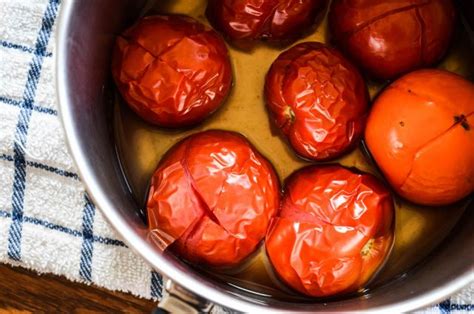
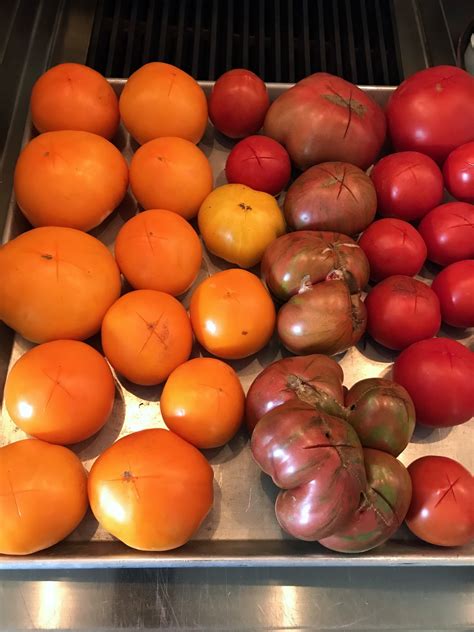
2. Prepare Your Tomatoes
Select firm, ripe tomatoes free from blemishes. Wash them thoroughly. To easily peel them, core the tomatoes and make a small ‘X’ incision on the bottom. Blanch them in boiling water for 30-60 seconds, then immediately transfer to an ice bath. The skins should slip off easily. After peeling, you can halve, quarter, dice, or crush them according to your recipe.
3. Acidify for Safety
This is a critical step! For each quart jar, add 2 tablespoons of bottled lemon juice or ½ teaspoon of citric acid directly to the jar before filling with tomatoes. For pint jars, use 1 tablespoon of bottled lemon juice or ¼ teaspoon of citric acid. Do NOT reduce these amounts.
4. Prepare Your Jars and Lids
Wash jars, lids, and bands in hot, soapy water and rinse well. While sterilization isn’t strictly necessary for foods processed for 10 minutes or more in a water bath canner, ensuring jars are clean and hot helps prevent thermal shock. Keep jars hot in simmering water until ready to fill. Set new lids aside (they do not need to be boiled, just warm to soften the sealing compound).
5. Fill and Vent Jars
Pack your prepared tomatoes into the hot, acidified jars, leaving 1/2 inch of headspace. If using raw-pack (uncooked tomatoes), press them down gently to release liquid and fill spaces. If hot-pack (pre-cooked tomatoes), ladle them in. Add salt if desired (1/2 teaspoon per quart, 1/4 teaspoon per pint). Remove air bubbles by sliding a non-metallic spatula or knife along the inside of the jar. Wipe jar rims clean with a damp cloth to ensure a good seal. Center a warm lid on each jar, then screw on the band fingertip-tight.
6. Process in Water Bath Canner
Place the filled, sealed jars onto the rack in your water bath canner. Ensure the water covers the jars by at least 1-2 inches. Bring the water to a rolling boil. Once boiling, start your timer. Process quarts for 45 minutes and pints for 40 minutes (adjusting for altitude if necessary). Keep the water at a steady, rolling boil throughout the processing time.

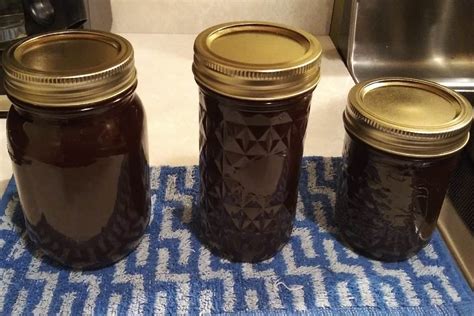
7. Cool and Check Seals
Once the processing time is complete, turn off the heat and carefully remove the canner lid. Let the jars sit in the hot water for 5 minutes before carefully lifting them out with a jar lifter. Place them on a towel-lined surface, ensuring they are not touching each other, and allow them to cool undisturbed for 12-24 hours. Once cool, check the seals. Lids should be concave and not flex when pressed. Remove bands, wipe jars, label, and store in a cool, dark place.
Tips for Success and Troubleshooting
- Altitude Adjustment: If you live at an altitude above 1,000 feet, you’ll need to increase your processing time. Consult a reliable canning guide for specific adjustments.
- Siphoning: If you lose a lot of liquid from jars during processing (siphoning), it can be due to rapid temperature changes, uneven heat, or over-tightening bands.
- Unsealed Jars: If a jar doesn’t seal, you can reprocess it within 24 hours with a new lid (after checking for cracks or imperfections in the jar) or refrigerate and consume within a week.
- Use New Lids: Always use new canning lids for each batch to ensure a proper seal. Bands can be reused.
By following these steps, you can safely and simply transform your garden’s bounty into pantry gold. Enjoy the taste of summer all year long with your delicious, home-canned tomatoes!


