


Best method for starting vegetable seeds indoors for spring planting?

Starting vegetable seeds indoors is a rewarding way to get a head start on your spring garden, offering a longer growing season, cost savings, and access to a wider variety of plants. This method allows you to nurture delicate seedlings in a controlled environment before they face the challenges of the great outdoors. With a little planning and the right techniques, you can ensure your plants thrive from the very beginning.
Why Start Seeds Indoors?
The primary advantage of indoor seed starting is extending your growing season. Many vegetables require a long period to mature, and by starting them indoors several weeks before the last frost, you can enjoy an earlier harvest. It also provides the opportunity to grow unique or heirloom varieties not readily available as transplants at local nurseries. Furthermore, it’s often more economical to buy a packet of seeds than individual plants, especially if you’re planning a large garden.
Gathering Your Essential Supplies
Before you begin, ensure you have all the necessary tools and materials. Quality supplies are crucial for successful germination and healthy seedling growth. You’ll need seed-starting mix (not potting soil, as it’s too coarse and heavy), clean containers (trays, pots, or DIY options with drainage), a reliable light source (LED grow lights or fluorescent shop lights are ideal), and optionally, a heat mat for germination. Don’t forget labels, a watering can or spray bottle, and the seeds themselves.

Step-by-Step Guide to Indoor Seed Starting
1. Choosing the Right Seeds and Timing
Read your seed packets carefully. They provide vital information on germination time, planting depth, and the recommended number of weeks to start indoors before the average last frost date in your area. Use a planting calendar or an online tool to determine the optimal sowing schedule for each vegetable.
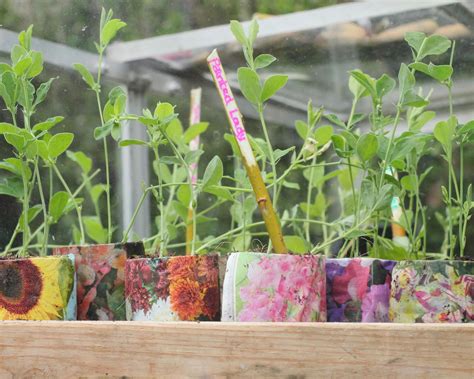
2. Preparing Your Containers and Mix
Ensure your chosen containers are clean and have drainage holes. Fill them with pre-moistened seed-starting mix, pressing it down gently to remove large air pockets, but don’t compact it too much. The mix should be damp but not waterlogged.
3. Sowing Your Seeds
Follow the planting depth specified on the seed packet, typically 2-3 times the width of the seed. For very fine seeds, you can sprinkle them on the surface and lightly press them into the mix. Space seeds appropriately to avoid overcrowding. After sowing, lightly cover with more mix (if needed) and gently water them in with a fine spray to avoid dislodging the seeds.
4. Providing Ideal Germination Conditions
Most seeds germinate best with consistent warmth. A heat mat placed under your seed trays can significantly improve germination rates and speed. Once seeds have sprouted, remove them from the heat mat. All seedlings require ample light immediately after germination to prevent them from becoming leggy and weak. Position your grow lights just a few inches above the tops of your emerging seedlings, adjusting the height as they grow. Provide 12-16 hours of light per day.

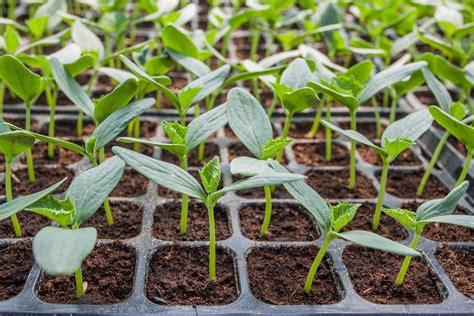
5. Essential Care for Young Seedlings
Watering is critical; keep the seed-starting mix consistently moist but never soggy. Allow the top layer to dry slightly between waterings. Air circulation is also important to prevent fungal diseases like “damping-off”; a small fan can help. Once seedlings develop their first set of true leaves, you can begin feeding them with a diluted, balanced liquid fertilizer at half strength every two weeks.
6. Hardening Off Your Seedlings
Approximately 7-14 days before transplanting outdoors, begin the “hardening off” process. This gradually acclimates your seedlings to outdoor conditions – sunlight, wind, and fluctuating temperatures – reducing transplant shock. Start by placing them in a sheltered outdoor spot for a few hours each day, gradually increasing their exposure over the hardening-off period. Bring them indoors if nighttime temperatures drop too low.
Common Pitfalls to Avoid
New growers often face challenges like overwatering (leading to damping-off disease), insufficient light (resulting in spindly, weak plants), and neglecting proper air circulation. Always ensure good drainage, maintain appropriate light levels, and monitor for pests or diseases. A consistent routine is key.
Transplanting to the Garden
Once your seedlings are properly hardened off and the danger of frost has passed, they are ready for their permanent home in the garden. Water them thoroughly before transplanting. Dig a hole slightly larger than the root ball, carefully remove the seedling from its container, and place it in the hole. Backfill with soil, gently firming it around the plant, and water again to settle the soil. Provide ongoing care as your plants mature.
Starting seeds indoors is a highly rewarding endeavor that connects you more deeply with the gardening process. By following these best practices, you’ll set your vegetable garden up for a robust and bountiful spring and summer harvest, enjoying fresh, homegrown produce straight from your backyard.


