


Best methods for canning garden tomatoes safely at home?

Preserving the bounty of your garden is a rewarding experience, and homegrown tomatoes are often at the top of the list for home canners. However, canning tomatoes safely requires understanding the science behind food preservation to prevent spoilage and foodborne illness. This guide will walk you through the best methods to ensure your efforts result in delicious, shelf-stable tomato products.

Understanding Tomato Acidity and Safety
The acidity of tomatoes is paramount in determining the safest canning method. Tomatoes are generally considered a “borderline” acidic food. While some varieties might be acidic enough for water bath canning on their own, factors like ripeness, variety, and growing conditions can influence their pH. For safety, especially with modern low-acid varieties, additional acidification is critical to ensure a pH of 4.6 or below, which inhibits the growth of Clostridium botulinum, the bacterium responsible for botulism.
The Role of Acidification
To ensure safety, always add acid to tomatoes, whether whole, crushed, or juiced, before canning. You can use:
- Bottled Lemon Juice: Add 2 tablespoons per quart jar or 1 tablespoon per pint jar. Do not use fresh lemon juice, as its acidity can vary.
- Citric Acid: Add 1/2 teaspoon per quart jar or 1/4 teaspoon per pint jar.
- Vinegar: White vinegar (5% acidity) can be used, but it may significantly alter the flavor. Use 4 tablespoons per quart jar or 2 tablespoons per pint jar.
Method 1: Water Bath Canning (High-Acid Foods)
Water bath canning is suitable for high-acid foods. When properly acidified, tomatoes fall into this category. This method involves submerging sealed jars in boiling water for a specified period.
Steps for Water Bath Canning Tomatoes:
- Prepare Tomatoes: Wash, core, and peel your tomatoes (blanching in boiling water for 30-60 seconds then shocking in ice water makes peeling easy). You can can them whole, halved, quartered, or crushed.
- Prepare Jars and Lids: Use clean, hot canning jars (pint or quart). New canning lids should be used for each batch; bands can be reused.
- Acidify: Add the appropriate amount of bottled lemon juice or citric acid directly to each jar before filling with tomatoes.
- Fill Jars: Pack tomatoes loosely into hot jars, leaving 1/2-inch headspace. If using crushed tomatoes, heat them first and then ladle into jars. Add hot water or tomato juice if desired, maintaining headspace.
- Remove Air Bubbles: Use a non-metallic utensil to remove air bubbles, then adjust headspace if necessary.
- Wipe Rims and Seal: Wipe jar rims clean, center lids, and apply bands fingertip-tight.
- Process in Water Bath Canner: Place jars in a boiling water canner, ensuring they are covered by at least 1-2 inches of water. Bring to a rolling boil and process for the time specified by a tested recipe (usually 35-45 minutes for pints, 45-50 minutes for quarts, adjusting for altitude).
- Cool and Check Seals: Turn off heat, remove lid, wait 5 minutes, then remove jars and cool upright on a towel for 12-24 hours. Check seals; if a lid doesn’t seal, refrigerate and use within a week, or re-process with a new lid within 24 hours.

Method 2: Pressure Canning (Low-Acid Foods or Mixtures)
Pressure canning is essential for low-acid foods (pH above 4.6) because it reaches temperatures higher than boiling water, effectively destroying harmful bacteria, including C. botulinum spores. While water bath canning is acceptable for acidified tomatoes, pressure canning offers an alternative, especially if you’re canning tomato mixtures with low-acid vegetables (like green beans or corn) or prefer not to add extra acid.
For plain tomatoes, pressure canning times are generally shorter than water bath times (e.g., 15 minutes for pints, 20 minutes for quarts at 10 lbs pressure, adjusted for altitude), and acidification is still recommended for best flavor and texture, though not strictly required for safety when pressure canning plain tomatoes according to tested recipes.
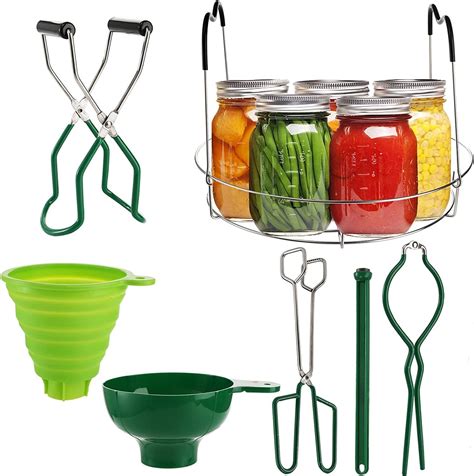
Essential Equipment for Safe Canning
Having the right tools makes the canning process smoother and safer:
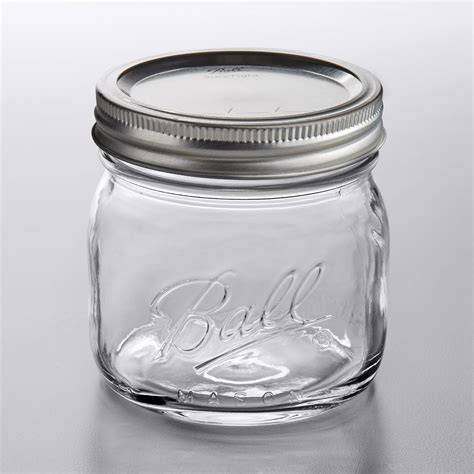
- Canning Jars: Mason-style jars specifically designed for canning.
- Lids and Bands: New lids are crucial for a good seal. Bands can be reused.
- Canner: A large stockpot with a rack for water bath canning, or a specialized pressure canner.
- Jar Lifter: To safely place and remove hot jars from the canner.
- Canning Funnel: Helps keep jar rims clean when filling.
- Bubble Remover/Headspace Tool: A non-metallic tool to remove air bubbles and measure headspace.
Key Safety Tips and Best Practices
- Follow Tested Recipes: Always use recipes from reputable sources like the National Center for Home Food Preservation (NCHFP), USDA, or extension offices. Do not invent your own.
- Check Seals: After cooling, check all jar seals. Press the center of the lid; if it springs back, it’s not sealed.
- Store Properly: Remove bands (after checking seals), wipe jars clean, label with contents and date, and store in a cool, dark, dry place.
- Inspect Before Use: Before opening, check for signs of spoilage like bulging lids, leaks, or off-odors. If in doubt, throw it out.
- Adjust for Altitude: Processing times and pressure levels must be increased at higher altitudes. Consult USDA guidelines for your specific elevation.
Enjoying Your Preserved Harvest
Canning your own garden tomatoes is a rewarding endeavor that provides you with wholesome, homemade ingredients year-round. By meticulously following tested methods, understanding acidity, and prioritizing safety, you can confidently preserve the peak flavor of your harvest and enjoy delicious, safe tomatoes for months to come. Happy canning!


