


Best methods for storing homegrown root vegetables without electricity?

The Timeless Art of Non-Electric Root Vegetable Storage
As gardeners, the harvest season brings immense satisfaction, but also the challenge of preserving our bounty. While modern refrigeration offers convenience, countless generations have perfected ingenious methods for storing root vegetables without electricity. These traditional techniques not only promote sustainability and self-sufficiency but often enhance the flavor and longevity of your homegrown produce, connecting you deeply with the rhythms of nature.
Embracing these off-grid storage solutions is a rewarding endeavor, allowing you to enjoy your hard-earned harvest months after it’s pulled from the soil. From potatoes and carrots to beets and parsnips, understanding the specific needs of each vegetable is key to successful, long-term preservation.
Essential Principles for Successful Storage
Before diving into specific methods, a few universal principles apply to almost all root vegetable storage without electricity. First, proper harvesting is crucial: harvest mature vegetables on a dry day, being careful not to bruise or damage them. Many root vegetables, like potatoes, onions, and garlic, benefit from a curing period in a warm, well-ventilated space for a week or two to toughen skins and seal minor wounds, preventing rot.
Secondly, never wash root vegetables intended for long-term storage; instead, gently brush off excess soil. Moisture can encourage spoilage. Store only healthy, blemish-free vegetables, as one bad apple (or potato!) can spoil the whole batch. The ideal storage environment generally involves a cool temperature and high humidity to prevent shriveling and sprouting.

Method 1: The Traditional Root Cellar or Cool Basement
The root cellar is the gold standard for non-electric storage, offering a stable environment that mimics natural cave conditions. Ideally, a root cellar maintains temperatures between 35-50°F (2-10°C) and a high humidity of 85-95%. A cool, damp basement can often serve a similar purpose, especially in areas with natural insulation.
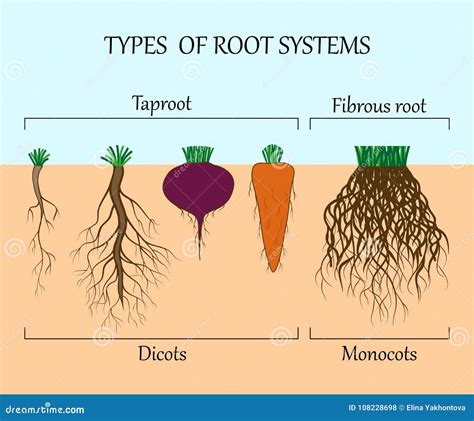
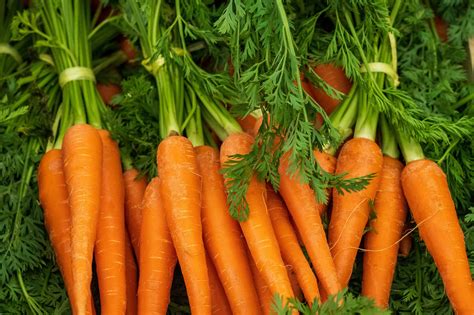
Root vegetables like potatoes, carrots, beets, turnips, parsnips, and rutabagas thrive in this environment. Store them in slatted bins, wooden crates, or burlap sacks, allowing for good air circulation. Avoid airtight containers, which can trap moisture and promote mold. Keep different vegetables separate if possible, as some, like apples and potatoes, release ethylene gas that can accelerate spoilage in others.
Method 2: Sand or Sawdust Layering
This method is particularly excellent for moisture-loving root vegetables like carrots, beets, parsnips, and celeriac, preventing them from drying out and shriveling. It also offers good protection against rodents if kept indoors.
Find a sturdy container – a wooden box, plastic bin, or even a large bucket. Layer about an inch of damp (not wet) sand or sawdust at the bottom. Place a single layer of vegetables on top, ensuring they don’t touch each other. Cover with another layer of damp sand or sawdust, and repeat the process until the container is full. Store the container in a cool basement, garage, or unheated room. The damp medium provides humidity and insulates the vegetables.
Method 3: Trench or Pit Storage (Outdoor)
For those in colder climates with well-drained soil, an outdoor trench or pit offers an excellent, electricity-free storage solution. This method works well for hardier root crops like carrots, beets, turnips, and even cabbage.
Choose a well-drained spot in your garden. Dig a trench about 1-2 feet deep and wide. Line the bottom and sides with a thick layer of straw, hay, or leaves for insulation. Place your cleaned (not washed) vegetables in the trench, cover them with another thick layer of straw, and then mound soil over the top. The soil and insulation protect the vegetables from freezing and provide a stable temperature. Mark the location clearly so you can find your buried treasure later!

Method 4: Clamping
Clamping is a variation of trench storage, particularly useful for larger quantities or for those who prefer an above-ground option. It involves creating a mound or ‘clamp’ of vegetables directly on the ground, often on a slight rise to ensure drainage.
Start by placing a layer of straw or hay on a well-drained area. Stack your vegetables (potatoes, carrots, beets, cabbage) in a conical or elongated mound on top of the straw. Cover the entire mound with a thick layer of straw or hay, ensuring complete insulation. Finally, cover the straw with a layer of soil, patted down to shed rain. A small vent pipe can be inserted at the top for air circulation. This method provides natural insulation against fluctuating temperatures.
Final Tips for Long-Lasting Harvests
Regardless of the method you choose, regular inspection is key to successful long-term storage. Check your stored vegetables every few weeks for any signs of spoilage, rot, or pest activity, removing any compromised items immediately to prevent them from affecting the rest. Proper ventilation is also crucial for most storage methods to prevent the buildup of ethylene gas and moisture.
Experiment with different methods to find what works best for your specific climate, space, and vegetable varieties. Storing your homegrown root vegetables without electricity is a deeply satisfying practice, connecting you to time-honored traditions and ensuring a steady supply of nutritious food throughout the colder months.


