


Budget DIY for starting a compost bin from kitchen scraps?
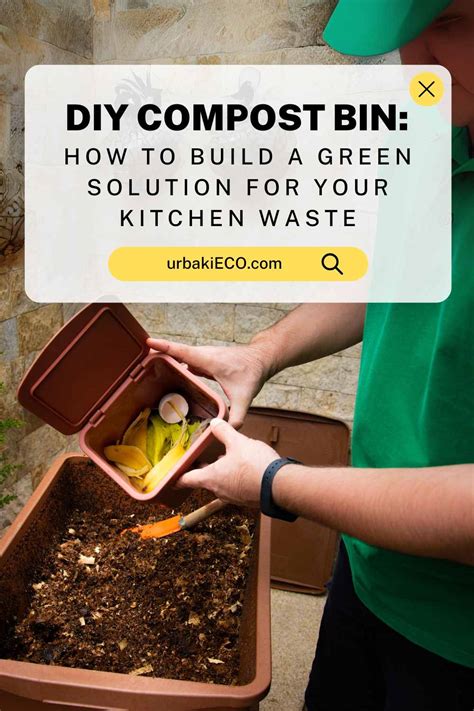
Starting a compost bin from kitchen scraps is not just an eco-friendly practice; it’s also an incredibly cost-effective way to enrich your garden soil, reduce household waste, and embrace sustainable living. You don’t need fancy equipment or a large budget to turn your food waste into valuable “black gold.” This guide will walk you through setting up a DIY compost system using minimal resources, primarily focusing on what you already have or can acquire cheaply.
Why Budget Composting Rocks
Composting diverts organic waste from landfills, significantly reducing methane gas emissions. By converting kitchen scraps and yard waste into nutrient-rich humus, you create a natural fertilizer that improves soil structure, water retention, and plant health, all without spending a dime on chemical alternatives. For gardeners, this means healthier plants and bigger yields; for the planet, it means less waste and a smaller carbon footprint. And best of all, you can start with materials found around your home, making it accessible to everyone.
Choosing Your Budget Bin
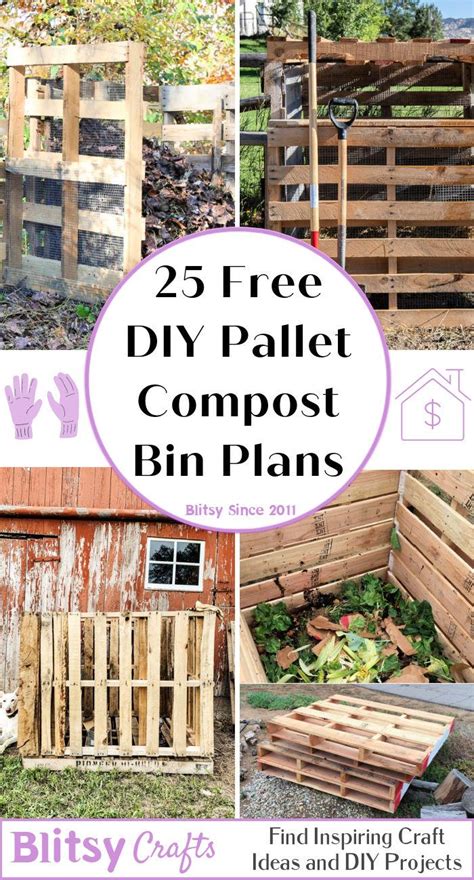
The beauty of budget composting lies in its flexibility. You don’t need to buy a pre-made bin. Here are a few low-cost DIY options:
- Pallet Bins: If you can get your hands on free wooden pallets (check local businesses or construction sites), you can easily assemble a sturdy, aerated compost bin by wiring or screwing four pallets together to form a square.
- Wire Mesh Cages: A roll of hardware cloth or chicken wire can be shaped into a cylinder and secured with ties, providing excellent airflow. This is a very inexpensive and easy-to-move option.
- Plastic Totes/Buckets: For smaller spaces or apartment living, a large plastic storage tote or an old garbage can with holes drilled in the bottom and sides for drainage and aeration makes a functional, enclosed compost system.
- No-Dig Piles: The simplest method requires no container at all. Simply designate a corner of your yard for a compost pile, layering materials directly on the ground.
Whichever method you choose, ensure it has good airflow and drainage to prevent anaerobic conditions and foul odors.

Gathering Your “Greens” and “Browns”
Successful composting hinges on a balanced mix of “greens” and “browns.”
- Greens (Nitrogen-rich): These include your kitchen scraps like fruit and vegetable peels, coffee grounds, tea bags, and even grass clippings. They provide nitrogen and moisture.
- Browns (Carbon-rich): These are drier materials like dried leaves, shredded newspaper, cardboard (unwaxed), straw, and wood chips. They provide carbon and help create air pockets.
Aim for a ratio of roughly 2-3 parts browns to 1 part greens. This balance is crucial for microorganisms to break down the materials efficiently.
Setting Up Your Bin (The Easy Way)
- Location: Choose a shaded, well-drained spot in your yard, away from your house, but convenient enough for regular additions.
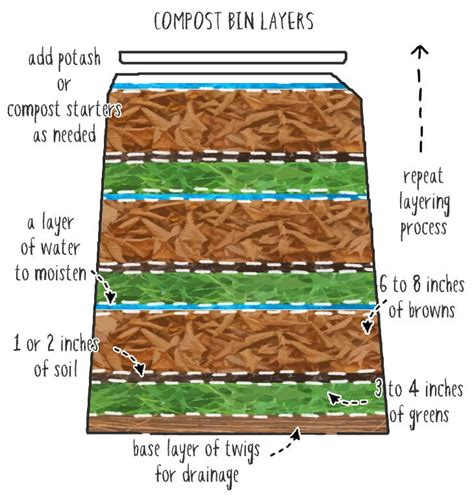
- First Layer: Start with a layer of coarse browns (e.g., small twigs or straw) at the bottom to ensure good drainage and airflow.
- Layering: Begin adding your green kitchen scraps, followed by a layer of browns. Continue alternating layers like a lasagna. Chop larger scraps into smaller pieces to speed up decomposition.
- Moisture: The pile should feel like a wrung-out sponge – damp, but not soaking wet. If it’s too dry, add a bit of water; if too wet, add more browns.
Composting Best Practices
- Turn Regularly: Ideally, turn your compost pile every few weeks with a pitchfork or shovel. This introduces oxygen, which is vital for aerobic decomposition, and helps mix the materials.
- What NOT to Compost: Avoid meat, dairy products, oily foods, diseased plants, pet waste, and any chemically treated materials. These can attract pests, create odors, or harm your garden.
- Troubleshooting: If your pile smells foul, it’s likely too wet or lacks airflow – add more browns and turn it. If it’s not breaking down, it might be too dry or lack enough greens – add water or green scraps.
Patience is key. Depending on the materials and conditions, it can take anywhere from a few months to a year for your compost to be ready. You’ll know it’s done when it’s dark brown, crumbly, and smells like fresh earth.
Conclusion
Starting a budget-friendly DIY compost bin from kitchen scraps is a rewarding journey that empowers you to take control of your waste, nurture your garden, and contribute to a healthier planet. With minimal investment and a little patience, you’ll soon be harvesting your own “black gold,” transforming ordinary waste into an extraordinary resource for your home and garden.
