


Budget DIY root cellar for year-round garden produce storage?

For home gardeners, the harvest season often brings an overwhelming bounty. While fresh produce is a joy, storing it for long periods without spoilage can be a challenge, especially without relying on energy-intensive refrigeration. Enter the humble root cellar – an age-old solution for preserving fruits and vegetables that’s making a modern comeback. And the best part? You don’t need a huge budget to build one. With a bit of planning and some elbow grease, a DIY root cellar can provide year-round storage for your garden’s abundance, keeping your produce fresh, crisp, and ready for consumption.
Why a Root Cellar? The Benefits of Cool Storage
Root cellars are natural refrigeration units, designed to maintain a consistently cool, dark, and humid environment that slows down the spoilage process of many crops. Unlike a regular refrigerator, which can dry out produce, a well-designed root cellar provides the ideal balance of temperature and moisture, allowing root vegetables, certain fruits, and even some leafy greens to last for months. This traditional method not only extends the life of your harvest but also reduces food waste, lowers your electricity bill, and enhances your food security by decreasing reliance on grocery stores.
Planning Your Budget Root Cellar: Key Considerations
Before breaking ground, careful planning is crucial, especially when working with a limited budget. Start by scouting the perfect location. An ideal spot is often shady, well-drained, and ideally situated on a north-facing slope or even partially underground, as the earth provides natural insulation and temperature stability. Consider the size based on your garden’s output and your family’s consumption habits; a small pit or an old chest freezer can even be repurposed. For materials, think resourcefully: salvaged lumber, concrete blocks, old barrels, sturdy pallets, or even repurposed tires can form the structure. The goal is to maximize insulation and durability while minimizing cost.

Step-by-Step Construction Guide for a Simple Root Cellar
Site Preparation and Excavation
Once you’ve chosen your site, the first step is excavation. Digging a trench or a pit to your desired dimensions is essential. Ensure good drainage by adding a layer of gravel at the bottom. For a simple design, you might choose an in-ground “pit cellar,” a partially buried structure, or a modified shed. The deeper you go, the more stable the temperature will be.
Building the Structure
For walls, concrete blocks are durable and readily available, often found affordably secondhand. If using wood, opt for pressure-treated lumber for ground contact or line your wooden structure with a moisture barrier. For a true budget build, consider earthbag construction or repurposing large plastic barrels or IBC totes by burying them. Once your basic structure is in place, backfill around the exterior walls with soil to enhance insulation, tamping it down firmly.
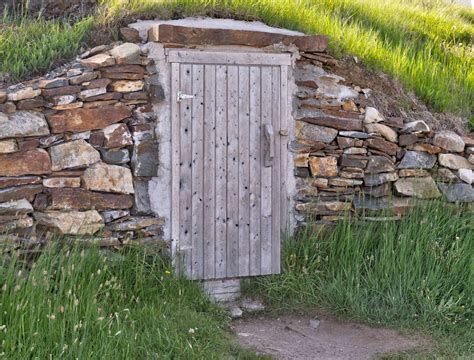
Creating the Roof and Door
The roof must be sturdy and waterproof. Options range from simple treated plywood covered with tarps and then earth (a “living roof” adds insulation) to more robust corrugated metal or salvaged tin. Ensure a slight slope for water runoff. The door is a critical component for temperature regulation; it should be well-insulated and seal tightly. A double-door system can further enhance insulation, creating an airlock.
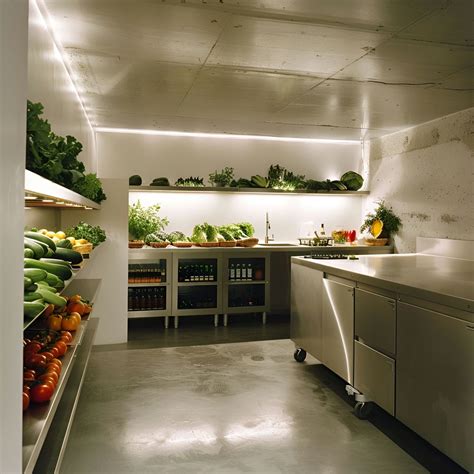
Essential Elements for Optimal Storage
Ventilation is Key
Proper airflow is paramount to prevent the build-up of ethylene gas (which can speed up ripening) and maintain fresh air. Install an inlet pipe (low to the ground) and an outlet pipe (high up) on opposite sides of the cellar. These simple PVC or metal pipes, often covered with screens to keep pests out, create a natural convection current, drawing in cool air and expelling warmer, stale air. Dampers can be added to control airflow as needed.
Humidity Control
Many root vegetables thrive in high humidity (85-95%). To achieve this, maintain a damp earth floor or cover the floor with a layer of moist sand or gravel. Avoid storing produce directly on concrete, which can draw out moisture. Regularly check the humidity levels with a simple hygrometer and mist the floor if it becomes too dry.
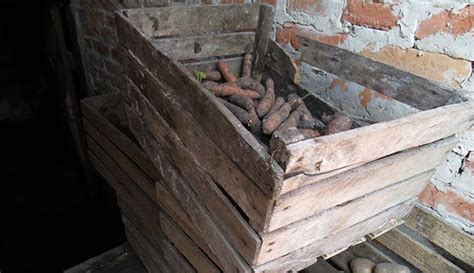
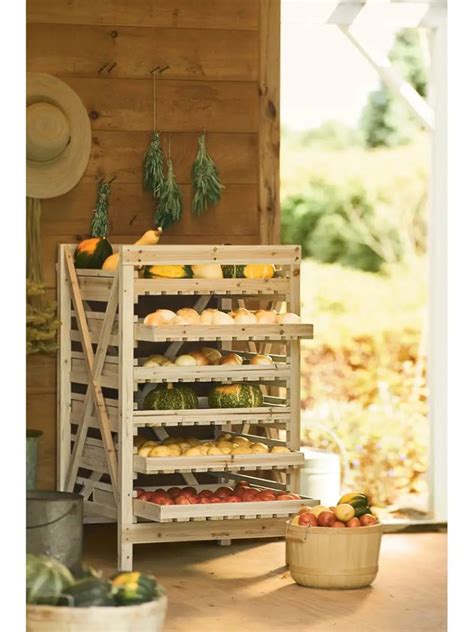
Shelving and Storage Containers
Use sturdy, non-treated wood shelves, plastic bins, or even old crates for storage. It’s often best to store different types of produce separately to prevent cross-contamination of odors or ethylene gas. Root crops like carrots, beets, and potatoes can be layered in bins of moist sand or sawdust. Apples and pears should be stored away from vegetables, as they emit ethylene gas which can cause vegetables to sprout or spoil faster.
Maximizing Your Root Cellar’s Potential
To get the most out of your budget DIY root cellar, proper produce preparation is essential. Cure items like potatoes, onions, and garlic before storage to toughen their skins and improve their longevity. Clean produce of excess soil but avoid washing, as moisture can encourage mold. Label everything for easy identification and rotate your stock, eating older items first. Regularly inspect your cellar for any signs of spoilage or pests, removing compromised items immediately to prevent wider contamination. With a little care, your root cellar will become a vital part of your self-sufficient lifestyle, providing fresh, healthy food long after the growing season ends.
Building a budget-friendly DIY root cellar is an empowering project for any home gardener or homesteader. It’s an investment in your food security, sustainability, and the enjoyment of fresh produce year-round, proving that effective food storage doesn’t have to break the bank.
