Build inexpensive raised garden bed for year-round fresh veggies?
Why Choose an Inexpensive Raised Garden Bed?
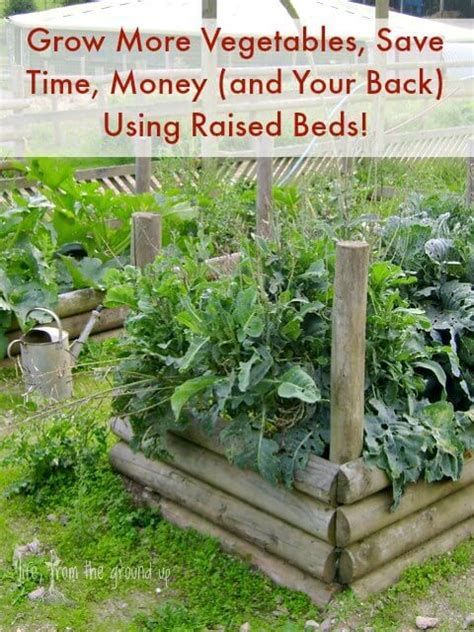
Growing your own food is one of life’s most rewarding experiences, offering fresh flavors, healthier eating, and a connection to nature. A raised garden bed takes this experience to the next level, providing numerous benefits from better drainage and soil control to easier access. Many assume building one requires a significant investment, but with smart material choices and a DIY spirit, you can construct a sturdy, attractive, and highly functional raised bed without breaking the bank. The best part? With proper planning, it can supply you with fresh veggies throughout the year.
Benefits of Raised Beds for Year-Round Gardening
Raised beds offer distinct advantages that make year-round gardening more feasible and successful:
- Improved Soil Quality: You control the soil mix, ensuring it’s rich in nutrients and has excellent drainage, crucial for plant health.
- Extended Growing Season: Raised beds warm up faster in spring and retain warmth longer into fall, allowing you to start planting earlier and harvest later. They also provide better protection against pests and weeds.
- Better Drainage: Elevated beds prevent waterlogging, which can be detrimental to plant roots, especially during wetter seasons.
- Ergonomic Comfort: Less bending and kneeling make gardening more enjoyable, particularly for those with physical limitations.
- Pest Control: The raised barrier can deter some ground-dwelling pests and makes it easier to install protective netting or covers.
Choosing Inexpensive Materials
The key to an inexpensive raised bed lies in material selection. Forget costly cedar or composite decking; look for budget-friendly alternatives that are durable and safe for growing edibles.
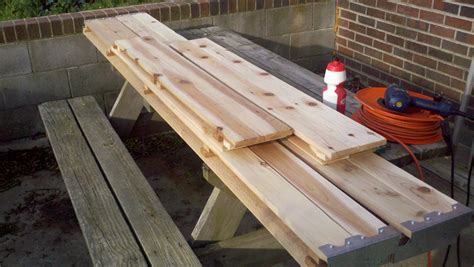
- Reclaimed Wood: Pallets (ensure they are heat-treated, marked ‘HT’, not chemically treated ‘MB’), old fence boards, or salvaged lumber can be excellent free or low-cost options. Just avoid pressure-treated wood made before 2003, as it might contain arsenic.
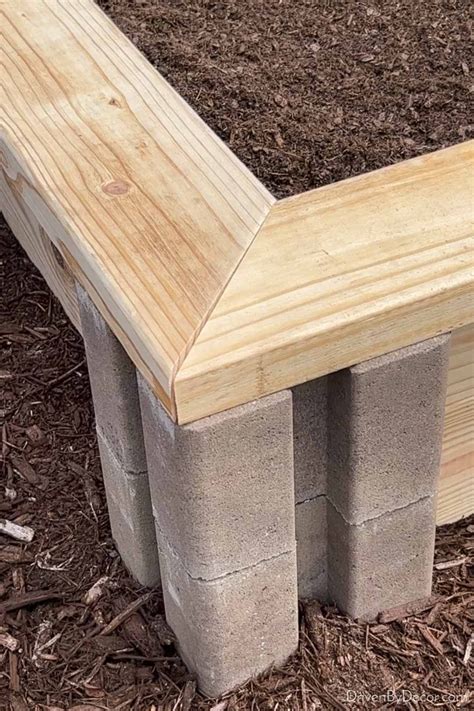
- Cinder Blocks or Bricks: These are highly durable, readily available, and can be stacked without mortar for easy assembly. Their thermal mass can also help regulate soil temperature.
- Galvanized Metal (Sheet Metal or Stock Tanks): Old feeding troughs or corrugated metal sheets (often found at hardware stores or salvage yards) offer a rustic look and excellent longevity. Seal cuts to prevent rust.
- Recycled Plastic/Composite Lumber: While often pricier than reclaimed wood, recycled plastic lumber is very durable and maintenance-free, sometimes found as scraps or at a discount.
Planning and Design
Before you start building, a little planning goes a long way:
- Location: Choose a spot that receives at least 6-8 hours of direct sunlight per day. Consider proximity to a water source.
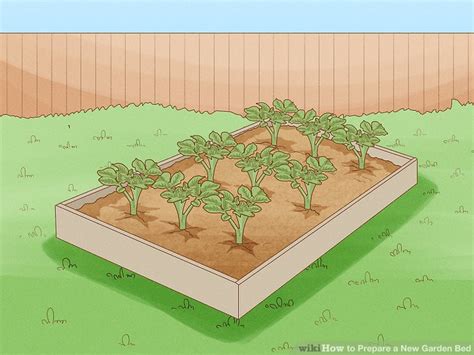
- Size: A common width is 3-4 feet, allowing you to reach the center from either side without stepping into the bed. Length can vary. Aim for a depth of at least 10-12 inches for most vegetables, though 18-24 inches is ideal for root crops and better insulation.
- Layout: Decide if you want one large bed or several smaller ones. Consider pathways between beds for easy access.

Step-by-Step Construction Guide (Wood Example)
This guide focuses on a simple reclaimed wood raised bed, but the principles apply to other materials.
1. Gather Your Tools and Materials
You’ll need: your chosen wood (e.g., eight 2x6x8′ boards for a 4’x8′ bed, two layers high), corner brackets or galvanized screws (3-inch), a drill, a saw (if cutting boards), measuring tape, and a level.
2. Prepare the Site
Clear the chosen area of weeds and debris. You might want to lay down a layer of cardboard or landscape fabric to suppress weeds, though this isn’t strictly necessary for a very deep bed.
3. Assemble the Frame
- Cut your boards to length if needed. For a 4’x8′ bed, you’d have four 8-foot boards and four 4-foot boards (cut from 8-footers).
- Lay out the first layer of boards to form your rectangle.
- Connect the corners using screws or corner brackets, ensuring they are flush and square.
- Stack the second layer of boards on top, staggering the joints for added strength, and secure them to the layer below and at the corners.
- Use a level to ensure the top edge is even. If on uneven ground, slightly dig in or add soil under the lower side to level it.
4. Line and Fill Your Bed
Once the frame is secure:
- Optional Lining: If you’re concerned about wood leaching or want extra weed suppression, line the inside with landscape fabric or thick cardboard, securing it to the top edges. Avoid plastic liners unless you add plenty of drainage holes.
- Drainage Layer: You can add a thin layer of coarse material like small branches, twigs, or wood chips at the very bottom.
- Soil Mix: This is where your plants will thrive! A good mix is typically 60% topsoil, 30% compost, and 10% perlite or vermiculite for drainage and aeration. Fill the bed to about an inch or two from the top.

Planting for Year-Round Harvest
To enjoy fresh veggies all year, implement these strategies:
- Succession Planting: Plant small batches of quick-growing crops (like lettuce, radishes, spinach) every 2-3 weeks to ensure a continuous harvest.
- Crop Rotation: Rotate plant families to different sections of the bed each season to prevent nutrient depletion and disease buildup.
- Cold-Hardy Crops: In cooler months, focus on plants like kale, collards, spinach, Swiss chard, carrots, and various lettuces. Use row covers, cloches, or mini hoop houses for extra protection against frost.
- Warm-Season Staples: During warmer months, grow tomatoes, peppers, beans, cucumbers, and corn.
Maintenance Tips for Longevity
- Watering: Raised beds can dry out faster than in-ground gardens, so monitor soil moisture regularly.
- Compost: Top-dress your bed with a fresh layer of compost annually to replenish nutrients.
- Inspections: Periodically check your bed for any signs of wear or structural issues, especially if using reclaimed wood.
- Pest Management: Practice integrated pest management, encouraging beneficial insects and using organic deterrents.
Building an inexpensive raised garden bed is a rewarding DIY project that empowers you to grow your own fresh, healthy food year-round. With careful planning, smart material choices, and a bit of effort, you’ll soon be harvesting a bounty from your very own backyard oasis.