


DIY canning shelf plans: sturdy, space-saving for heavy jars?
Why Build Your Own Canning Shelves?
Home canning is a rewarding endeavor, but it quickly leads to a dilemma: where to store all those heavy jars? Store-bought shelves often lack the robustness or custom fit needed for a serious canner’s pantry. Building your own DIY canning shelves offers the perfect solution, allowing you to create sturdy, space-saving storage tailored to your exact needs and capacity.
Beyond the satisfaction of a DIY project, custom canning shelves provide several distinct advantages. Firstly, unparalleled strength. You can select materials and designs specifically engineered to bear the considerable weight of countless glass jars filled with preserves. Secondly, optimized space utilization. Every inch of your pantry, basement, or garage can be maximized, ensuring no valuable storage area goes to waste. Finally, cost-effectiveness. Often, building your own can be more economical than purchasing heavy-duty, ready-made solutions, especially when considering the sheer volume of jars you might accumulate.
Key Considerations for Sturdy Canning Shelves
When designing shelves for heavy canning jars, durability and stability are paramount. Here’s what to keep in mind:
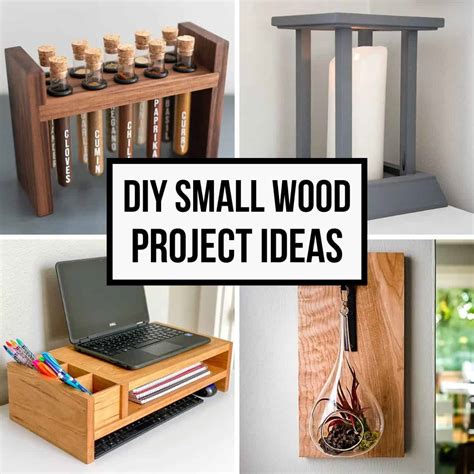
- Material Choices: Plywood (3/4-inch or thicker), dimensional lumber (2x4s, 2x6s), or even heavy-gauge steel are excellent choices. Avoid particle board or thin MDF, as they will sag or collapse under the weight. Solid wood offers superior strength and longevity.
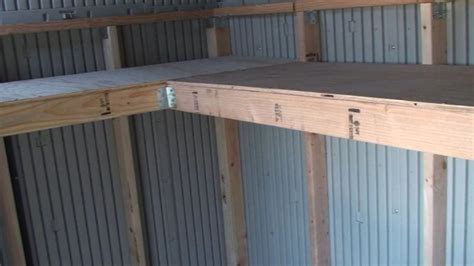
- Design for Weight: Short shelf spans (under 30-36 inches) significantly reduce the risk of bowing. Incorporate strong vertical supports and ensure shelves are securely joined to these supports. A middle support for longer shelves is crucial.
- Stability and Anchoring: Freestanding units should have a wide base to prevent tipping. For ultimate safety, always anchor shelves to wall studs, especially if they are tall or will hold significant weight. This is non-negotiable for earthquake-prone areas or homes with children/pets.

Space-Saving Design Ideas
Maximizing your storage footprint often means thinking vertically and creatively. Here are some design concepts:
- Vertical Integration: Design shelves that reach from floor to ceiling, utilizing every bit of vertical space. Staggered shelf depths can also be useful, with deeper shelves at the bottom for larger jars and shallower ones higher up.
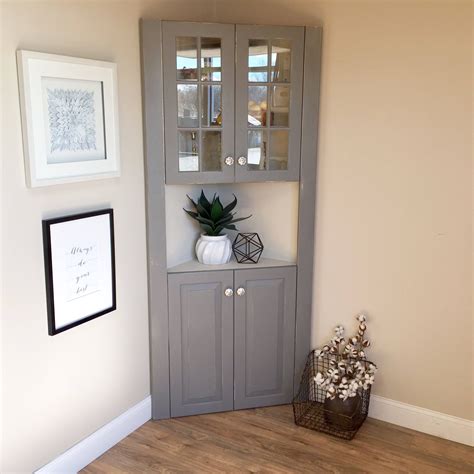
- Corner Units: Corner spaces are often underutilized. A custom-built corner shelving unit can provide immense storage capacity while taking up minimal linear wall space.
- Under-Stair Storage: If you have an open space under a staircase, custom-fitted shelves can transform it into a highly efficient canning pantry.
- Rolling Carts/Units: For smaller spaces or garages, consider building sturdy rolling carts that can be moved out of the way when not needed, or tucked into a deeper cabinet.
Step-by-Step Planning & Construction Tips
Successful DIY shelving starts with meticulous planning and careful execution.
- Measure Your Space: Accurately measure the height, width, and depth of your available storage area. Consider door swings, existing fixtures, and accessibility.
- Draw a Plan: Sketch out your design, including dimensions, material cut lists, and joinery methods. This helps visualize the project and identify potential issues.
- Gather Your Tools: You’ll likely need a tape measure, pencil, saw (circular, miter, or table saw), drill, level, stud finder, safety glasses, and hearing protection.
- Cut and Assemble: Precision cuts are key for a stable structure. Use wood glue in addition to screws or bolts for extra strength at every joint. Pocket hole joinery or sturdy dado joints are excellent for shelving.
- Reinforce for Heavy Loads: Add bracing to the back of the unit, use metal shelf brackets for additional support, and ensure all screws penetrate well into solid wood. Consider adding a lip to the front of shelves to prevent jars from rolling off.
Advanced Features & Customizations
Once you have the basic sturdy structure, you can add features to enhance functionality:
- Adjustable Shelves: While fixed shelves offer maximum strength, if your jar sizes vary greatly, consider adjustable shelves. Use heavy-duty shelf pins and ensure the uprights are thick enough to accommodate the holes without weakening.
- Labeling System: Integrate a labeling system, whether simple sticky labels or more elaborate card holders, to easily identify your canned goods.
- Door or Curtain: If your shelves are in an exposed area, adding a simple door or a curtain can protect jars from dust and direct light, which can degrade food quality over time.
Building your own canning shelves is a rewarding project that provides tailored storage for your harvest. With careful planning, the right materials, and a focus on robust construction, you can create a durable, space-efficient system that will safely house your heavy jars for years to come. Enjoy the peace of mind knowing your hard work in the kitchen is supported by equally strong craftsmanship in your storage solutions.


