


DIY compost pile secrets for nutrient-rich garden soil?
Unearthing the Power of DIY Composting
Dreaming of a garden that flourishes with vibrant plants and bountiful harvests? The secret often lies beneath the surface, in the quality of your soil. While store-bought fertilizers offer a quick fix, nothing quite compares to the sustained benefits of homemade compost. Creating your own compost pile is not just an eco-friendly way to reduce household waste; it’s a powerful method to produce ‘black gold’ – a rich, organic soil amendment that will revolutionize your garden. Let’s delve into the essential secrets to building and maintaining a successful DIY compost pile.
The Fundamental Ingredients: Browns, Greens, Air, and Water
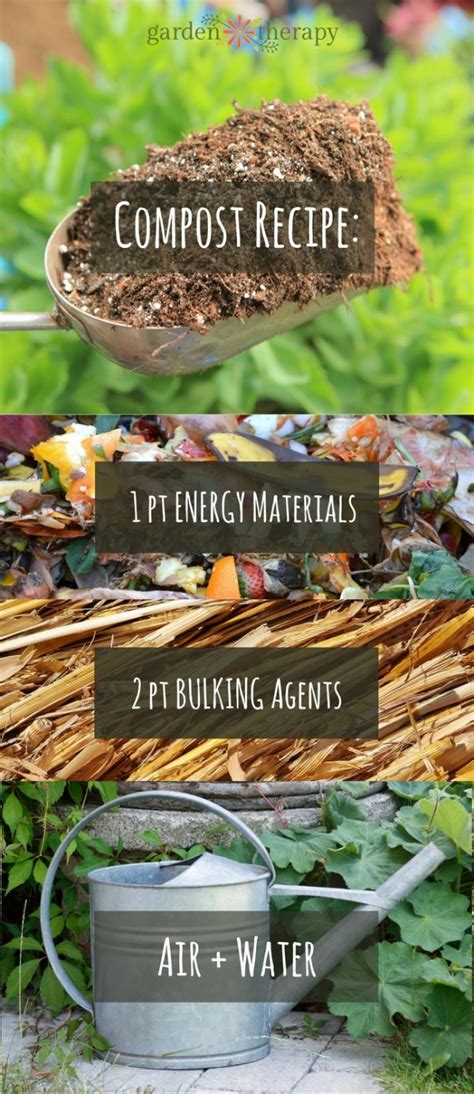
A thriving compost pile is a delicate balance of four key elements: carbon-rich ‘browns’, nitrogen-rich ‘greens’, air, and water. Understanding and managing these components is the first secret to success.
- Browns (Carbon Source): These provide energy for the microbes. Think dry leaves, wood chips, shredded newspaper, straw, and cardboard. Aim for a larger volume of browns.
- Greens (Nitrogen Source): These provide the protein for microbial growth. Examples include kitchen scraps (fruit and vegetable peels, coffee grounds, tea bags), grass clippings, and fresh plant trimmings.
- Air (Aeration): Oxygen is crucial for aerobic decomposition. Without it, your pile will become stinky and decompose slowly.
- Water (Moisture): The compost pile needs to be consistently moist, like a wrung-out sponge, to support microbial activity. Too dry, and decomposition halts; too wet, and it becomes waterlogged and anaerobic.
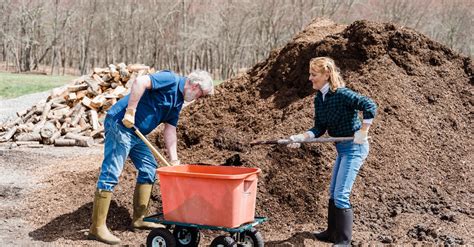
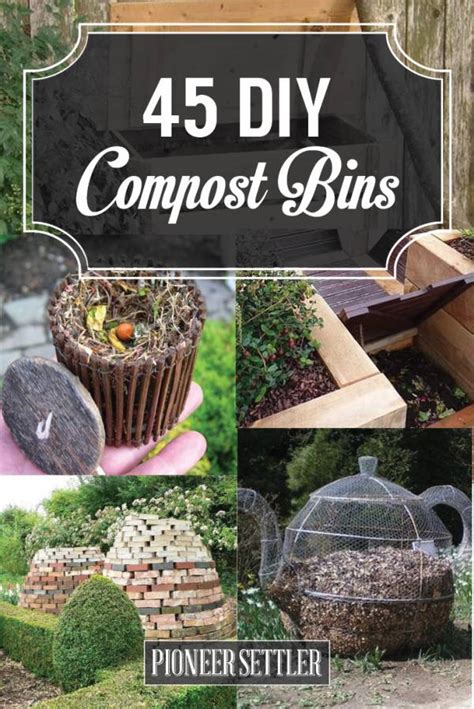
Setting Up Your Composting System
You don’t need fancy equipment to start composting. A simple open pile works, but a dedicated bin can be tidier and more efficient. Choose a location that’s well-drained, easily accessible, and preferably in partial shade to prevent drying out. You can use:
- Open Piles: Simply stack materials in a designated area. Great for larger volumes.
- Wire Mesh Bins: Easy to construct and provide good airflow.
- Pallet Bins: Made from reclaimed wooden pallets, offering a sturdy, breathable structure.
- Plastic Compost Bins: Available commercially, often with lids and access doors.
Start your pile with a layer of coarser brown materials at the bottom for drainage and airflow. Then, alternate layers of browns and greens, ensuring each green layer is covered by a brown layer to deter pests and reduce odors.
Maintaining Your Pile for Optimal Performance
The magic of composting happens with proper maintenance. This involves turning and monitoring moisture levels.
Turning Your Pile
Regular turning (once a week to once a month) is vital for aeration and mixing ingredients. This introduces oxygen to the microbes, preventing unpleasant odors and speeding up decomposition. Use a pitchfork or a dedicated compost aerator to turn the material thoroughly. A hot, actively composting pile will visibly shrink and generate heat, a sign that the microbes are hard at work.
Moisture Management
Check the moisture content regularly. If it’s too dry, add water as you turn. If it’s too wet, incorporate more dry brown materials like shredded paper or dry leaves.
What to Compost and What to Avoid
Do Compost:
- Fruit and vegetable scraps
- Coffee grounds and tea bags
- Eggshells (crushed)
- Yard waste (leaves, grass clippings, small twigs)
- Shredded newspaper and cardboard
- Untreated wood chips
Do NOT Compost:
- Meat, bones, dairy products, and oily foods (attract pests, create odors)
- Pet waste (can contain pathogens)
- Diseased plants (can spread diseases)
- Weeds with seeds (can sprout in your garden)
- Chemically treated wood or sawdust
Harvesting and Using Your ‘Black Gold’
When your compost is ready, it will be dark brown or black, crumbly, and have an earthy smell. You won’t be able to identify the original materials. Depending on your method, this can take anywhere from a few weeks to several months. Use a sifter or screen to separate finished compost from larger, unfinished pieces, which can go back into a new pile.
Apply your finished compost by mixing it into garden beds before planting, top-dressing around existing plants, or adding it to potting mixes. It will improve soil structure, provide essential nutrients, enhance water retention, and suppress plant diseases – all the secrets to a truly nutrient-rich garden.
Conclusion
Creating a DIY compost pile is a rewarding endeavor that connects you more deeply with your garden and the environment. By understanding the balance of browns and greens, ensuring proper aeration and moisture, and maintaining your pile diligently, you’ll soon be enjoying the incredible benefits of nutrient-rich, homemade compost. Say goodbye to waste and hello to a thriving, vibrant garden!
