


DIY plans for a predator-proof chicken coop on a budget?
Keeping Your Flock Safe: Affordable Predator-Proof Coop Designs
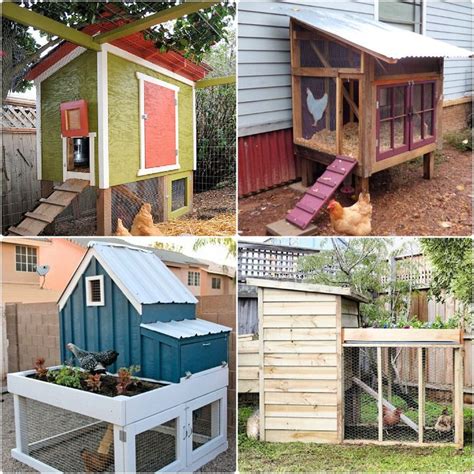
For any backyard chicken keeper, the safety of their flock is paramount. Predators, from raccoons and foxes to hawks and even neighborhood dogs, pose a constant threat. Building a predator-proof chicken coop doesn’t have to be an expensive endeavor. With smart planning, resourceful material sourcing, and a bit of elbow grease, you can create a fortress for your feathered friends on a budget.

Understanding Your Adversaries: Common Coop Predators
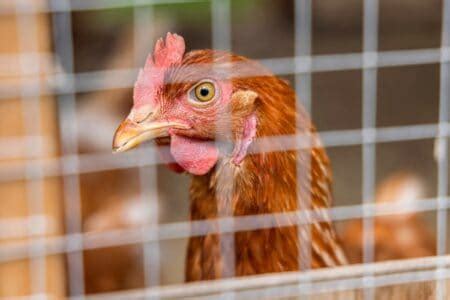
Before you start building, it’s crucial to understand the types of predators common in your area and their methods of entry. Raccoons are notorious for their dexterity, able to open simple latches and pry open weak points. Foxes and coyotes will dig under walls, while weasels and snakes can squeeze through incredibly small openings. Aerial predators like hawks and owls are a threat from above. Knowing these behaviors will help you design more effectively.
Key Principles of a Predator-Proof Coop Design
A truly secure coop integrates multiple layers of defense. Here are the fundamental elements:
- Strong Foundation: Predators will dig. A secure foundation means burying hardware cloth or solid material at least 12-18 inches deep around the perimeter, or pouring a concrete slab.
- Hardware Cloth, Not Chicken Wire: Chicken wire only keeps chickens in, not predators out. Hardware cloth (1/2-inch or 1/4-inch galvanized steel mesh) is essential for all openings and ventilation points.
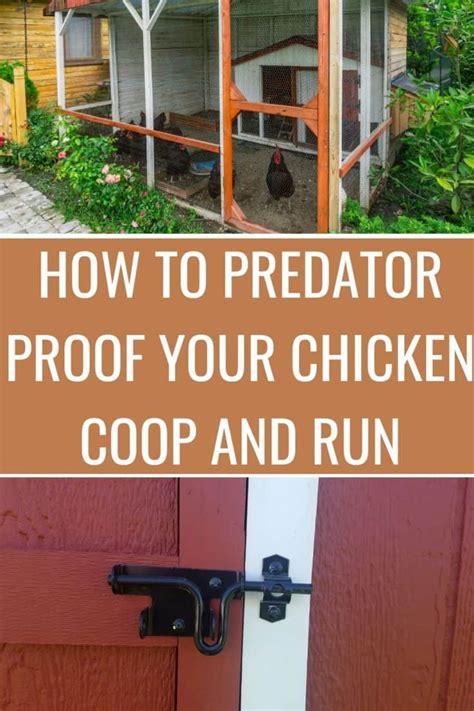
- Secure Doors and Latches: Every entry point needs heavy-duty, chew-proof latches that predators cannot easily manipulate. Double-locking mechanisms are ideal.
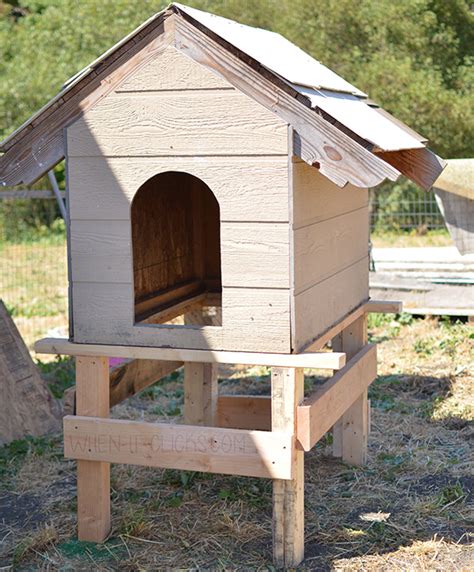
- Solid Walls and Roof: Use sturdy wood or other robust materials for walls and a strong roof to prevent prying or chewing. Avoid gaps.
- Covered Run: An enclosed, predator-proof run attached to the coop provides outdoor space without exposure to aerial threats.
Budget-Friendly Materials and Sourcing Strategies
Saving money starts with smart material choices:
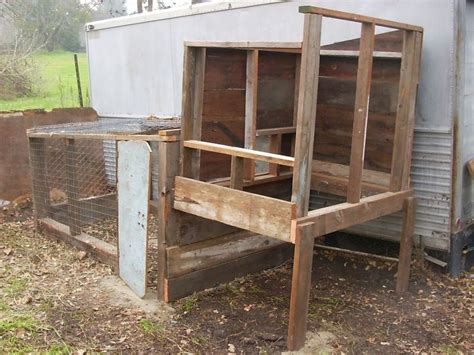
- Reclaimed Lumber: Check local construction sites (with permission), classifieds, or lumberyards for discarded pallets, old fence posts, or scrap wood. Pallets can be disassembled for framing or siding.
- Second-Hand Doors & Windows: Architectural salvage stores, Habitat for Humanity ReStores, or online marketplaces often have affordable, sturdy doors and windows that can be repurposed.
- Bargain Hardware Cloth: Look for sales at farm supply stores or buy in bulk rolls. Sometimes local hardware stores have damaged rolls at a discount.
- Repurposed Roofing: Old corrugated metal sheets, durable tarps, or even shingles from a roof replacement project can be suitable.
- Free Fill Material: Rocks, gravel, or broken concrete chunks can be used in trenches for dig prevention.
Step-by-Step Budget Coop Construction Overview
1. Site Selection and Foundation
Choose a level, well-drained spot. Dig a trench 12-18 inches deep and 6-8 inches wide around the entire perimeter of your planned coop and run. Bury a continuous strip of hardware cloth vertically in this trench, bending the bottom 6 inches outwards in an L-shape to deter digging. Backfill with dirt and rocks.
2. Framing and Walls
Construct a sturdy wooden frame using your reclaimed lumber. Ensure all connections are strong. For the walls, attach siding (reclaimed wood, plywood, or even exterior-grade pallet wood) securely. Cover any ventilation openings or windows with hardware cloth from the inside.
3. Roofing
Install a robust roof with an overhang to protect from rain and sun. Pitch the roof to allow for water runoff. Secure your chosen roofing material (corrugated metal, shingles, heavy-duty tarp) firmly to the frame. Ensure no gaps exist where a determined predator could gain access.
4. Doors and Latches
Build solid doors for both the coop and the run entrance. These must fit snugly within their frames. Install heavy-duty barrel bolts or pad-lockable latches that are difficult for animals to manipulate. Consider a second latch at a different height for added security. For pop-holes, a sliding or hinged door secured with a bolt is effective.
5. Run Enclosure
If building an attached run, enclose all sides and the top with hardware cloth. Ensure the hardware cloth is attached with screws and washers, or heavy-duty staples, every few inches to prevent prying. Don’t forget the buried hardware cloth barrier around the run’s perimeter as well.
Long-Term Security and Maintenance
Predator-proofing isn’t a one-time task. Regularly inspect your coop and run for any signs of wear, loose hardware cloth, compromised latches, or digging attempts. Reinforce weak spots immediately. Keep the area around the coop clear of tall grass and debris that could provide cover for predators. Proper waste management will also reduce attraction to scavengers.
Building a predator-proof chicken coop on a budget is a rewarding project that combines resourcefulness with the peace of mind knowing your flock is safe. By focusing on strong materials, smart design, and diligent maintenance, you can create a secure and comfortable home for your chickens without emptying your wallet.
