


DIY root cellar tips for naturally preserving garden produce year-round?

In an age where sustainable living and self-sufficiency are increasingly valued, rediscovering ancient methods of food preservation can be a game-changer for any home gardener. A DIY root cellar offers an ingenious, energy-efficient way to store your bountiful harvest, keeping vegetables and fruits fresh for months without refrigeration. Imagine enjoying crisp apples in spring or firm potatoes in winter, all from your own backyard!
Understanding the Core Principles of Root Cellaring
At its heart, a root cellar mimics the stable, cool, and humid conditions found naturally underground. Three critical factors contribute to successful long-term storage: temperature, humidity, and ventilation.
- Temperature: Ideally, a root cellar should maintain a consistent temperature between 35-50°F (1-10°C), preventing freezing while slowing down spoilage.
- Humidity: Most root crops thrive in high humidity (85-95%) to prevent dehydration and shriveling.
- Ventilation: Proper airflow is essential to prevent the buildup of ethylene gas (which can ripen and spoil produce) and to circulate fresh air, reducing mold and rot.
Choosing Your DIY Root Cellar Method
The beauty of a DIY root cellar is its adaptability to your space and resources. There’s no one-size-fits-all solution, but several common approaches can be tailored.
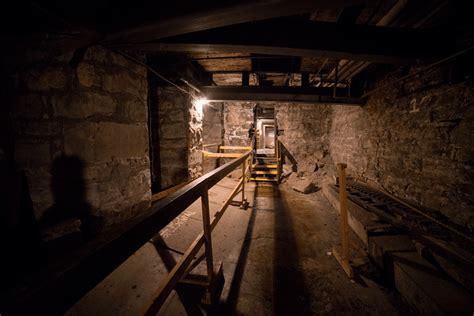
1. In-Ground or Buried Cellar
This is the classic approach, utilizing the earth’s natural insulation. It could be a simple buried trash can or an old freezer, a pre-cast concrete culvert, or even a more elaborate dug-out structure. The key is to bury it deep enough to minimize temperature fluctuations.
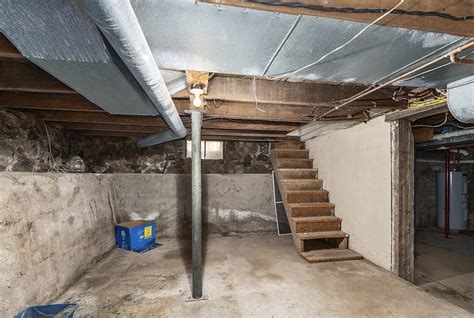
2. Modified Basement or Crawl Space
If you have an unheated basement or a cool, dry crawl space, you might already have the makings of a root cellar. Isolate a corner with insulated walls, add shelving, and ensure good ventilation. This is often the easiest and most cost-effective option for existing homes.
3. Earth-Sheltered Outdoor Pit/Mound
For those with ample garden space, an outdoor pit or mound can be effective. Dig a trench or pit, line it with straw or sand, place your produce, and cover it with more insulating material (straw, leaves) and then a layer of soil. Ensure a drain for excess moisture and a way to access your bounty.
Key Construction Considerations and Materials
Regardless of the method you choose, keep these tips in mind during construction:
- Insulation: Earth itself is a great insulator, but adding straw bales, rigid foam, or wood chips can enhance temperature stability.
- Drainage: Prevent water accumulation, especially for in-ground options. A layer of gravel at the bottom or a slight slope can help.
- Shelving: Use sturdy, rot-resistant materials like untreated wood, plastic crates, or wire shelving. Ensure good air circulation around items.
- Ventilation System: Install an intake vent low to the ground and an exhaust vent high up to create a natural chimney effect for air circulation. Consider screens to keep pests out.
Optimizing Your Root Cellar for Different Produce
Not all produce stores the same. Understanding individual needs is crucial for maximum longevity.
- Cool & Humid (e.g., carrots, beets, potatoes, apples, pears): Store in bins or crates layered with damp sand, sawdust, or peat moss to maintain humidity and prevent shriveling. Keep apples away from other produce, as they release ethylene gas.
- Cool & Dry (e.g., onions, garlic, squash, pumpkins): Require good air circulation and slightly lower humidity. Cure them properly before storing (e.g., onions and garlic need to dry for several weeks). Store on open shelves or hang in mesh bags.
- Freezing Tolerant (e.g., parsnips, sunchokes): Can handle light freezes and often taste sweeter after a frost. Store in moist conditions.
Always inspect produce before storing; remove any bruised or damaged items to prevent spoilage from spreading. Store clean, dry produce. Periodically check your cellar for any signs of rot or pests.

Maintaining Your Root Cellar Year-Round
A root cellar isn’t just a set-it-and-forget-it solution. Regular monitoring and maintenance are key:
- Temperature & Humidity Checks: Use a thermometer and hygrometer to monitor conditions and make adjustments to vents or insulation if needed.
- Airflow: Ensure vents remain clear and unobstructed.
- Pest Control: Keep an eye out for rodents or insects and take preventative measures like sealing gaps and using screens.
- Cleanliness: Empty and clean your root cellar thoroughly once a year, preferably before the new harvest season begins.

Embrace Natural Preservation
Building a DIY root cellar is a rewarding project that reconnects you with time-honored traditions of food preservation. It reduces reliance on electricity, minimizes food waste, and ensures a supply of fresh, homegrown produce long after the growing season ends. With a little planning and effort, your garden’s bounty can nourish you and your family naturally, year-round.


