


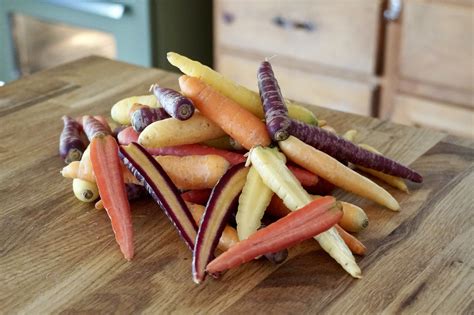
DIY root cellar tips for storing homegrown potatoes & carrots without electricity?
The Ancient Art of Root Cellaring for Modern Homesteads
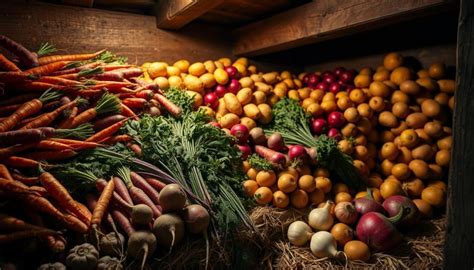
For centuries, root cellars have been the backbone of self-sufficient living, allowing homesteaders to preserve the bounty of their harvest well into the colder months without relying on modern refrigeration. In an age where energy costs are a concern and a desire for sustainable living grows, mastering the art of the DIY root cellar is more relevant than ever. This guide will walk you through the essential tips for creating an effective, electricity-free storage solution specifically for your homegrown potatoes and carrots.
Understanding the Ideal Root Cellar Environment
A successful root cellar mimics nature’s perfect storage conditions: cool temperatures, high humidity, darkness, and good ventilation. The optimal temperature range for most root vegetables is just above freezing, typically between 35-50°F (2-10°C). This low temperature slows down the metabolic processes that lead to spoilage.
Humidity is equally critical. Potatoes and carrots thrive in environments with 85-95% humidity, which prevents them from drying out, shriveling, and losing their crispness. Proper ventilation is also key to preventing the buildup of ethylene gas, which can accelerate ripening and spoilage, and to ensuring fresh air circulation.
Finally, darkness inhibits sprouting and maintains the quality of most root crops. Exposure to light can turn potatoes green and alter their flavor, so a completely dark environment is paramount.
Choosing Your Root Cellar Location
The ideal location for your root cellar capitalizes on natural insulation and temperature stability. Basements, particularly those with an earthen floor, are excellent candidates. If you don’t have a basement, consider an insulated outdoor shed or a dug-out pit that can be covered and insulated. A north-facing wall or a spot under the shade of evergreen trees can also help maintain cooler temperatures.
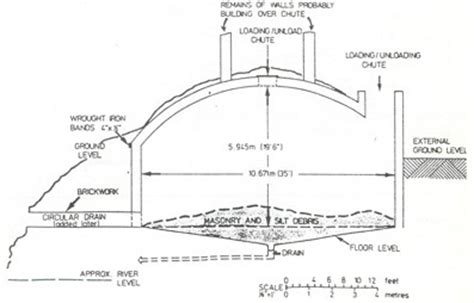
For a new build, consider digging into a hillside or creating a sunken structure. Earth itself is a fantastic insulator, providing a stable temperature buffer against external fluctuations. Ensure the chosen site has good drainage to prevent water accumulation, which can lead to rot and mold.
Essential DIY Root Cellar Construction Principles
Whether you’re repurposing an existing space or building from scratch, several principles apply. Insulation is vital; think thick walls of earth, straw bales, sawdust, or even stacked stone. The goal is to keep the inside temperature stable. For ventilation, a simple system often involves two pipes: an intake pipe near the floor to draw in cool, fresh air, and an exhaust pipe near the ceiling to allow warmer, stale air to escape. Ensure these pipes are screened to prevent pests.
The floor can be bare earth or covered with gravel to help maintain humidity. Shelving and storage bins should allow for good air circulation around the produce. Avoid direct contact with concrete or metal surfaces, which can draw moisture away from vegetables or transfer extreme temperatures.
Specifics for Storing Potatoes
Potatoes require a cool (35-40°F / 2-4°C), dark, and moderately humid (85-90%) environment. Before storing, cure your potatoes for 1-2 weeks in a cool, dark, humid place to allow their skins to toughen and any cuts to heal. This greatly improves their storage life.
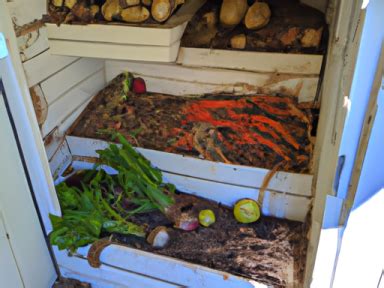
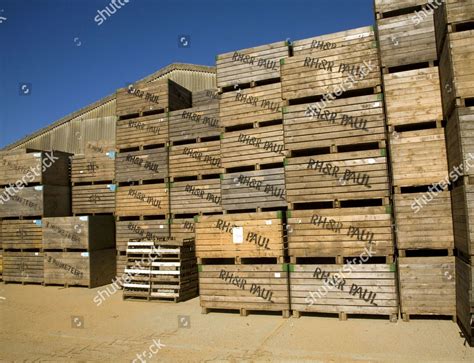
Store potatoes in breathable containers like wooden crates, burlap sacks, or perforated plastic bins. Never wash potatoes before storage; simply brush off excess dirt. Keep them away from fruits that produce ethylene gas, such as apples, as this can accelerate sprouting. Inspect your potatoes periodically and remove any that show signs of spoilage to prevent it from spreading.
Specifics for Storing Carrots
Carrots prefer a very cool (32-38°F / 0-3°C) and highly humid (90-95%) environment. To prepare carrots for storage, trim off all the green tops, leaving about an inch of stem. Do not wash them, as the soil clinging to them offers a protective layer. Let them air dry briefly if they are very moist.
The most common and effective method for storing carrots in a root cellar is to layer them in moist sand, sawdust, or peat moss. Fill a bin or bucket with a few inches of moist medium, then place a layer of carrots (not touching each other), cover with more medium, and repeat. This method keeps them moist and prevents them from shriveling. You can also store them in perforated plastic bags or containers with a damp towel to maintain humidity, checking them regularly.
Maintenance and Monitoring
A root cellar isn’t a set-it-and-forget-it solution. Regular monitoring is crucial. Check the temperature and humidity levels with a thermometer and hygrometer. Adjust ventilation if condensation is building up or if the air feels stale. Inspect your stored vegetables weekly for any signs of spoilage, rot, or pest activity. Promptly remove any compromised produce to prevent contamination of healthy items.
Proper airflow between stored items is essential. Avoid overcrowding bins or stacking vegetables too high. Good organization will also make inspections easier and help you rotate older produce first.
Embrace Self-Sufficiency with Your Own Root Cellar
Building a DIY root cellar for your homegrown potatoes and carrots is a rewarding project that reconnects you with traditional food preservation methods. It’s an empowering step towards greater food security and sustainability, allowing you to enjoy your harvest long after the growing season ends, all without consuming a single watt of electricity. With careful planning and attention to environmental conditions, your root cellar can become a valuable asset to your homestead for years to come.
