


DIY root cellar tips for year-round fresh garden produce?
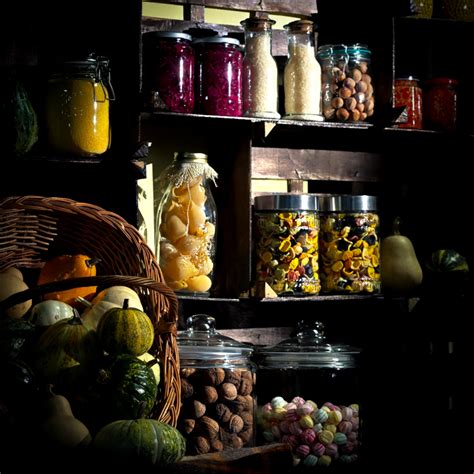
Imagine having access to crisp carrots, firm potatoes, and vibrant apples from your own garden, even in the dead of winter. A root cellar makes this dream a reality, offering a simple, sustainable, and energy-efficient way to preserve your harvest long after the growing season ends. Building your own root cellar is a rewarding DIY project that connects you more deeply with your food source and reduces reliance on refrigeration.
Why Build a Root Cellar?
Root cellars leverage natural, stable conditions to extend the shelf life of many fruits and vegetables. By maintaining cool temperatures and high humidity, they prevent spoilage, moisture loss, and sprouting, all without using electricity. This not only saves on energy bills but also ensures a steady supply of nutritious, homegrown produce for your family throughout the year.
Beyond the practical benefits, a root cellar fosters self-sufficiency and allows you to enjoy the full bounty of your garden, minimizing waste and maximizing your efforts as a gardener.
Essential Root Cellar Principles
The success of any root cellar hinges on three critical environmental factors: temperature, humidity, and ventilation. Ideally, a root cellar should maintain a cool temperature, typically between 35-50°F (2-10°C), preventing freezing while slowing down respiration and ripening processes. Consistency is key, so avoiding extreme fluctuations is vital.
High humidity, usually 85-95%, is crucial to prevent produce from drying out and shriveling. Many root vegetables are largely water, and maintaining moisture in the air keeps them plump and fresh. Lastly, good ventilation is necessary to allow for air circulation, preventing the buildup of ethylene gas (which can accelerate ripening and spoilage) and ensuring fresh air for the produce.
Choosing Your Design and Location
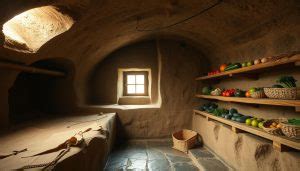
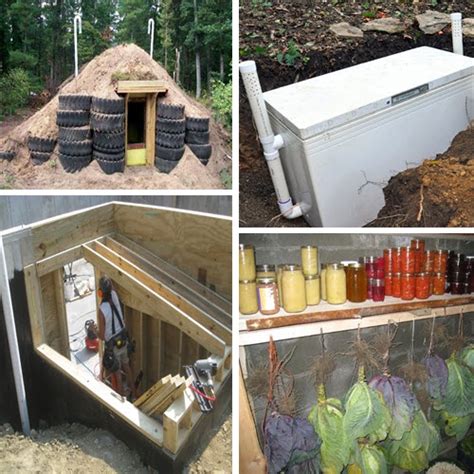
DIY root cellars come in various forms, adapting to different climates, budgets, and available space. Options range from simple buried garbage cans or barrels for smaller yields, to insulated outdoor sheds, or even sections of a basement modified for root storage. The most traditional and effective designs involve excavation to take advantage of the earth’s insulating properties.
When selecting a location, consider natural drainage to prevent flooding, proximity to your home for easy access, and areas that naturally stay cool and shaded. For underground options, ensure the soil is stable and well-draining. A north-facing slope can be ideal for an earth-sheltered design, as it receives less direct sunlight.
Construction and Materials
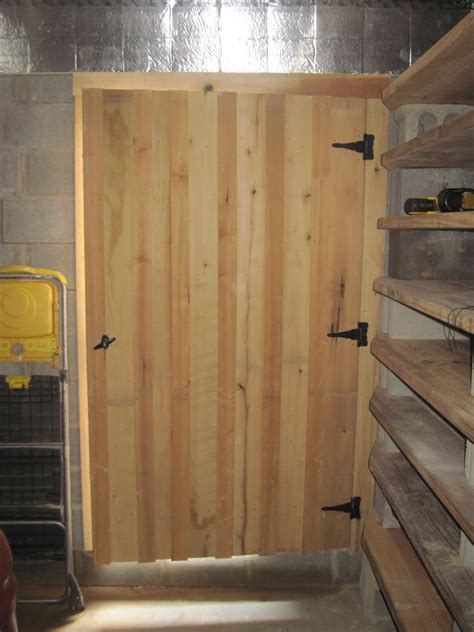
Regardless of the design, several construction elements are common. Walls can be made from concrete blocks, treated lumber, or even repurposed stone. Insulation is paramount; consider rigid foam insulation for above-ground sections or an earth berm for passive insulation. A sturdy, insulated door is essential to seal the space effectively.
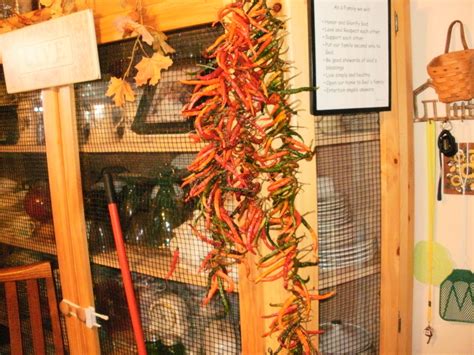
For ventilation, you’ll need an intake vent near the floor and an exhaust vent near the ceiling to create a chimney effect, drawing cool air in and expelling warmer, stale air. These vents should be screened to keep pests out. Inside, consider sturdy, slatted shelves or bins that allow for air circulation around your produce. Wood, plastic, or metal shelving units can work, but avoid materials that might harbor mold.
Storing Your Harvest Successfully
Proper preparation of produce before storage significantly impacts its longevity. Harvest items when they are mature and free of blemishes. Cure certain crops, like potatoes, onions, and garlic, for a few weeks in a warm, dry, well-ventilated area before moving them to the cellar. This hardens their skins and improves storage life.
Different vegetables have different storage requirements. Root vegetables like carrots, beets, and parsnips do well packed in damp sand, sawdust, or peat moss to maintain moisture. Potatoes and apples prefer slightly cooler, darker conditions but shouldn’t be stored together, as apples release ethylene gas that can cause potatoes to sprout. Organize your cellar to accommodate these varying needs, ensuring air can circulate around each item.
Maintenance for Longevity
Once your root cellar is operational, regular monitoring is crucial. Check temperatures and humidity levels periodically with a thermometer and hygrometer. Adjust ventilation as needed to maintain optimal conditions. Inspect your stored produce regularly, removing any items that show signs of spoilage to prevent it from spreading to others. Keep the cellar clean and free of debris, and address any pest issues promptly.
Conclusion
Building a DIY root cellar is an empowering project that enhances your food security and allows you to enjoy the fruits (and vegetables!) of your labor year-round. With careful planning, attention to environmental principles, and consistent maintenance, your homemade root cellar will become an invaluable asset to your sustainable homestead, providing you with fresh, homegrown produce through every season.
