


DIY rustic pantry shelves for home canning storage?
Crafting Your Own Rustic Canning Haven
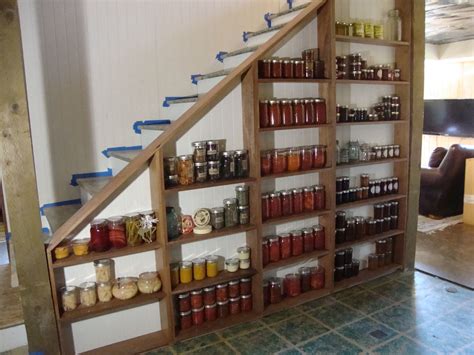
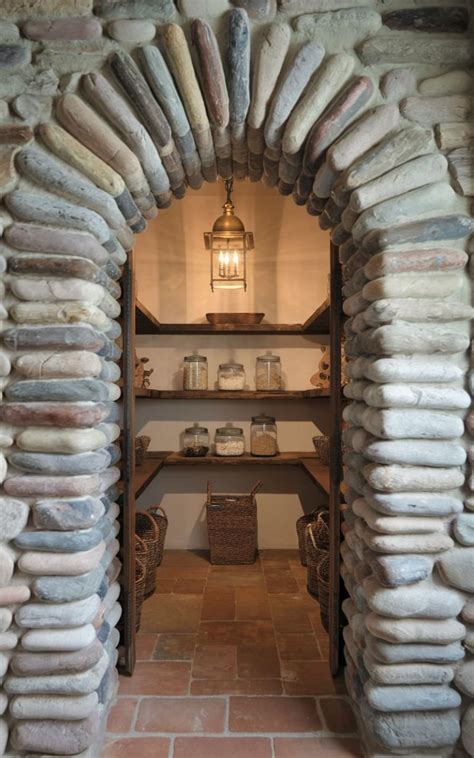
For avid home canners, a well-organized pantry isn’t just a convenience; it’s a necessity. Rows of beautifully preserved fruits, vegetables, and jams deserve a sturdy, accessible, and aesthetically pleasing home. While many opt for standard wire or pre-fabricated shelving, building DIY rustic pantry shelves offers a unique blend of durability, personalized charm, and the satisfaction of a handmade solution perfect for the weight of glass jars. This guide will walk you through creating shelves that are not only practical for heavy loads but also add a touch of warm, farmhouse character to your kitchen or storage area.
Planning Your Perfect Canning Storage
Before you even pick up a saw, meticulous planning is key. Consider the exact space available in your pantry or storage area. Measure the width, height, and depth, keeping in mind door swings and existing fixtures. Think about the types and quantities of jars you typically store. Quart jars require more height than pint or half-pint jars, and sufficient depth ensures jars aren’t precariously close to the edge. Aim for a shelf depth of at least 10-12 inches to accommodate most standard canning jar sizes comfortably. For spacing between shelves, a good rule of thumb is 12-14 inches to allow for easy access and handling of jars.
- Measure Everything: Wall dimensions, available floor space, existing obstacles.
- Jar Dimensions: Account for the height and width of your largest canning jars.
- Weight Capacity: Canning jars are heavy! Plan for sturdy materials and proper support.
- Design Aesthetic: Rustic can mean many things – reclaimed wood, distressed finishes, simple planks.
Gathering Materials and Tools
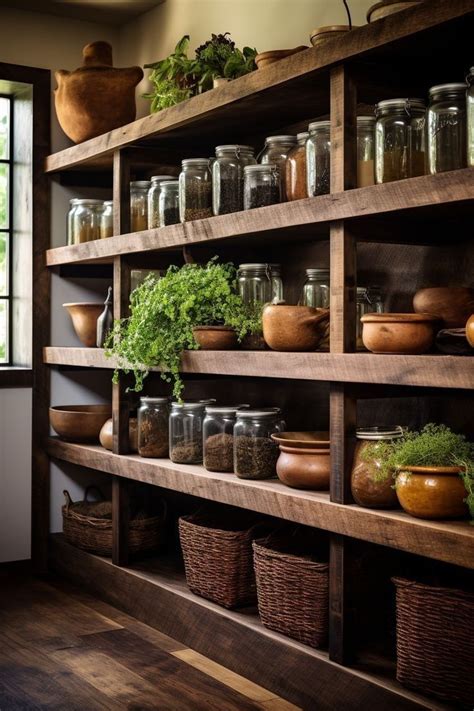
The beauty of rustic shelving often lies in its simplicity and the character of the materials. For sturdy canning shelves, choose durable wood. Options include rough-sawn lumber, pine boards, or even reclaimed barn wood for an authentic look. Avoid particle board or MDF as they won’t hold up to the weight and moisture fluctuations.
Essential Materials:
- Wood Planks: Choose a species known for strength (e.g., pine, fir, oak).
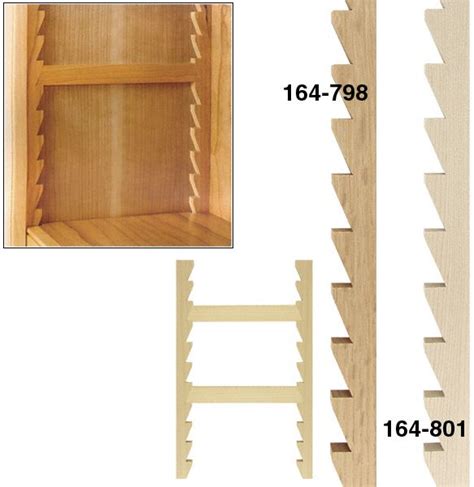
- Support Brackets or Cleats: Heavy-duty metal brackets or wooden cleats cut from 2x2s or 2x4s.
- Wood Screws/Lag Screws: Sufficiently long and robust for mounting shelves and supports into wall studs.
- Wood Stain or Sealant: To protect the wood and enhance its rustic appeal.
- Sandpaper: Various grits for smoothing rough edges.
Necessary Tools:
- Tape measure
- Pencil
- Saw (circular saw, miter saw, or hand saw)
- Drill/driver with appropriate bits
- Stud finder
- Level
- Safety glasses and gloves
Step-by-Step Construction Guide
1. Measure and Cut Your Wood:
Based on your planning, precisely measure and cut your wooden planks to the desired shelf lengths. If using cleats for support, cut these to run along the back and sides of where each shelf will sit. Sand all cut edges and surfaces to prevent splinters and prepare for finishing.
2. Locate Wall Studs:
Using a stud finder, mark the locations of the wall studs. This is critical for ensuring your shelves are securely anchored and can bear the heavy weight of canned goods. Never rely on drywall anchors alone for canning storage.
3. Install Supports/Brackets:
Attach your chosen support system. If using metal brackets, space them evenly along the length of each shelf, screwing them securely into the wall studs. For a cleat system, screw the back cleats into the studs at the desired shelf height. Then, attach the side cleats to the back cleat and into the wall studs where possible, forming a strong ‘L’ or ‘U’ shape to support the shelf.
4. Place and Secure the Shelves:
Carefully place your cut and sanded wooden planks onto the installed supports or cleats. If using cleats, you can secure the shelf planks to the cleats from above or below with wood screws. If using metal brackets, simply rest the planks on them, or optionally, screw up into the planks from below for added stability. Use a level to ensure each shelf is perfectly horizontal.
5. Apply Finish (Optional but Recommended):
For a true rustic look, consider staining the wood a dark walnut, espresso, or even a whitewash. Apply a protective sealant or polyurethane. This will not only enhance the aesthetic but also protect the wood from moisture and spills, making your shelves easier to clean and more durable over time.
Styling and Organization Tips
Once your rustic shelves are built, it’s time to fill them! Arrange your home-canned goods by type or date. Consider adding simple labels to the lids or fronts of jars for quick identification. Woven baskets on lower shelves can hold overflow items, and small rustic accents like enamelware or vintage signs can enhance the farmhouse feel. The natural character of the wood combined with the vibrant colors of your preserves will create an inviting and highly functional pantry space.

Enjoy Your Handcrafted Canning Storage!
Building your own rustic pantry shelves for home canning storage is a rewarding DIY project that yields both practical benefits and aesthetic appeal. You’ll gain robust storage tailored precisely to your needs, a beautiful focal point in your pantry, and the pride of having created something durable and charming with your own hands. Get ready to organize your canning bounty with style and confidence!
