Easiest canning methods for surplus garden produce to ensure real food all year?
The satisfaction of harvesting your own garden produce is immense, but what do you do when your bountiful yield surpasses what you can eat fresh? The answer for many seeking a sustainable, real-food lifestyle lies in home canning. Transforming your surplus into shelf-stable jars of goodness allows you to enjoy the taste of summer long after the season ends, ensuring your pantry is stocked with wholesome food, free from preservatives and artificial ingredients, all year round.
Why Can Your Garden’s Bounty?
Canning isn’t just an old-fashioned chore; it’s a vital skill for food independence and smart meal planning. By preserving your fruits and vegetables at their peak freshness, you lock in nutrients and flavor, drastically reducing food waste. Imagine savoring homemade tomato sauce in winter made from your own sun-ripened tomatoes, or pulling out a jar of sweet peach preserves for a taste of summer. It’s an economical, environmentally friendly, and deeply satisfying way to nourish yourself and your family.
Essential Equipment for Beginners
Don’t be intimidated by the idea of canning; starting simple is key. For water bath canning, you’ll primarily need:
- A large stockpot with a rack (or a dedicated water bath canner)
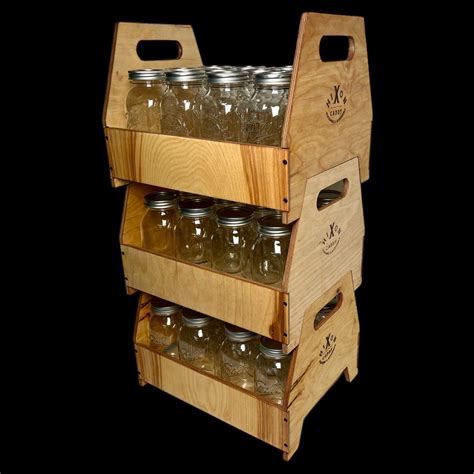
- Glass canning jars with lids and bands (Mason jars are standard)
- Jar lifter, canning funnel, bubble remover/headspace tool
- Basic kitchen utensils: measuring cups, spoons, clean towels
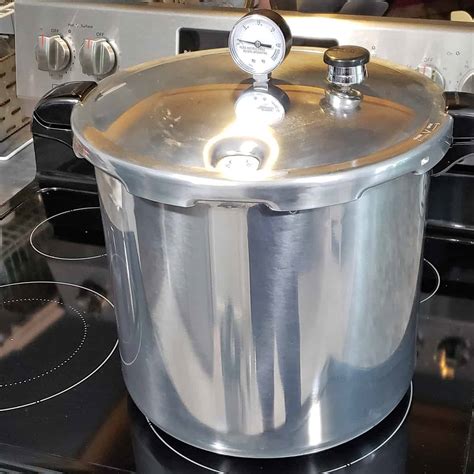
For pressure canning, you’ll need a specific pressure canner, which is a heavier-duty appliance designed to reach higher temperatures safely. Both types require careful adherence to tested recipes and procedures.
Water Bath Canning: Your Entry Point
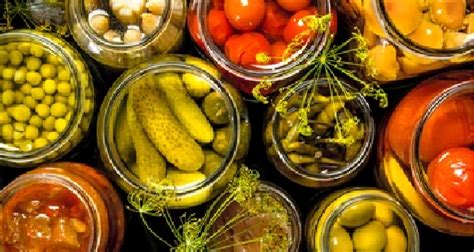
Water bath canning is the easiest method and ideal for high-acid foods. This includes most fruits (berries, peaches, apples), jams, jellies, pickles, and acidified tomatoes. The process involves filling jars with your prepared food, sealing them with lids and bands, and then submerging them in boiling water for a specified time. The high acidity and heat kill spoilage organisms and create a vacuum seal, preserving the food.
Common Foods for Water Bath Canning:
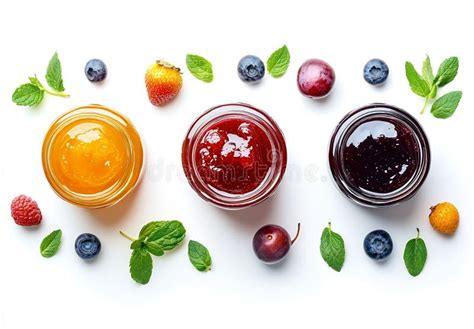
- Fruits: Peaches, berries, applesauce, cherries
- Jams & Jellies: Strawberry jam, grape jelly, apple butter
- Pickles: Dill pickles, bread and butter pickles, pickled beets
- Tomatoes: Crushed tomatoes, salsa, tomato juice (often with added acid like lemon juice or citric acid)
Always use up-to-date, tested recipes from reputable sources like the National Center for Home Food Preservation (NCHFP) to ensure safety and quality.
Pressure Canning: For Low-Acid Foods
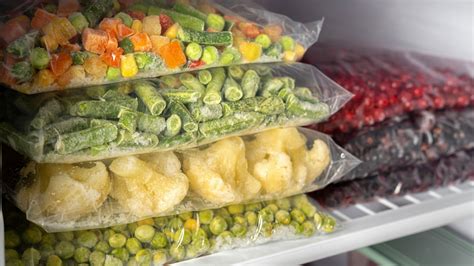
For vegetables (green beans, corn, carrots, potatoes), meats, poultry, and mixed recipes like soups, pressure canning is essential. These foods are low in acid, meaning they require higher temperatures than boiling water can provide to destroy dangerous bacteria like Clostridium botulinum. A pressure canner uses steam under pressure to reach temperatures typically between 240-250°F (116-121°C).
Common Foods for Pressure Canning:
- Vegetables: Green beans, peas, corn, carrots, potatoes
- Meats & Poultry: Chicken, beef, venison, pork
- Soups & Stocks: Broths, vegetable soup (carefully follow tested recipes)
- Beans: Dried beans rehydrated and canned
Pressure canning might seem daunting initially, but with proper instruction and a reliable canner, it’s a straightforward and safe method to preserve a wide variety of staples for your pantry.
Safety First and Troubleshooting Tips
Regardless of the method, safety is paramount in home canning. Always:
- Use only tested recipes from trusted sources.
- Inspect jars for chips or cracks and use new lids each time.
- Follow processing times and pressure levels precisely.
- Ensure proper headspace in jars.
- Check seals after jars have cooled for 12-24 hours. A properly sealed lid will be concave and won’t flex when pressed.
If a jar doesn’t seal, refrigerate the contents and consume within a few days, or reprocess within 24 hours using a new lid. Never consume food from jars with bulging lids, mold, or an off odor, as these are signs of spoilage.
Making the Most of Your Harvest
Starting with small batches and familiar recipes can build your confidence. As you become more comfortable, you can explore a wider array of preserves, from exotic fruit chutneys to hearty stews. Canning not only provides a bounty of real food but also connects you deeply to your garden, the seasons, and the satisfying tradition of self-sufficiency. Embrace these methods, and your pantry will soon be a testament to your hard work, offering delicious, wholesome food all year long.