Easy compost recipe for kitchen scraps & garden waste?

Unlock the Power of Composting: Your Easy Guide
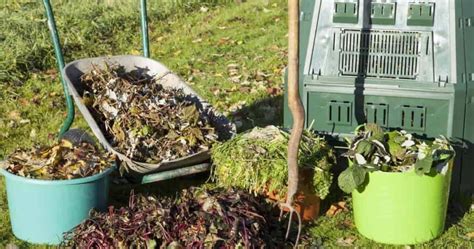
Composting is one of the most impactful things you can do for your garden and the environment. It transforms what many consider waste into ‘black gold’ – a nutrient-rich soil amendment that nourishes plants, improves soil structure, conserves water, and diverts organic material from landfills. Far from being a complicated science experiment, creating your own compost from kitchen scraps and garden waste is surprisingly straightforward once you understand a few basic principles.
The Golden Rule: Balancing Greens and Browns
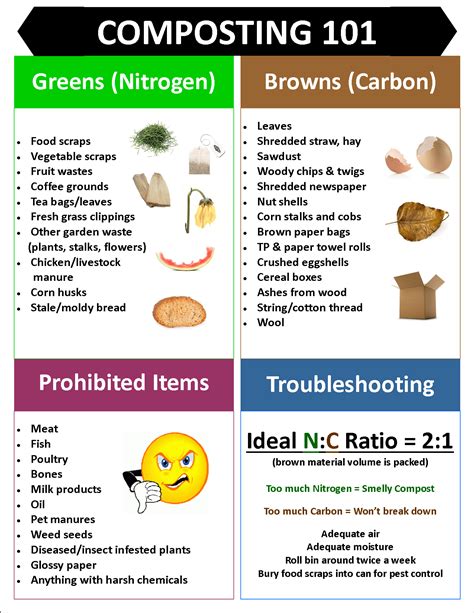
The secret to successful composting lies in achieving the right balance between ‘greens’ (nitrogen-rich materials) and ‘browns’ (carbon-rich materials). Think of it as a diet for your compost pile. A good rule of thumb is to aim for roughly a 2:1 or 3:1 ratio of browns to greens by volume. Don’t stress about exact measurements; approximation works wonders!
Greens: Your Nitrogen Powerhouses
These materials are typically moist and fresh, providing the nitrogen that fuels the decomposition process. They heat up your compost pile, speeding things along. Excellent green materials include:
- Kitchen Scraps: Fruit and vegetable peels, cores, rinds (avoid citrus in large quantities), coffee grounds, tea bags, eggshells (crushed).
- Garden Waste: Fresh grass clippings, green plant trimmings, spent flowers, weeds (avoid invasive or seed-bearing weeds).
- Other: Manure from herbivores (chickens, rabbits, horses, cows – avoid pet waste).
Browns: Your Carbon Foundation
Brown materials are dry and provide the bulk and structure for your compost pile, allowing air to circulate. They’re rich in carbon, which is essential for the microbes doing the work. Great brown materials include:
- Fallen Leaves: Dried leaves from deciduous trees.
- Woody Materials: Small twigs, wood chips, sawdust (in moderation).
- Paper & Cardboard: Shredded newspaper, plain cardboard (torn into small pieces, remove tape and labels), paper towel rolls.
- Other: Straw, hay, pine needles, dry plant stalks.
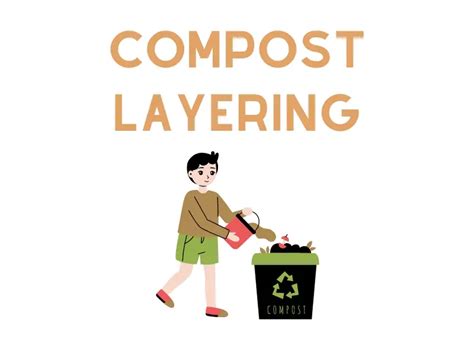
Building Your Easy Compost Pile: The Layering Method
Once you’ve gathered your greens and browns, building the pile is simple. While not strictly necessary, layering helps distribute materials evenly and ensures proper aeration.
- Start with Browns: Lay down a 4-6 inch layer of coarse brown materials (like small twigs or straw) at the bottom. This provides drainage and air circulation.
- Add Greens: Follow with a 2-4 inch layer of green materials.
- Add Browns Again: Cover your greens with another 4-6 inch layer of browns.
- Repeat & Moisten: Continue alternating layers. As you build, sprinkle each layer lightly with water to ensure it’s damp, like a wrung-out sponge.
- Chop It Up: The smaller your materials, the faster they will decompose. Chop larger scraps and shred leaves before adding them.
The Essential Elements: Water & Air
Beyond greens and browns, water and air are critical for an active compost pile. Without them, decomposition slows to a crawl or becomes anaerobic (smelly!).
- Moisture: Your compost pile should feel consistently damp, like a well-wrung sponge. If it’s too dry, decomposition stops. If it’s too wet, it becomes waterlogged and anaerobic. Add water during dry spells or if materials feel too dry.
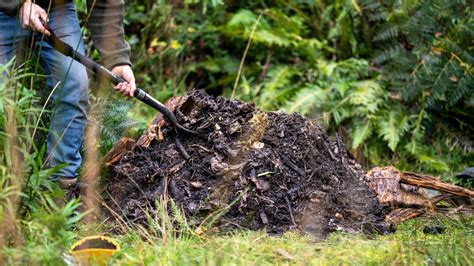
- Aeration: The microbes need oxygen! Turn your compost pile regularly with a pitchfork or aerating tool. Aim for once a week or whenever you add a significant amount of new material. This mixes the pile, adds oxygen, and prevents compaction.
What NOT to Put in Your Compost
To avoid pests, odors, and potential pathogens, steer clear of these items:
- Meat, fish, bones, dairy products, oils, and greasy foods (attract pests, create odors).
- Diseased plants (can spread disease).
- Weeds that have gone to seed or invasive weeds (can propagate in your garden).
- Pet waste (dogs, cats – contains pathogens).
- Chemically treated wood or plants.
Troubleshooting Common Compost Issues
- Smelly Pile: Too many greens, too wet, or not enough air. Add more browns, turn the pile, or reduce watering.
- Dry Pile: Not enough moisture. Add water as you turn.
- No Activity/Cold Pile: Not enough greens or too dry. Add more fresh green material and ensure adequate moisture.
- Pests (Rodents): Likely due to prohibited items like meat or dairy. Remove them, turn the pile, and consider a pest-proof bin.
When is Your Compost Ready?
Patience is a virtue in composting, but you’ll know your ‘black gold’ is ready when it meets these characteristics:
- It’s dark brown or black.
- It has an earthy, fresh smell (like forest soil), not rotten or sour.
- The original materials are no longer recognizable.
- It has a crumbly texture.
Depending on your method and maintenance, this can take anywhere from 2 months to a year.
Harvesting and Using Your Black Gold
Once your compost is ready, you can simply scoop it out from the bottom or side of your bin, or sift it to remove any larger, undecomposed pieces (which can go back into the new pile). Use it to:
- Amend garden beds before planting.
- Top-dress existing plants and trees.
- Mix into potting soil for containers.
- Improve lawn health.
Start your composting journey today, and watch your kitchen and garden waste transform into a valuable resource that enriches your soil and fosters a more sustainable home.