


Easy DIY chicken coop plans for beginners on a budget?

Why Build Your Own Chicken Coop?
Embarking on the journey of raising backyard chickens is exciting, and building their home yourself can be one of the most rewarding parts. Not only does it offer significant cost savings compared to purchasing a pre-built coop, but it also allows you to customize it perfectly for your flock’s needs and your backyard’s aesthetic. For beginners on a budget, DIYing a chicken coop is a smart choice that provides hands-on learning and a sense of accomplishment.
Essential Features for a Beginner-Friendly Coop
Even on a budget, certain features are non-negotiable for the health and safety of your chickens. Prioritize these elements when planning your build:
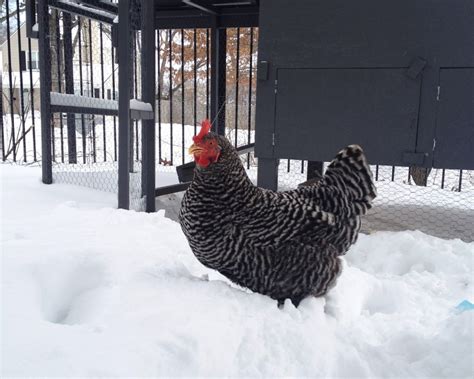
- Adequate Space: Ensure at least 2-4 square feet per chicken inside the coop and 8-10 square feet per chicken in the run. Overcrowding leads to stress and health issues.
- Ventilation: Proper airflow prevents respiratory problems and heat stress. Include screened windows or vents high up to allow hot air to escape without creating drafts at ground level.
- Predator Protection: This is paramount. Use sturdy hardware cloth (not chicken wire, which isn’t predator-proof) for all openings and ensure no gaps. Consider burying hardware cloth a foot deep around the perimeter to deter burrowing predators.
- Nest Boxes: Provide one nest box for every 3-4 hens. They don’t need to be fancy; repurposed plastic bins or wooden crates work well.
- Roosting Bars: Chickens instinctively roost at night. Provide sturdy bars or branches positioned higher than the nest boxes to prevent chickens from sleeping in them.
- Easy Cleaning: Design your coop for quick and easy cleaning to maintain hygiene and prevent disease. A removable droppings board under roosts can be a lifesaver.

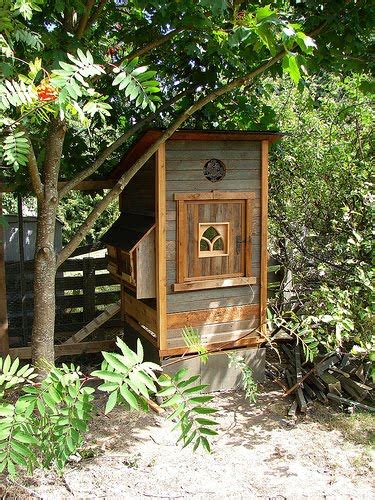
Simple & Budget-Friendly Coop Designs
You don’t need complex blueprints to build a functional coop. Here are a few beginner-friendly designs:
- The A-Frame Coop: This design is relatively simple to build, often using minimal materials, and provides good shelter with a natural slope for water runoff. It’s often combined with an attached run.
- Repurposed Pallet Coop: Pallets are a fantastic free or low-cost resource. With a little deconstruction and planning, pallets can form the walls and even the roof base of a sturdy coop. Be sure to use heat-treated (HT stamped) pallets and avoid chemically treated (MB stamped) ones.
- Mini Tractor Coop: For smaller flocks (2-4 chickens) and those who want to move their coop regularly to fresh pasture, a small chicken tractor is ideal. It combines the coop and run into a mobile unit.

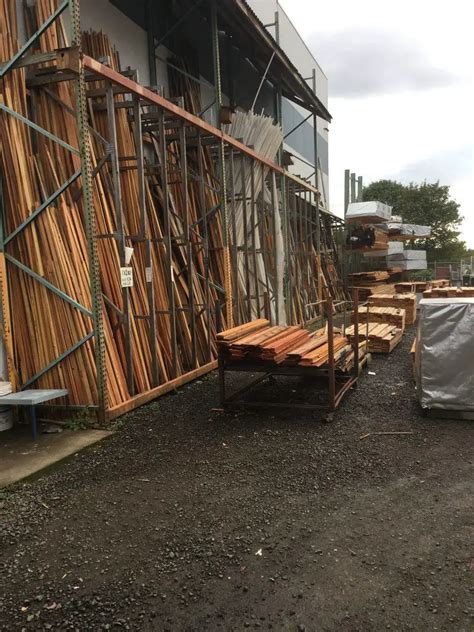
Materials: Where to Save Money Without Compromising Safety
Budgeting for materials is key. Look for opportunities to source materials affordably:
- Reclaimed Lumber: Check local construction sites (with permission!), online marketplaces, or even dumpsters for scrap wood. Old fence posts, deck boards, or framing lumber can be repurposed.
- Pallets: As mentioned, free pallets are a goldmine.
- Hardware Cloth: This is one area where you shouldn’t skimp. While it costs more than chicken wire, its strength against predators like raccoons and foxes is invaluable. Buy it in bulk if possible.
- Roofing: Corrugated metal sheets (new or salvaged), tarps, or even shingles from a roofing project can provide weather protection.
- Windows/Vents: Repurpose old window screens or frames, or simply cover openings with hardware cloth for ventilation.
- Nest Boxes/Roosts: Old plastic bins, wooden crates, sturdy tree branches, or even 2x4s can be used.
Basic Steps to Building Your Budget Coop
While specific plans will vary, the general process involves these steps:
- Plan & Design: Sketch out your coop, considering your flock size, space, and chosen design. Measure twice, cut once!
- Build the Base/Frame: Create a sturdy foundation. This might involve treated lumber sleepers directly on the ground (elevated if possible to prevent rot and pest access) or a full wooden frame.
- Construct Walls: Frame out your walls, leaving openings for doors, windows, and vents. Attach your chosen siding (e.g., pallet wood, reclaimed plywood).
- Install Roofing: Build a simple roof frame with a slight slope for drainage. Attach your roofing material securely.
- Add Interior Elements: Install roosting bars and nest boxes. Ensure they are securely mounted.
Once the main structure is up, focus on predator-proofing. Cover all openings with hardware cloth, ensuring no gaps larger than half an inch. Add latches that predators can’t easily open. Consider painting or sealing exterior wood for longevity.
Budget-Saving Tips & Tricks
- Scour Free Resources: Check Craigslist, Facebook Marketplace, Freecycle, and local community groups for free or cheap building materials.
- Utilize Sales: Keep an eye out for sales on hardware cloth, screws, and other essentials at your local hardware store.
- Borrow Tools: Instead of buying expensive tools, see if friends, family, or neighbors have tools you can borrow.
- Start Small: You can always expand later. A smaller coop for a few chickens requires less material and less initial investment.
- DIY the Run Too: Extend your budget savings by building the attached run with salvaged materials and hardware cloth.
Building your own chicken coop, especially as a beginner on a budget, is a gratifying project. With careful planning, resourceful material sourcing, and a focus on essential features, you can provide your flock with a safe, comfortable, and affordable home.


