


Easy DIY steps to build a sturdy raised garden bed?

Why Build a Raised Garden Bed?
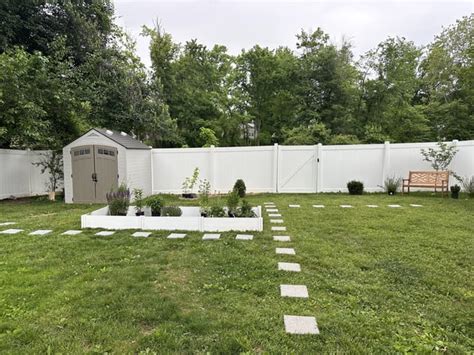
Raised garden beds are an excellent addition to any backyard, offering numerous benefits for gardeners of all skill levels. They provide better drainage, prevent soil compaction, warm up faster in spring, and can deter pests. Moreover, they make gardening more accessible by reducing bending and kneeling, and allow for easier control over soil quality. Building your own can be a rewarding project that enhances your outdoor space and boosts your gardening success.
Planning Your Raised Garden Bed
Before you start cutting wood, a little planning goes a long way. Consider the best location for your raised bed, ideally somewhere that receives at least 6-8 hours of direct sunlight per day. Think about the size and shape that will fit your space and needs. Common dimensions are 4×8 feet, allowing easy access to the center without stepping on the soil. The height should be comfortable for you, typically 10-24 inches. For materials, untreated wood like cedar or redwood is popular for its natural rot resistance, but pressure-treated wood (rated for garden use) or even simple pine can work with proper lining. You’ll also need to decide on corner bracing and fastening methods.
Gathering Your Materials and Tools
Having everything ready before you begin will make the construction process smoother. Here’s a list of common materials and tools you’ll need:
Materials:
- Lumber: For example, 2×10 or 2×12 boards (untreated cedar, redwood, or pine).
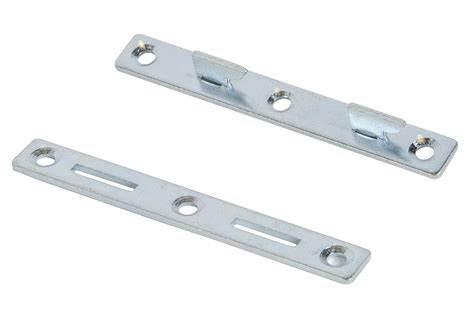
- Corner Posts (Optional): 4×4 posts cut to the height of your bed for extra stability.
- Fasteners: 3-inch exterior-grade screws or galvanized deck screws.
- Weed Barrier Fabric: Or hardware cloth (for gophers/voles).
- Optional: Landscape fabric or plastic sheeting for lining.
Tools:
- Tape measure
- Pencil or marker
- Circular saw or miter saw (or handsaw)
- Drill/driver with appropriate bits
- Level
- Square
- Safety glasses and gloves
Step-by-Step Construction Guide
Step 1: Measure and Cut Your Boards
Based on your planned dimensions, measure and cut your lumber. For a 4×8-foot bed with two layers (20 inches high using 2x10s), you’ll need two 8-foot boards and two 4-foot boards for each layer. So, four 8-foot boards and four 4-foot boards in total. Ensure all cuts are straight and accurate for a snug fit.
Step 2: Assemble the First Layer
Lay out the first layer of boards on a flat surface to form your rectangle or square. Align the ends of the shorter boards with the ends of the longer boards. Predrill pilot holes to prevent splitting, then fasten the boards together at the corners using two or three screws per joint. If using corner posts, stand them upright at each corner and screw the boards into the posts, ensuring everything is square and level.
Step 3: Stack Additional Layers
Once the first layer is assembled, place it in its final garden location. Use your level to ensure the base is flat. Then, stack the next layer of boards directly on top of the first. Offset the corner joints from the layer below for added strength, like bricklaying. Secure the new layer to the layer below by screwing downwards into the boards, and into the corner posts if you’re using them. Repeat for any additional layers until your desired height is reached.
Step 4: Add a Protective Liner (Optional)
To prolong the life of your wooden bed and prevent weeds from growing up from the ground, you can add a liner. Staple a weed barrier fabric to the inside walls of the bed, ensuring it extends slightly above the top edge. If gophers or voles are a concern, lay hardware cloth (1/4-inch or 1/2-inch mesh) at the bottom of the bed before adding soil. This creates a physical barrier without impeding drainage.
Filling Your Raised Bed and Planting
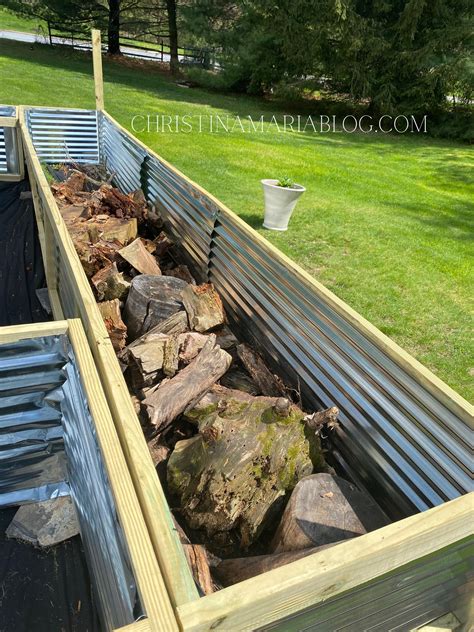
With the structure complete, it’s time to fill your raised bed. A common method is to use the “lasagna gardening” technique, layering different organic materials at the bottom for fertility and drainage. Start with a layer of cardboard (to suppress weeds), then add twigs, leaves, straw, compost, and finally, top it off with a high-quality raised bed soil mix. Aim for a mix rich in organic matter that drains well.
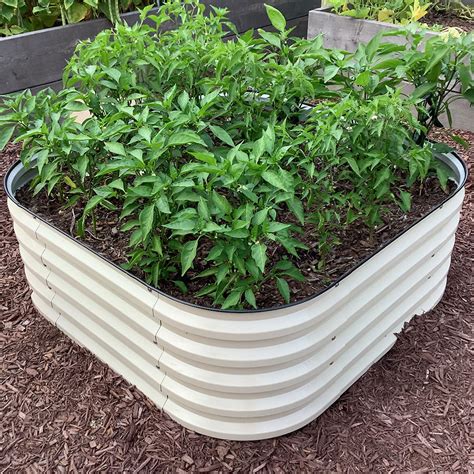
Once filled, you’re ready to plant! Choose vegetables, herbs, or flowers that thrive in your climate and sunlight conditions. Space plants according to their mature size, remembering that raised beds often allow for slightly closer planting due to better soil conditions.
Maintenance and Enjoyment
Your new raised garden bed will require regular watering, especially in dry periods, as raised beds can dry out faster than in-ground gardens. Mulch can help retain moisture and suppress weeds. Monitor for pests and diseases, and practice crop rotation in future seasons to maintain soil health. Enjoy the fruits (and vegetables) of your labor, knowing you built a sturdy, productive garden space with your own hands!

Conclusion
Building a raised garden bed is a fulfilling DIY project that significantly upgrades your gardening experience. With careful planning and these straightforward steps, you can construct a durable and beautiful garden bed that will provide bountiful harvests for years to come. Get started today and transform your backyard into a thriving oasis!
