Foolproof canning recipes for garden bounty without special equipment?
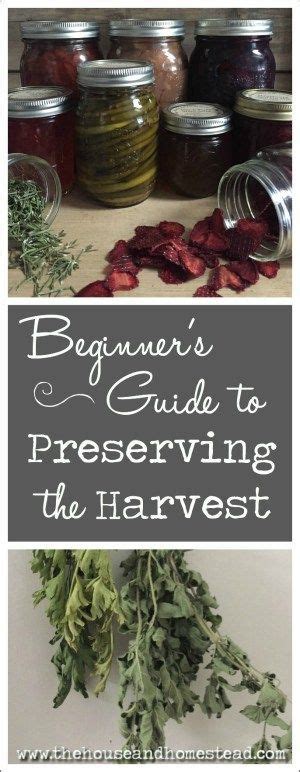
Are you looking at your overflowing garden and dreaming of preserving its goodness, but intimidated by the perceived need for complex equipment? Good news! You don’t need a professional cannery setup to enjoy the satisfaction of homemade preserves. Many delicious and safe canning recipes can be made with items you likely already have in your kitchen.

Demystifying “Special Equipment” for Home Canning
When people think of canning, they often picture bulky pressure canners and an array of specialized tools. While these can certainly make the process more efficient, they aren’t always necessary, especially for high-acid foods. For water bath canning, which is suitable for fruits, jams, jellies, pickles, and acidified tomatoes/salsa, you primarily need:
- Large stockpot: Deep enough to cover jars by at least an inch of water.
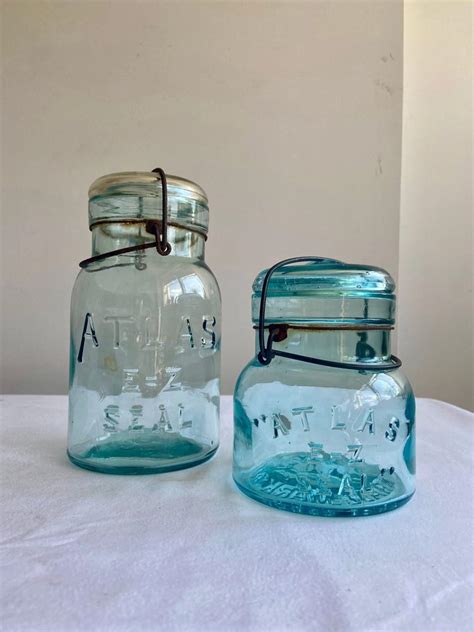
- Canning jars with new lids and bands: Crucial for safe sealing.
- Jar lifter (optional but recommended): Makes handling hot jars safer. A pair of tongs can work in a pinch.
- Funnel (optional): Helps keep jar rims clean.
- Towel or rack for jar bottom: Prevents jars from resting directly on the pot’s bottom and cracking.
The key takeaway is that you probably have a pot big enough, and jars are the only truly specialized purchase. Let’s dive into some easy, foolproof recipes.
Foolproof Recipes for Water Bath Canning
1. Classic Dill Pickles
Crispy, tangy dill pickles are a garden staple and incredibly easy to can. They are naturally high in acid due to vinegar.
Ingredients:
- 4 lbs pickling cucumbers, washed and trimmed
- 4 cups white vinegar (5% acidity)
- 4 cups water
- 1/4 cup pickling salt
- Fresh dill sprigs, garlic cloves, mustard seeds, peppercorns (for each jar)
Instructions:
- Wash and sterilize your pint or quart jars and lids.
- Pack cucumbers tightly into jars with dill, garlic, and spices.
- Combine vinegar, water, and salt in a pot and bring to a boil.
- Pour hot brine over cucumbers, leaving 1/2 inch headspace.
- Remove air bubbles, wipe rims, center lids, and apply bands fingertip tight.
- Process in a boiling water bath for 10-15 minutes (adjust for altitude).
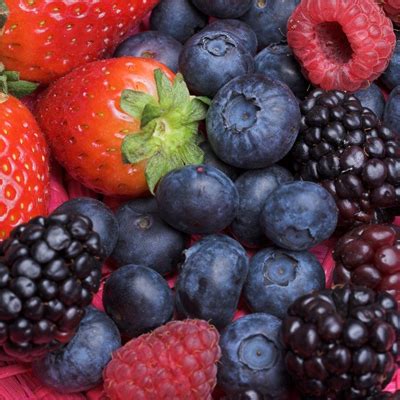
2. Sweet Berry Jam (No Pectin Needed!)
Strawberry, raspberry, or blueberry jam is simple and preserves the taste of summer. Many fruits contain enough natural pectin to set, or you can use a small amount of added pectin if desired for a firmer set.
Ingredients:
- 4 cups crushed fruit (e.g., strawberries, raspberries)
- 3-4 cups granulated sugar (adjust to fruit sweetness)
- 1 tablespoon lemon juice (enhances flavor and aids setting)
Instructions:
- Sterilize pint or half-pint jars and lids.
- Combine crushed fruit and lemon juice in a large, heavy-bottomed pot. Bring to a boil over medium-high heat, stirring constantly.
- Gradually add sugar, stirring until dissolved. Continue to boil, stirring frequently, until the jam reaches its setting point (test with a cold spoon or thermometer).
- Ladle hot jam into sterile jars, leaving 1/4 inch headspace.
- Remove air bubbles, wipe rims, center lids, and apply bands fingertip tight.
- Process in a boiling water bath for 10 minutes (adjust for altitude).
3. Zesty Garden Salsa (Acidified)
Capture the taste of fresh garden tomatoes and peppers in a jar. Ensuring adequate acidity is key for safe water bath canning of salsa.
Ingredients:
- 6 cups chopped tomatoes (peeled and cored)
- 2 cups chopped onions
- 1 cup chopped bell peppers (any color)
- 1/2 cup chopped jalapeños (or more for heat)
- 1 cup white vinegar (5% acidity)
- 1/4 cup lime juice
- 1 tablespoon canning salt
- 1 teaspoon ground cumin
- Fresh cilantro (optional, add before serving)
Instructions:
- Sterilize pint jars and lids.
- Combine all ingredients except cilantro in a large pot. Bring to a boil, then reduce heat and simmer for 10-15 minutes, stirring occasionally, until vegetables are tender.
- Ladle hot salsa into sterile jars, leaving 1/2 inch headspace.
- Remove air bubbles, wipe rims, center lids, and apply bands fingertip tight.
- Process in a boiling water bath for 15 minutes (adjust for altitude).

General Water Bath Canning Steps for Success
Regardless of the recipe, these general steps apply to safe water bath canning:
- Prepare Jars and Lids: Wash jars in hot soapy water and rinse well. Keep them hot (in a dishwasher, hot water bath, or oven) until filling. Use new lids; bands can be reused.
- Prepare Food: Follow your chosen recipe precisely, ensuring proper proportions and acidity.
- Fill Jars: Ladle hot food into hot jars, leaving the specified headspace (usually 1/4 inch for jams, 1/2 inch for pickles/salsa).
- Remove Air Bubbles: Use a non-metallic spatula or chopstick to gently dislodge air bubbles from around the food.
- Clean Rims: Wipe jar rims thoroughly with a clean, damp cloth. Any food residue can prevent a proper seal.
- Apply Lids and Bands: Center the new lid on the jar and screw the band on fingertip tight (don’t overtighten).
- Process in Water Bath: Place jars on a rack in a large pot. Fill the pot with hot water to cover jars by at least 1-2 inches. Bring to a rolling boil. Once boiling, start timing according to the recipe.
- Cool and Check Seals: Once processing time is complete, carefully remove jars and place them on a towel on the counter, leaving space between them. Let them cool undisturbed for 12-24 hours. Check seals (lid should be concave and not flex when pressed).
- Store: Remove bands (they can trap moisture) and store sealed jars in a cool, dark place.

Canning Safely and Confidently
Canning can seem daunting, but by sticking to tested, high-acid recipes and following proper safety guidelines, you can safely preserve your garden’s bounty with minimal equipment. Always use up-to-date, tested recipes from reliable sources like university extension offices (e.g., National Center for Home Food Preservation). Enjoy the rewarding process of turning your harvest into delicious, shelf-stable meals and treats!