


Foolproof method for canning excess garden produce like jams or pickles?
Preserving Your Bountiful Harvest: A Foolproof Canning Guide
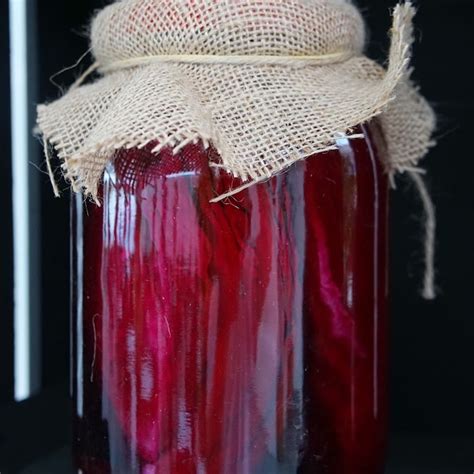
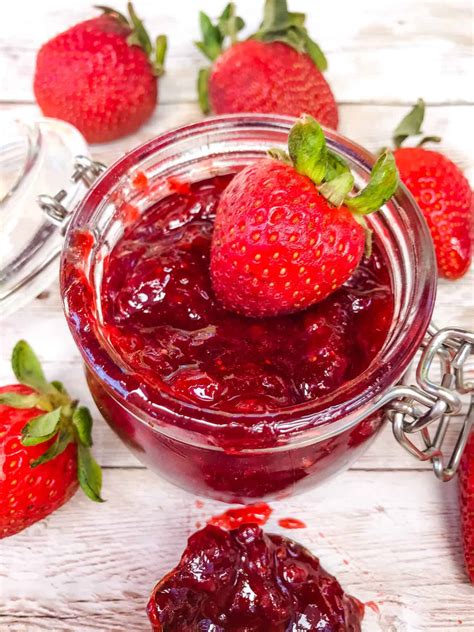
The joy of a thriving garden often comes with a delightful dilemma: what to do with all that surplus produce? Canning offers a fantastic solution, allowing you to capture the peak freshness of your fruits and vegetables, extending their enjoyment well beyond the harvest season. Whether you dream of homemade strawberry jam on toast or crisp dill pickles, mastering basic canning techniques ensures a pantry full of delicious, shelf-stable goods.
Essential Equipment for Successful Canning
Before you begin, gathering the right tools is crucial for both efficiency and safety. Investing in quality equipment will make the process smoother and more enjoyable:
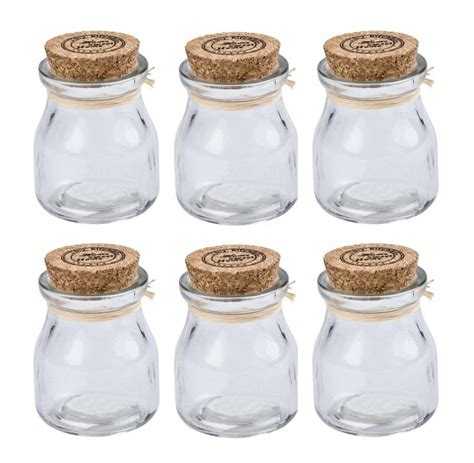
- Canning Jars: Use only tempered glass canning jars designed for home canning (e.g., Mason jars). Ensure they are free from cracks or chips.
- Lids and Bands: New lids are essential for creating a proper seal. Bands can be reused if they are rust-free and not bent.
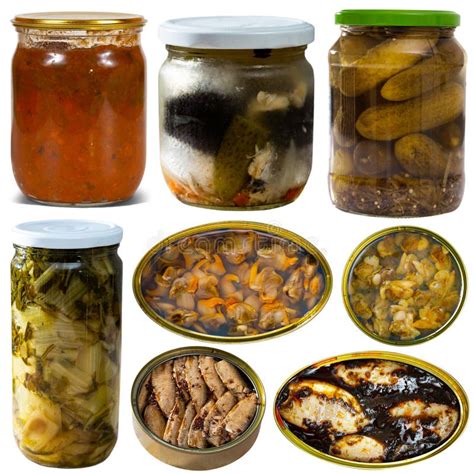
- Canner: A large water bath canner with a rack for high-acid foods (like jams, jellies, most pickles, and fruits) or a pressure canner for low-acid foods (like vegetables, meats, and soups).
- Basic Canning Tools: Jar lifter, canning funnel, bubble remover/headspace tool, and a large pot for sterilizing jars.
- Ingredients: Fresh, high-quality produce, sugar (for jams), vinegar (for pickles), salt, and pectin (if required by your recipe).
Safety First: The Golden Rules of Home Canning
Canning isn’t just about preserving food; it’s about preserving it safely. Adhering to tested recipes and proper techniques prevents spoilage and harmful bacteria:
- Use Tested Recipes: Always follow recipes from reliable sources (e.g., university extension offices, reputable canning guides). Do not experiment with ingredients or processing times.
- Acidity is Key: For water bath canning, ensure your food has sufficient acidity (pH of 4.6 or lower). This is why jams, jellies, and pickles (with added vinegar) are safe for this method.
- Sterilize Jars: While not always strictly necessary for items processed for 10+ minutes in a water bath, sterilizing jars by boiling them can add an extra layer of confidence, especially for shorter processing times or if filling immediately.
- Proper Headspace: Leave the exact amount of headspace specified in the recipe. Too little can cause siphoning; too much can prevent a proper seal.
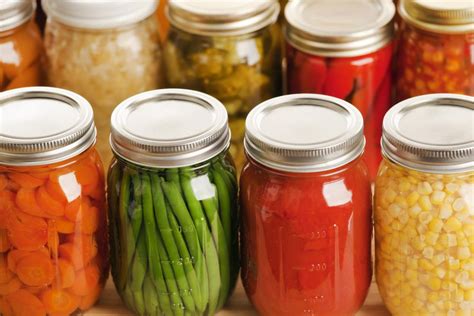
Step-by-Step Guide to Water Bath Canning (Perfect for Jams & Pickles)
The water bath method is ideal for high-acid foods. Here’s a simplified overview:
- Prepare Produce: Wash, chop, and prepare your fruits or vegetables according to your chosen recipe (e.g., slice cucumbers for pickles, mash berries for jam).
- Prepare Jars and Lids: Wash jars in hot, soapy water, rinse well. Keep them hot (in hot water or a warm oven) to prevent breakage when filled with hot food. Simmer new lids in warm water (do not boil) according to manufacturer instructions.
- Cook Your Recipe: Follow your jam or pickle recipe precisely. Bring the mixture to the correct temperature and consistency.
- Fill Jars: Using a canning funnel, fill hot jars with the hot food, leaving the specified headspace. Remove air bubbles with a non-metallic tool and adjust headspace if needed. Wipe jar rims clean.
- Seal Jars: Place a hot, damp lid on each jar, then screw on a band fingertip-tight (just until resistance is met).
- Process in Canner: Place filled jars on the rack in the water bath canner. Ensure water covers jars by at least 1-2 inches. Bring to a rolling boil and process for the time specified in your recipe, adjusting for altitude.
- Cool and Check Seals: After processing, turn off heat, remove canner lid, and let jars sit for 5 minutes. Carefully remove jars with a jar lifter and place them on a towel-lined counter, spaced apart, to cool undisturbed for 12-24 hours. Do not overtighten bands.
Sealing Success and Safe Storage
Once cooled, check for proper seals. A sealed lid will be concave (curved inward) and will not flex when pressed. If you hear a ‘ping’ sound during cooling, that’s a good sign! Remove the bands (they can trap moisture and cause rust), wash jars, label with contents and date, and store in a cool, dark place. Any unsealed jars must be refrigerated and consumed within a few weeks or reprocessed with new lids within 24 hours.
Conclusion: Enjoying Your Year-Round Delights
Canning is a rewarding way to preserve the flavor of your garden’s bounty, providing delicious, wholesome food year-round. With proper preparation, adherence to safety guidelines, and a good recipe, you’ll soon be enjoying your homemade jams, pickles, and more. Happy canning!


