Harvest bounty: best tips for preserving garden vegetables simply?
The satisfaction of harvesting fresh vegetables from your garden is unparalleled, but what happens when the bounty exceeds what you can eat fresh? Preserving your garden’s yield ensures that you can enjoy the taste of summer long into the colder months. With a few simple techniques, you can transform your harvest into pantry staples, frozen delights, or fermented treats, all while minimizing waste and maximizing flavor.
Embrace the Abundance: Why Preserve?
Preserving isn’t just about preventing waste; it’s about capturing peak freshness and flavor. Vegetables picked at their prime contain the most nutrients and taste, and preserving them locks in these qualities. It also offers a sustainable way to enjoy seasonal produce year-round, reducing your reliance on supermarket offerings and connecting you more deeply with your food source.
Getting Started: Essential Prep Steps
Before diving into specific methods, a few universal steps apply to almost all preservation techniques:
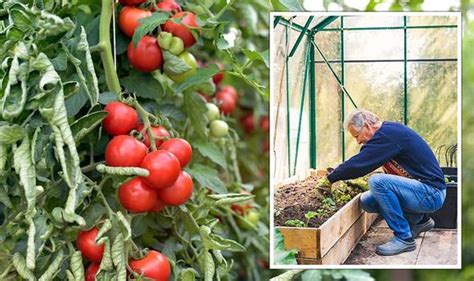
- Harvest at Peak: Pick vegetables when they are ripe and at their best. Overripe or underripe produce won’t yield the best-preserved results.
- Clean Thoroughly: Wash all vegetables gently but thoroughly to remove soil, insects, and debris. Avoid bruising.
- Work Quickly: The fresher the produce, the better the final preserved product. Try to process vegetables within hours of harvesting.
- Sanitize Equipment: Ensure all jars, lids, utensils, and cutting surfaces are clean and, where appropriate, sterilized.
Simple Preservation Methods for Every Gardener
1. Freezing: The Easiest Way to Lock in Freshness
Freezing is arguably the simplest and most accessible method for preserving many garden vegetables, from beans and peas to corn and broccoli. Most vegetables benefit from blanching – a quick dip in boiling water followed by an ice bath – before freezing. This stops enzyme action that can degrade flavor and texture over time.
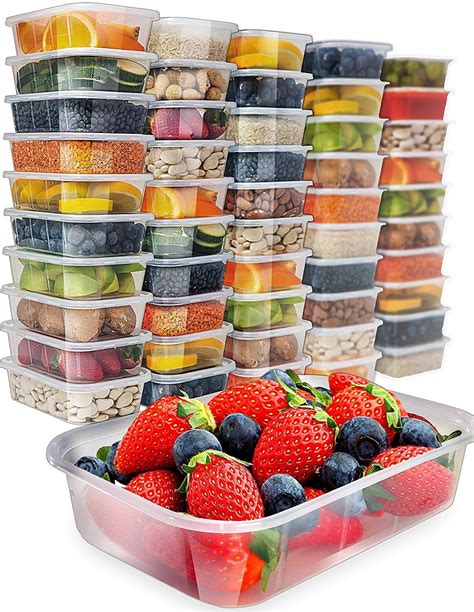
After blanching (if required), pat vegetables dry, spread them in a single layer on a baking sheet to freeze individually (this prevents clumping), then transfer to freezer-safe bags or containers. Label clearly with the date and contents.
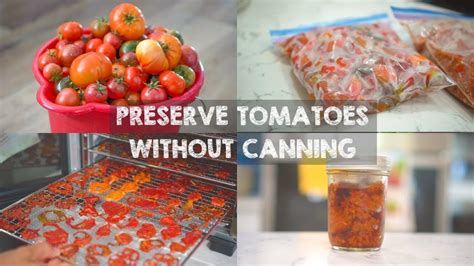
2. Dehydrating: Concentrating Flavors and Nutrients
Drying removes moisture, inhibiting spoilage and concentrating the natural flavors of your vegetables. This method is excellent for herbs, tomatoes (for sun-dried tomatoes!), bell peppers, and root vegetables like carrots and sweet potatoes. You can use a dedicated food dehydrator, your oven on its lowest setting with the door ajar, or even natural sunlight in dry, hot climates.
Slice vegetables thinly and evenly for uniform drying. Store dried produce in airtight containers in a cool, dark place. They are perfect for soups, stews, or even making vegetable powders.
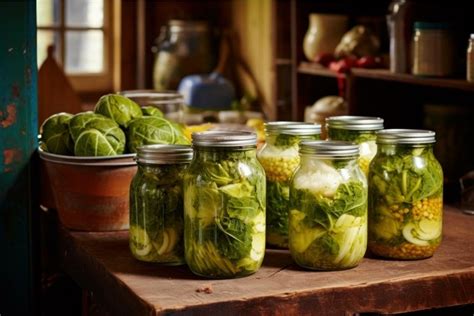
3. Pickling and Fermenting: Tangy Treats
Pickling involves preserving vegetables in an acidic solution, typically vinegar. Quick pickles don’t require canning and can be stored in the refrigerator for several weeks. Cucumbers, green beans, carrots, and onions are all fantastic candidates.
Fermentation, like making sauerkraut or kimchi, uses beneficial bacteria to convert sugars into lactic acid, preserving the vegetables and often enhancing their nutritional value. While it might sound intimidating, simple lacto-fermentation with salt and water can be quite straightforward for beginners.
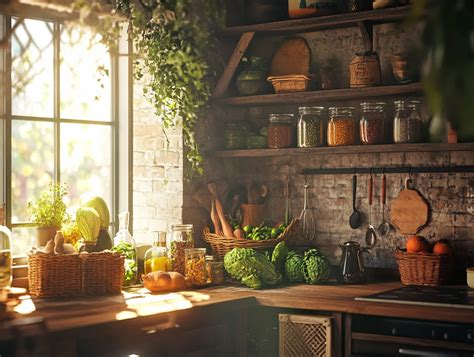
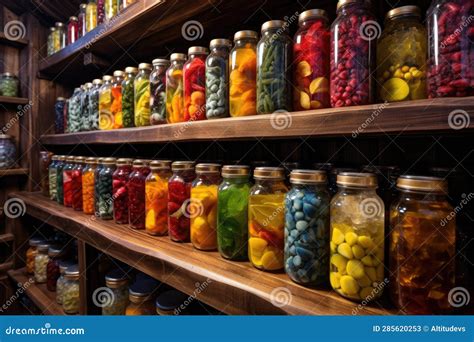
4. Cool Storage and Root Cellaring: Nature’s Refrigerator
Some vegetables, like potatoes, onions, garlic, winter squash, and root crops (carrots, beets), thrive in cool, dark, and moderately humid conditions. If you have a basement, cool pantry, or even an unheated garage, you might have a natural “root cellar” at your disposal.
Ensure vegetables are cured (if necessary, like squash or onions), clean, and free from blemishes before storing. Proper air circulation and consistent temperature are key to preventing spoilage.

Tips for Success and Enjoying Your Preserves
- Start Small: Don’t try to preserve your entire harvest in one go. Begin with small batches and master one or two methods before expanding.
- Label Everything: Include the date and contents on all jars and packages. This helps with rotation and knowing what you have.
- Keep Records: Note what worked well (or didn’t) and preferred recipes.
- Creative Use: Don’t just save your preserves for emergencies! Incorporate them into everyday meals, experiment with new recipes, and share your bounty with friends and family.
With these simple tips and techniques, you can confidently turn your garden’s overflow into a year-round supply of delicious, nutritious produce. Happy preserving!