


How can I build simple, sturdy DIY pantry shelves for canning jars?
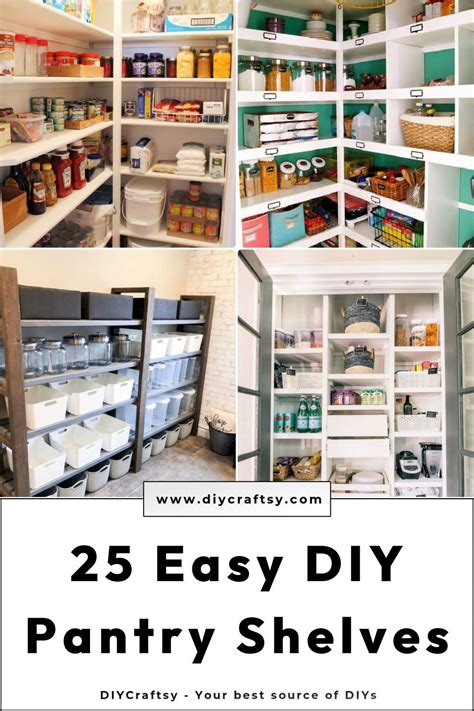
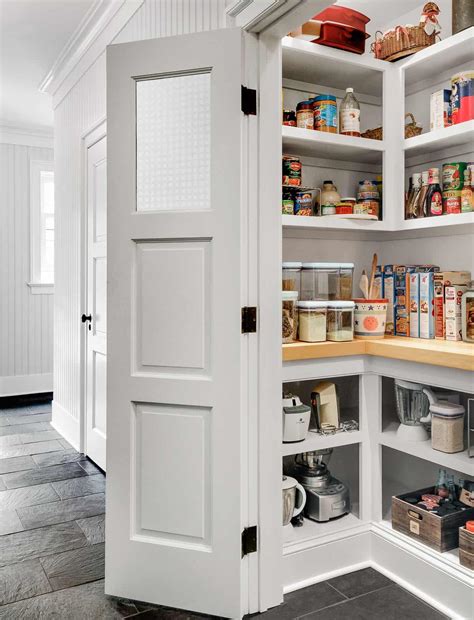
For home canners, a well-organized and robust pantry is essential. Storing heavy glass jars requires shelves that are not only space-efficient but also incredibly sturdy and reliable. Forget flimsy store-bought units; building your own DIY pantry shelves ensures custom dimensions, maximum weight capacity, and a satisfying sense of accomplishment. This guide will walk you through constructing simple yet rock-solid shelves designed specifically to bear the substantial weight of your precious canning bounty.
Planning Your Custom Canning Jar Shelves
Before you lift a single tool, meticulous planning is key. Consider the dimensions of your pantry space and the types of canning jars you typically use (pint, quart, half-gallon). Measure the width, depth, and height of the area where the shelves will go. Remember to leave adequate clearance above each shelf for easy access and ventilation, especially for quart and half-gallon jars, which are taller.
Think about the shelf depth. While a standard 12-inch depth works for most jars, you might prefer deeper shelves (14-16 inches) if you want to store two rows of quart jars front-to-back, or shallower shelves for single-row access. The number of shelves will depend on your ceiling height and jar sizes.
Essential Materials and Tools
Simplicity and strength are our guiding principles. For lumber, 2x4s (for uprights and main supports) and 3/4-inch plywood or solid pine boards (for shelves) are excellent choices. Plywood offers great stability and resistance to warping over time, crucial for heavy loads. Avoid particle board or MDF, as they are not suitable for heavy canning jars.
Materials:
- 2×4 lumber (for vertical supports and shelf cleats)
- 3/4-inch plywood or solid pine boards (for shelves)
- 3-inch wood screws (structural screws recommended)
- 2.5-inch wood screws (for attaching shelves)
- Construction adhesive (optional, for extra rigidity)
- Wood glue
- Sanding paper (medium grit)
- Paint or sealant (optional, for durability and aesthetics)
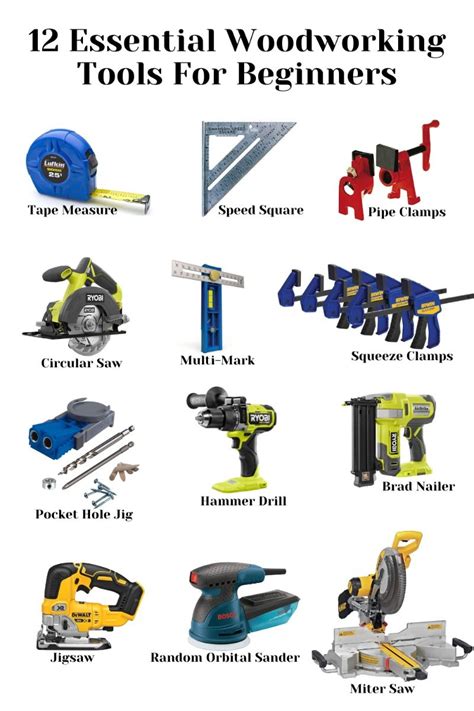
Tools:
- Measuring tape
- Pencil
- Circular saw or miter saw
- Drill/driver with appropriate bits (pilot holes are important!)
- Level
- Stud finder
- Clamps
- Safety glasses and hearing protection
Building Your Sturdy Canning Shelves: Step-by-Step
Step 1: Cut Your Lumber
Based on your measurements and design plan, cut all your lumber to size. You’ll need:
- Vertical uprights (2x4s): These will determine the height of your shelf unit.
- Horizontal shelf cleats (2x4s): These will support the front and back of each shelf. Cut these to the desired depth of your shelves minus the thickness of the uprights.
- Shelf boards (plywood or pine): Cut these to the desired width and depth.
Ensure all cuts are square for a stable assembly.
Step 2: Assemble the Side Frames
For each side of your shelving unit, lay two vertical 2×4 uprights parallel on a flat surface. Mark the desired height for each shelf. Using wood glue and 3-inch screws, attach the horizontal shelf cleats between the uprights at your marked heights. Ensure the top edge of each cleat is perfectly level with your mark. This creates a sturdy ladder-like frame for each side.
Step 3: Connect the Side Frames
Stand your two assembled side frames upright, parallel to each other, at the desired width of your shelving unit. Use temporary clamps or an extra pair of hands to hold them steady. Now, cut additional 2×4 cleats to span the front and back of your unit, connecting the two side frames at the top and bottom. Secure these with wood glue and 3-inch screws, ensuring the entire structure is square and plumb using your level.
Step 4: Attach Shelves and Secure to Wall
With the main frame assembled, it’s time to add the shelf surfaces. Place your pre-cut plywood or pine boards onto the horizontal cleats. Secure each shelf board to all supporting 2x4s (cleats and uprights) using 2.5-inch screws, driving them down through the shelf into the 2x4s. For maximum strength, run a bead of construction adhesive on the cleats before placing the shelf boards.
Crucially, for a unit holding heavy canning jars, you must anchor the shelves to the wall. Use a stud finder to locate wall studs. Drill pilot holes through the rear vertical 2x4s of your shelf unit and into the wall studs. Secure the unit to the wall using long structural screws (at least 3-4 inches) at multiple points along the uprights. This prevents tipping and adds immense stability.
Finishing Touches and Smart Storage Tips
Once construction is complete, a light sanding will remove any splinters and prepare the wood. While optional, painting or sealing your shelves will protect the wood from moisture, spills, and makes them easier to clean – a big plus in a pantry environment. A durable, food-safe paint or clear sealant is recommended.
When loading your new shelves, distribute the weight evenly. Place heavier, larger jars on lower shelves for easier access and improved stability. Label your jars clearly and arrange them logically (e.g., by type or date) to make finding what you need a breeze. With these custom-built, sturdy shelves, your canning efforts will be safely and beautifully organized for years to come.
Building your own pantry shelves for canning jars is a rewarding project that combines practical skill with essential home organization. By following these steps, you’ll create a robust storage solution perfectly suited to the demands of a well-stocked pantry, ensuring your canned goods are secure, accessible, and ready whenever you need them.
