


How to build a durable, rot-resistant raised garden bed for organic vegetables?
Creating a raised garden bed is an excellent way to enhance your organic vegetable gardening experience, offering improved drainage, better soil control, and easier access. However, the true value of a raised bed for organic produce lies in its durability and resistance to rot, ensuring a chemical-free environment for years. This guide will walk you through building a robust, long-lasting raised bed that stands up to the elements while safeguarding your organic harvest.
Why Invest in a Durable, Rot-Resistant Raised Bed?
Beyond the immediate benefits of gardening in a raised bed – such as better soil aeration, fewer weeds, and simplified pest management – focusing on durability and rot resistance offers significant long-term advantages. A well-built bed means less maintenance, fewer repairs, and no need to replace decaying materials every few seasons. For organic gardeners, this also means preventing the leaching of unwanted chemicals that might be present in treated woods into your precious soil, ensuring your vegetables remain truly organic.
Longevity translates to stability for your soil ecosystem, allowing beneficial microbes and fungi to establish themselves over time, which is crucial for nutrient cycling and plant health in an organic system. It’s an investment that pays dividends in convenience, productivity, and peace of mind.
Choosing the Right Materials for Longevity
The foundation of a durable, rot-resistant raised bed begins with material selection. Opting for the right materials is critical, especially when growing organic vegetables.
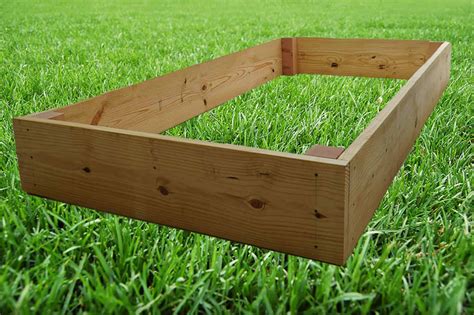
Untreated Wood: The Organic Gardener’s Friend
Naturally rot-resistant woods are ideal as they don’t require chemical treatments. Cedar, redwood, and black locust are top choices, known for their natural resistance to decay and insects. Juniper is another excellent, often more affordable, option in some regions. While these woods might have a higher upfront cost, their extended lifespan (10-20 years or more) makes them a sound investment.
Pros: Aesthetically pleasing, natural, non-toxic, excellent insulation for soil. Cons: Can be more expensive, some woods eventually succumb to decay.
Alternatives to Wood
- Composite Lumber: Made from recycled plastics and wood fibers, composite lumber is extremely durable, rot-proof, and low maintenance. Ensure it’s food-grade certified if possible, though most modern composites are inert.
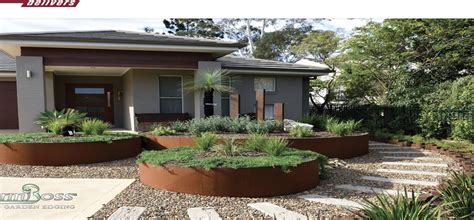
- Stone or Brick: While more labor-intensive to build, stone or brick raised beds offer unparalleled durability and aesthetic appeal. They are completely rot-proof and can last a lifetime.
- Galvanized Metal: Corrugated galvanized steel panels are increasingly popular. They are durable, rot-proof, and can heat up quickly in the sun, which can be beneficial in cooler climates. Ensure the galvanization is safe for food contact (e.g., standard hot-dip galvanized steel is generally considered safe).
Materials to Avoid
Steer clear of pressure-treated lumber (e.g., CCA, ACQ, CA) for organic beds, especially older types, as they contain chemicals designed to prevent rot that can leach into the soil. Railroad ties, often treated with creosote, should also be avoided due to potential toxins.
Planning Your Raised Bed: Location and Size
Before construction, consider your bed’s placement. Most vegetables require at least 6-8 hours of direct sunlight daily. Ensure easy access for watering, weeding, and harvesting. The ideal width allows you to reach the center comfortably from either side (typically no more than 4 feet). Height should be at least 10-12 inches for most vegetables, though 18-24 inches provides ample root depth and reduces bending for gardeners.
Gathering Your Tools and Materials
Having everything on hand will make your building process smoother.
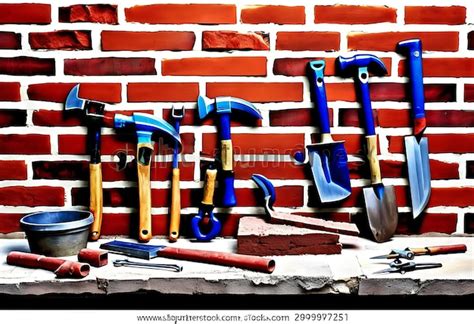
Tools:
- Tape measure and pencil
- Circular saw or hand saw (for wood)
- Drill with appropriate bits
- Level (spirit level or laser level)
- Shovel and rake
- Hammer or mallet
- Safety glasses and gloves
Materials:
- Chosen lumber (e.g., cedar, redwood) or alternative material
- Galvanized deck screws or stainless steel screws (2.5-3 inches) – highly rot-resistant
- Corner brackets (optional, for added reinforcement)
- Weed barrier fabric or cardboard (for the bottom)
- Hardware cloth (optional, for rodent protection)
- Organic soil mix, compost, and other fillers
Step-by-Step Construction Guide
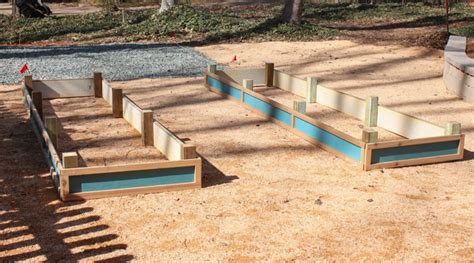
1. Prepare Your Site
Clear the chosen area of any grass, weeds, or debris. Use your level to ensure the ground is as flat as possible. Lay down a layer of weed barrier fabric or several layers of cardboard to suppress weeds and prevent grass from growing into your bed. If rodents are an issue, lay hardware cloth (1/4-inch mesh) beneath the fabric to deter them.
2. Cut Your Materials
Measure and cut your chosen lumber or materials to the desired length for the sides and ends of your raised bed. For a 4×8 foot bed, you’ll need two 8-foot pieces and two 4-foot pieces for each tier of your bed.
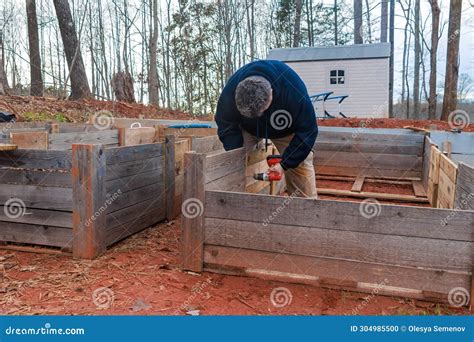
3. Assemble the Frame
Place your first layer of boards on the prepared site. Connect the corners using your galvanized or stainless steel screws. You can use a butt joint (where the end of one board meets the side of another) or overlap the boards. Pre-drilling pilot holes can prevent wood splitting, especially with harder woods.
4. Reinforce Corners (Optional but Recommended)
For extra durability, especially with taller beds, add internal corner bracing. You can use additional pieces of lumber cut into blocks or metal corner brackets, securing them with screws. This significantly strengthens the frame against the outward pressure of the soil.
5. Add a Liner (Optional)
While not strictly necessary for naturally rot-resistant wood, you can line the inside of the bed with heavy-duty pond liner or thick polyethylene sheeting to further extend the life of your wood. Staple it to the inside, leaving some slack for soil pressure, and trim it so it doesn’t show above the soil line. Ensure you poke drainage holes in the bottom if you use a full liner.
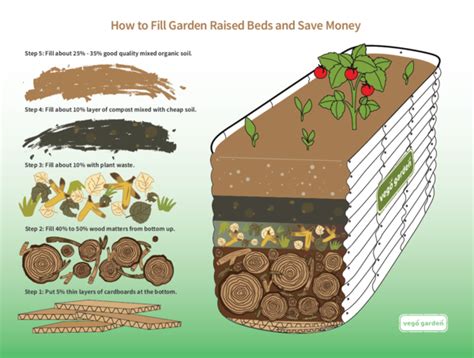
6. Fill Your Bed with Organic Goodness
This is where your organic vegetables will thrive. A layered approach works best:
- Bottom Layer (1/4): Branches, twigs, leaves, straw – these decompose slowly, providing nutrients and improving drainage.
- Middle Layer (1/2): A mixture of compost, aged manure, and some topsoil. This provides a rich, nutrient-dense base.
- Top Layer (1/4): High-quality organic potting mix or a blend of compost and topsoil, perfect for direct planting.
Ensure each layer is gently moistened as you fill the bed. Leave a few inches of space from the top of the bed to the soil line to prevent spillage when watering.
Maintaining Your Rot-Resistant Raised Bed
Even with durable materials, a little maintenance goes a long way. Periodically check screws and fasteners for tightness and replace any that show signs of corrosion. Inspect the wood for any signs of decay or damage and address them promptly. Proper drainage within the bed, achieved through good soil composition, will also prevent waterlogging that can accelerate material degradation.
Conclusion
Building a durable, rot-resistant raised garden bed is a rewarding DIY project that pays off for years to come. By carefully selecting non-toxic, long-lasting materials and following sound construction practices, you’ll create a robust foundation for a thriving organic vegetable garden. Enjoy the satisfaction of harvesting fresh, healthy produce from a bed built to last, providing an enduring space for your gardening passion.
