


How to build a simple, effective compost bin for kitchen & garden waste?
Why Compost? The Benefits of Home Recycling
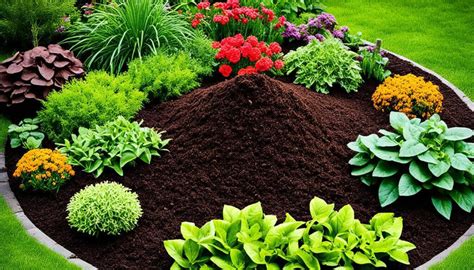
Composting is an incredibly rewarding practice for any homeowner or gardener. Not only does it divert a significant amount of waste from landfills, but it also transforms your kitchen scraps and garden trimmings into a rich, dark, nutrient-dense amendment for your soil. This ‘black gold’ improves soil structure, water retention, and provides essential nutrients for healthier plants. Building your own compost bin doesn’t have to be complicated or expensive; with a few simple materials and a bit of DIY spirit, you can create an effective system right in your backyard.
Choosing Your Compost Bin Design & Location
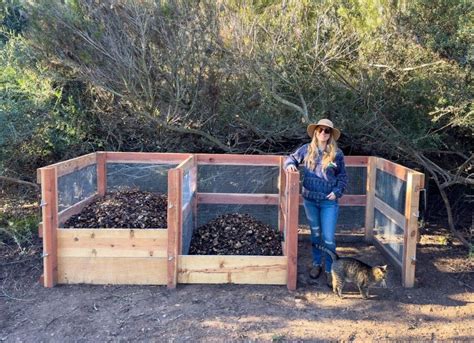
Before you grab your tools, consider the best type of compost bin for your needs and where it will live. A simple, three-sided pallet bin or a cylindrical wire mesh bin are excellent choices for beginners due to their ease of construction and good aeration. Ensure your chosen location is:
- Shady: Prevents the pile from drying out too quickly.
- Well-drained: Avoids waterlogging, especially during heavy rain.
- Accessible: Easy to add new materials and turn the pile.
- Away from the house: While not inherently smelly if managed correctly, it’s best to keep it a reasonable distance.

Materials and Tools You’ll Need
For a straightforward, effective compost bin, you’ll generally need minimal tools and inexpensive materials. Let’s focus on a simple three-sided pallet bin, which is sturdy and offers good airflow.
Materials:
- 3-4 sturdy wooden pallets (often available for free from local businesses)
- Optional: Heavy-duty galvanized wire mesh (for a front gate or side support)
- Optional: Zip ties, baling wire, or hinges (if creating a movable front panel)
- Optional: Ground cover (cardboard, tarp) to suppress weeds beneath the bin
Tools:
- Gloves
- Work boots
- Pry bar or hammer (to dismantle pallets if needed)
- Drill and screws (if securing pallets together)
- Wire cutters (if using mesh)
Step-by-Step Construction: The Pallet Bin
This method creates a robust, aerated bin perfect for most households.
1. Prepare Your Pallets:
Inspect your pallets for any sharp nails or splinters. If they are very large, you might need to dismantle one into individual planks to create a front barrier later. Ensure all pallets are relatively similar in size.
2. Set Up the Back Panel:
Stand one pallet upright in your chosen location. This will form the back of your bin.
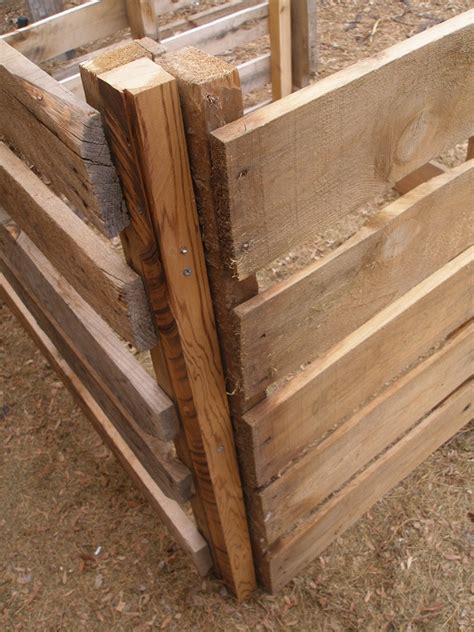
3. Attach the Side Panels:
Stand the other two pallets upright, perpendicular to the back pallet, forming a ‘U’ shape. Secure these side pallets to the back pallet using screws, heavy-duty zip ties, or baling wire. Ensure they are stable and form a rigid structure.
4. Consider a Front Access (Optional):
You can leave the front open for easy access to turn the pile. Alternatively, you can use a fourth pallet, cut lumber, or wire mesh to create a removable front panel or gate. This is useful for containing the pile as it grows. If using a fourth pallet, secure it with hinges on one side or use hooks/latches on the other for easy opening.
Using Your Compost Bin: The Art of Composting
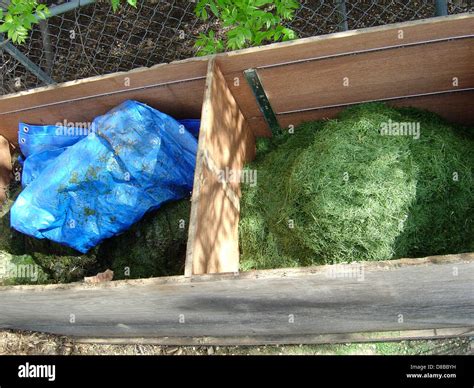
Once your bin is built, it’s time to start filling it! Successful composting relies on a good balance of ‘greens’ (nitrogen-rich) and ‘browns’ (carbon-rich), adequate moisture, and aeration.
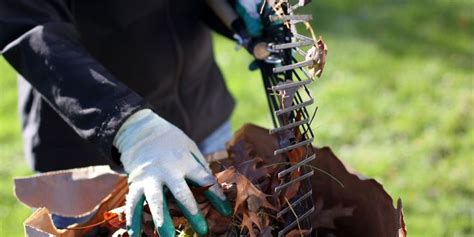
- Greens: Kitchen scraps (fruit/veg peels, coffee grounds, tea bags), fresh grass clippings, green plant trimmings.
- Browns: Dried leaves, straw, shredded paper, cardboard, wood chips, sawdust.
- Layering: Aim for a roughly 2:1 ratio of browns to greens. Start with a layer of browns at the bottom for drainage and aeration.
- Moisture: The pile should feel like a wrung-out sponge – damp but not soggy. Add water if it’s too dry, or more browns if it’s too wet.
- Aeration: Turn your pile regularly (weekly to monthly) with a pitchfork or compost aerator. This introduces oxygen, which is crucial for the decomposition process and prevents foul odors.
Troubleshooting and Tips for Success
- Bad Odor: Usually indicates too much nitrogen (greens) or not enough oxygen. Turn the pile and add more browns.
- No Decomposition: Likely too dry, too much carbon, or not enough nitrogen. Add water, more greens, and turn the pile.
- What NOT to Compost: Meat, dairy products, oily foods, diseased plants, pet waste (from carnivorous animals), and weeds with seeds. These can attract pests, create odors, or spread disease.
- Speeding Up the Process: Chop larger materials into smaller pieces to accelerate decomposition.
Conclusion: Your Path to Sustainable Gardening
Building a simple compost bin is a fantastic first step towards a more sustainable home and garden. It’s a hands-on project that yields incredible benefits, from reducing waste and saving money on soil amendments to enriching your garden with homegrown nutrients. Embrace the journey of transforming waste into a valuable resource, and enjoy the healthier, happier plants that result from your efforts!
