


How to build a simple, sturdy DIY drying rack for herbs & garden produce?

Introduction: Preserve Your Harvest with a Homemade Drying Rack
There’s immense satisfaction in harvesting your own herbs and garden produce, but ensuring they last beyond the growing season requires proper preservation. Drying is one of the oldest and most effective methods, locking in flavor, nutrients, and extending shelf life. While store-bought options exist, building your own DIY drying rack offers unparalleled customization, cost savings, and the satisfaction of a handmade solution. This guide will walk you through creating a simple yet sturdy drying rack, perfect for everything from delicate herbs to larger fruit and vegetable slices.
Why Build Your Own Drying Rack?
Opting for a DIY approach offers several distinct advantages. Firstly, it’s often more economical than purchasing a commercial unit, especially if you have scrap wood or can source materials affordably. Secondly, you can tailor the dimensions to your specific needs and available space, whether you require a small, multi-tiered rack for herbs or a larger one for a substantial garden yield. Finally, a homemade rack allows you to ensure the structural integrity and choose food-safe materials, providing a durable solution that will serve your preservation efforts for years to come.

Materials You’ll Need
Before you begin, gather all your materials. We’ll focus on a design that’s both effective and easy to source components for.
- Wood Pieces:
- (4) 1×2 or 1×3 lumber pieces for vertical posts (e.g., 2-4 ft long, depending on desired height)
- (8-12) 1×2 or 1×3 lumber pieces for horizontal shelf supports (e.g., 18-24 inches long)
- (8-12) 1×2 or 1×3 lumber pieces for horizontal shelf width (matching length of shelf supports)
- Mesh Material:
- Food-grade window screen mesh, hardware cloth (fine gauge), or breathable fabric (e.g., cheesecloth, nylon netting) – enough to cover all shelves.
- Fasteners:
- Wood screws (1.5 – 2 inches)
- Small staples or thumbtacks for mesh
- Optional:
- Wood glue
- Sandpaper (medium grit)
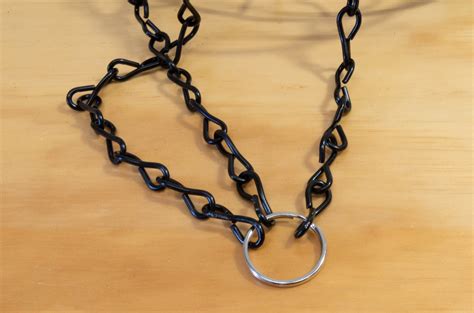
- Small eye hooks and chain/rope for hanging
- Casters for a movable rack
Tools Required
Most of these tools are standard for basic woodworking projects:
- Measuring tape
- Pencil
- Saw (hand saw, circular saw, or miter saw)
- Drill/driver
- Staple gun (manual or electric) or hammer for thumbtacks
- Safety glasses
Step-by-Step Construction Guide
Step 1: Cut Your Wood Pieces
Measure and cut your lumber according to the dimensions you’ve chosen. Ensure all cuts are straight and accurate for a sturdy frame. You’ll need four vertical posts, and then pairs of horizontal pieces for each shelf (one pair for length, one pair for width).
Step 2: Assemble the Side Frames
Take two vertical posts. Mark the desired height for each shelf. Using wood screws (and optionally wood glue for added strength), attach one horizontal shelf support piece to each post at the marked height, creating an ‘H’ shape for each side frame. Repeat for the other pair of vertical posts.
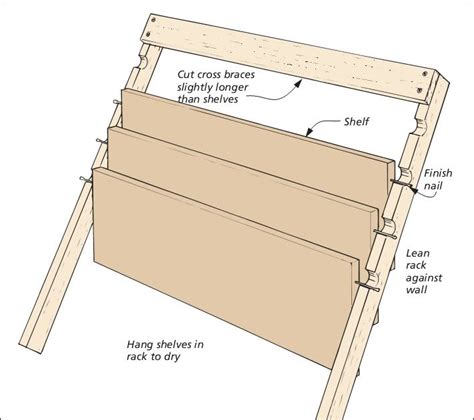
Step 3: Connect the Side Frames and Build Shelves
Stand your two assembled side frames upright. Connect them with the remaining horizontal wood pieces to form rectangular shelf frames. Screw these pieces securely into the vertical posts. Ensure the frame is square and level before tightening all screws. Repeat for all desired shelf levels.
Step 4: Attach the Mesh Drying Surfaces
Cut your mesh material to size, leaving about an inch or two of overlap on all sides of each shelf frame. Lay the mesh tautly over each shelf frame. Use a staple gun or thumbtacks to secure the mesh to the underside of the wooden frame, pulling it tight to prevent sagging. Ensure the mesh is food-grade and free of sharp edges.
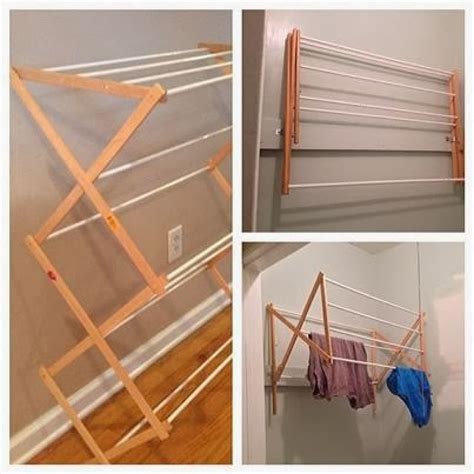
Step 5: Finish and Optional Additions
Sand down any rough edges to prevent splinters. If desired, you can add small eye hooks to the top of the vertical posts and attach chains or rope for hanging your rack. For a floor-standing unit, ensure it’s stable. Casters can be added to the bottom for easy mobility.
Tips for Effective Drying and Usage
- Good Air Circulation: Place your drying rack in a well-ventilated area, away from direct sunlight but where air can flow freely. A fan can aid circulation.
- Avoid Overcrowding: Spread herbs and produce in a single layer to ensure even drying and prevent mold. Leave space between items.
- Monitor Progress: Check items regularly. Drying times vary greatly depending on humidity, temperature, and the type of produce.
- Harvesting: Harvest herbs in the morning after the dew has dried but before the heat of the day.
- Cleaning: Ensure your rack is clean and dry before each use.
Conclusion: Enjoy Your Preserved Harvest
With your new simple and sturdy DIY drying rack, you’re well-equipped to preserve the bounty of your garden. From fragrant herbs like basil and oregano to sliced apples, tomatoes, or peppers, this homemade solution offers an eco-friendly and satisfying way to extend the enjoyment of your harvest throughout the year. Happy drying!
