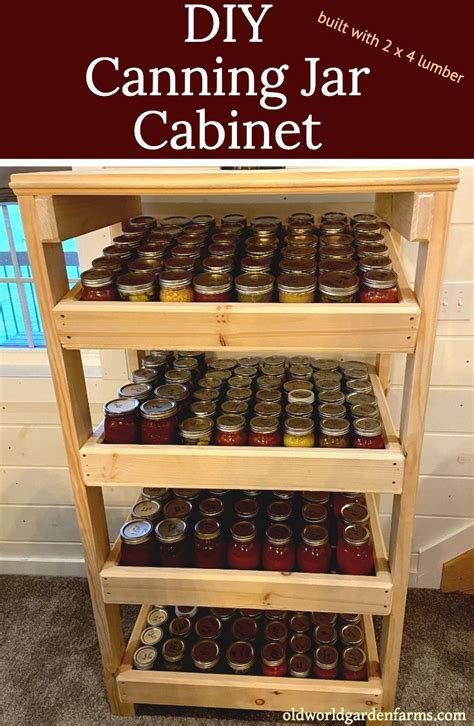
How to build a sturdy, budget-friendly canning shelf for preserving harvests?

Why a Dedicated Canning Shelf is Essential
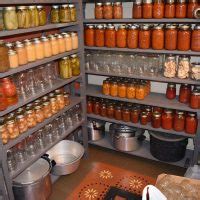
For any dedicated home canner, the bounty of a successful harvest brings with it the delightful challenge of storage. Jars full of jams, pickles, and sauces are heavy, and standard bookshelves or flimsy plastic units often aren’t up to the task. A dedicated canning shelf needs to be sturdy enough to bear significant weight, durable to withstand years of use, and ideally, budget-friendly to keep your preservation efforts economical. Building your own offers the perfect solution, allowing for custom dimensions and robust construction tailored to your needs.
Planning Your Perfect Canning Shelf
Before you even pick up a saw, careful planning is key. Consider the space where your shelf will live – a pantry, basement, garage, or even a dedicated storage room. Measure the available height, width, and depth. Think about the size and number of jars you typically store. A gallon jar is much taller than a half-pint, so adjust shelf spacing accordingly. Remember, 2×4 lumber is a common, cost-effective choice for framing, and ¾-inch plywood or sturdy pine boards work well for shelves.
Materials You’ll Need
- Lumber: For the frame (legs and cross-supports), 2x4s are excellent. For the shelves, consider ¾-inch plywood, 1×10, or 1×12 pine boards. Quantity depends on your desired size.
- Screws: 2.5-inch deck screws or construction screws for the frame, and 1.5-inch wood screws for attaching shelf boards.
- Wood Glue: For added joint strength (optional but recommended).
- Sandpaper: Medium and fine grit for smoothing rough edges.
- Optional: Wood sealant or paint for durability, especially in damp environments.

Essential Tools
- Measuring Tape and Pencil
- Circular Saw or Miter Saw (for cutting lumber)
- Drill/Driver with appropriate bits
- Speed Square or Combination Square
- Clamps (helpful for assembly)
- Safety Glasses and Hearing Protection
- Level
Step-by-Step Construction Guide
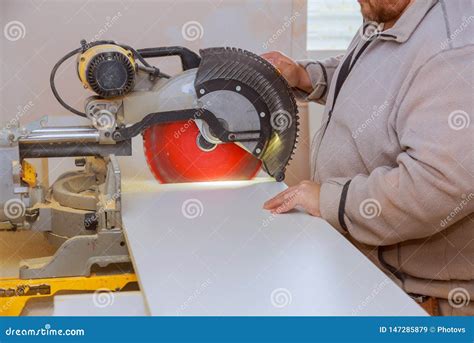
Step 1: Cut Your Lumber
Based on your measurements, carefully cut all your lumber. You’ll need four vertical legs, horizontal front and back supports for each shelf, and side supports. Then cut your shelf boards to the correct width and depth. Accuracy here prevents wobbly shelves later.
Step 2: Assemble the Side Frames
Lay two leg pieces parallel on a flat surface. Mark the desired heights for your shelves. Attach the side supports (cut to your shelf depth) between the legs at these marks using screws and wood glue. Ensure these are square and level. Repeat for the other side frame.
Step 3: Connect the Side Frames with Front and Back Supports
Stand your two side frames upright. Connect them with the front and back supports (cut to your shelf width) at each shelf level. This forms the main skeleton of your shelf unit. Use plenty of screws and glue, ensuring everything is plumb and square.
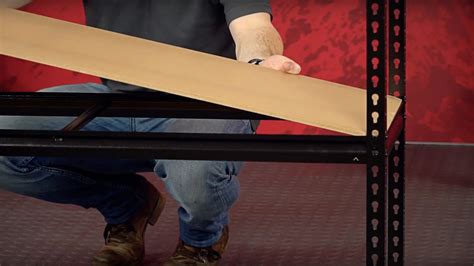
Step 4: Install the Shelf Boards
Once the frame is complete and stable, place your pre-cut shelf boards onto the supports. Secure them from the top with 1.5-inch wood screws, driving them into the frame supports below. For extra strength, you can add a few screws from the side supports into the shelf boards too.
Tips for Ultimate Sturdiness and Budget-Friendliness
- Use Solid Wood: While MDF might seem cheaper upfront, it doesn’t hold up to moisture or heavy loads as well as solid wood or plywood.
- Reinforce Joints: Beyond screws and glue, consider using metal L-brackets or corner braces on the inside corners for maximum weight-bearing capacity.
- Wall Anchoring: If your shelf is tall or in a high-traffic area, anchor it to a wall stud using heavy-duty L-brackets to prevent tipping.
- Scrap Wood Scavenging: Check local lumber yards for ‘seconds’ or off-cuts at reduced prices. Even construction sites might have usable scraps (ask permission first!).
- Repurpose Materials: Old solid-wood doors or sturdy pallet wood (ensure it’s heat-treated and not chemically treated – look for ‘HT’ stamp) can be repurposed for shelves or even frame components.
- Seal for Longevity: A coat of exterior-grade paint or a wood sealant will protect your shelf from moisture, spills, and make it easier to clean. This is especially important in basements or garages.
Enjoy Your Organized Harvest
Building your own canning shelf is a rewarding project that provides practical, durable storage for your precious preserves. Not only will it keep your jars safe and organized, but it also adds a sense of accomplishment to your homesteading efforts. With careful planning and execution, you’ll have a sturdy, budget-friendly solution that will serve your canning needs for many seasons to come.