


How to build an easy, critter-proof raised garden bed for backyard bounty?
Cultivating Your Dream Garden: The Critter-Proof Raised Bed
There’s nothing quite as rewarding as stepping into your backyard and harvesting fresh, homegrown vegetables and herbs. However, the joy of gardening can quickly turn to frustration when unwelcome visitors like rabbits, squirrels, voles, or even neighborhood cats decide your plot is their personal buffet. A critter-proof raised garden bed offers an elegant and effective solution, combining the benefits of raised beds with robust protection against common garden pests. This guide will walk you through building an easy, sturdy, and critter-resistant raised bed, ensuring your backyard bounty is safe and plentiful.
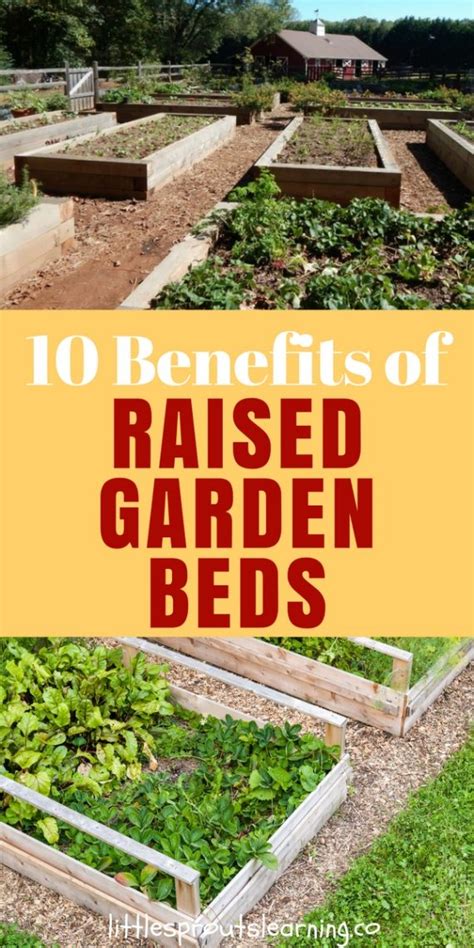
Why Choose a Raised Garden Bed?
Raised garden beds offer numerous advantages over traditional in-ground gardens, making them a favorite among seasoned and novice gardeners alike:
- Better Drainage: Raised beds prevent soil compaction and offer superior drainage, crucial for most plants.
- Improved Soil Quality: You control the soil mix, ensuring optimal nutrients and pH levels right from the start.
- Reduced Weeds: Fewer weeds sprout because you’re introducing fresh, sterile soil, and the bed’s height makes weeding easier.
- Warmer Soil: Soil in raised beds warms up faster in spring, allowing for earlier planting.
- Ergonomic Gardening: The elevated height reduces strain on your back and knees, making gardening more accessible and enjoyable.
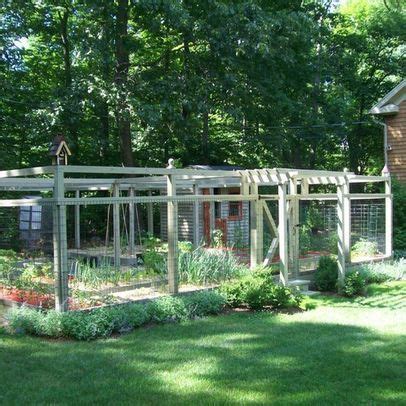
The Critter-Proof Advantage
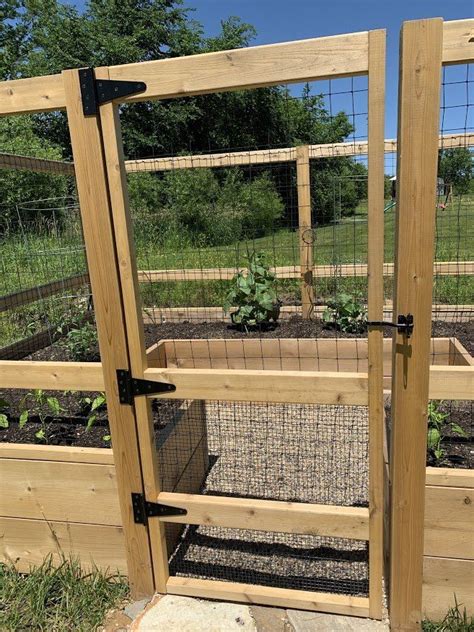
While standard raised beds offer many benefits, adding critter-proofing elevates them to a new level. The key to keeping pests out is creating a physical barrier that they cannot dig under, chew through, or easily jump over. Our design focuses on a robust sub-surface barrier, a deterrent for most burrowing animals, and a sturdy frame that can easily accommodate additional above-ground defenses if needed.
Planning Your Critter-Proof Oasis
Before you grab your tools, some thoughtful planning will save you time and effort.
- Location: Choose a spot that receives at least 6-8 hours of direct sunlight daily for most vegetables. Consider proximity to a water source.
- Size and Shape: Standard widths are usually 3-4 feet, allowing you to reach the center from either side without stepping into the bed. Length can vary. Aim for a height of at least 10-12 inches, or 18-24 inches for deeper root vegetables and even easier access.
- Materials: Untreated wood like cedar or redwood are naturally rot-resistant and safe for growing edibles. Pine can be used if treated with non-toxic preservatives or if you plan to line the bed. Composite decking materials are also an option for longevity.
Gathering Your Tools and Materials
Here’s what you’ll need to get started:
Tools:
- Measuring tape
- Pencil or marker
- Circular saw or miter saw (or hand saw)
- Drill/driver
- Level
- Shovel
- Staple gun with heavy-duty staples
- Wire cutters
Materials:
- Lumber for your bed frame (e.g., 2×6, 2×8, or 2×12 boards)
- Corner brackets or decking screws (3-inch exterior-grade)
- Hardware cloth (1/4-inch or 1/2-inch mesh) – enough to cover the entire footprint of your bed and extend up the sides by a few inches
- Cardboard (optional, for weed suppression)
- High-quality raised bed soil mix (a blend of topsoil, compost, and organic matter)
Step-by-Step Guide to Building Your Bed
1. Prepare Your Site
Clear the chosen area of any existing vegetation. Level the ground as much as possible using a shovel and rake. While perfect leveling isn’t essential with a raised bed, it makes construction easier and prevents water from pooling unevenly.
2. Construct the Frame
Cut your lumber to the desired lengths for the sides of your raised bed. If you’re building a 4×8 foot bed with 12-inch high walls, you’ll need two 8-foot boards and two 4-foot boards for each layer. For a 12-inch high bed using 2x6s, you’ll stack two layers. Assemble the boards into a rectangular frame, overlapping the ends at the corners. Predrill holes to prevent splitting, then secure the corners with long decking screws or corner brackets. Ensure the frame is square by measuring diagonally from corner to corner – the measurements should be equal.
3. Install the Critter Barrier
This is the most crucial step for critter-proofing. Lay your hardware cloth flat inside the assembled frame, ensuring it covers the entire bottom footprint of the bed. Cut the hardware cloth to size, leaving a few extra inches to fold up the inside walls of the frame. Use your staple gun to securely attach the hardware cloth to the inside bottom edge and a few inches up the side walls of your wooden frame. Overlap any seams in the hardware cloth by at least 2 inches and secure them well. This creates an impenetrable barrier against burrowing pests like voles and gophers, and prevents larger animals from digging underneath the sides of your bed.

4. Add Soil and Plant
Before adding soil, you can lay a layer of cardboard over the hardware cloth to help suppress weeds that might try to grow up from below. Then, begin filling your raised bed with a high-quality soil mix specifically formulated for raised beds. Avoid using heavy garden soil from your yard, as it may not drain well in a confined space. Once filled, water the soil thoroughly to help it settle, then add more if needed. Now, you’re ready to plant! Arrange your plants according to their light requirements and mature size, giving them plenty of space to thrive.
Maintaining Your Critter-Free Haven
While the sub-surface barrier protects against burrowing pests, you might still contend with animals that jump or climb. For these, consider adding a simple fence around the bed or constructing a removable netted frame over your plants, especially for vulnerable crops. Regular checks for any gaps or damage to your hardware cloth are also advisable. Keep your garden tidy, removing fallen fruit or vegetables that could attract pests.

Enjoy Your Bounty!
With your new critter-proof raised garden bed, you’ve created a secure sanctuary for your plants, ensuring that your hard work translates into a bountiful harvest. Enjoy the peace of mind that comes with knowing your precious crops are safe from unwanted visitors, allowing you to focus on the pure joy of gardening and savoring the fruits (and vegetables!) of your labor.
