


How to build raised garden beds cheaply using salvaged wood?
Why Choose Salvaged Wood for Your Raised Beds?
Raised garden beds offer numerous benefits, from improved drainage and soil control to easier accessibility. Building them can be costly, but with a bit of ingenuity and access to salvaged wood, you can create beautiful and functional beds without breaking the bank. This guide will walk you through the process of transforming discarded lumber into thriving garden spaces.
Using salvaged wood is not only cost-effective but also an environmentally friendly choice, diverting materials from landfills and giving them a second life. It adds character and a rustic charm that new lumber often lacks.
However, it’s crucial to be mindful of the source and history of your wood. Avoid treated lumber (CCA, ACQ) as chemicals can leach into your soil. Look for untreated pallets (marked ‘HT’ for heat-treated), old fencing, barn wood, or reclaimed structural timber. A simple vinegar and water test can sometimes indicate if wood is treated (it will often fizz or turn green if treated with copper compounds, but this isn’t foolproof).
Planning Your Raised Beds
Before you start cutting, envision your garden. Consider the optimal location for sunlight (most vegetables need 6-8 hours daily), proximity to a water source, and the overall aesthetic. Decide on the dimensions of your beds. Standard widths are usually 2-4 feet so you can reach the center without stepping on the soil. Length can vary, and height typically ranges from 10-24 inches depending on what you’re planting and your desired accessibility.
Sketch out your design. This will help you calculate how much salvaged wood you’ll need and identify any specific cuts or joinery required. Think about how the corners will be joined – simple butt joints with screws, corner posts, or more elaborate half-lap joints.

Essential Tools and Materials
You don’t need a professional workshop for this project. Basic hand tools are often sufficient:
- Measuring tape
- Pencil
- Saw (hand saw, circular saw, or jigsaw)
- Drill/driver with drill bits and screw bits
- Level
- Square
- Hammer (optional, for knocking things into place)
Materials will primarily be your salvaged wood. Additionally, you’ll need:
- Exterior-grade screws (e.g., deck screws) or nails
- Corner brackets (optional, for added strength)
- Weed barrier fabric or cardboard (for the bottom of the bed)
- Optional: Non-toxic liner (e.g., pond liner, heavy-duty plastic sheeting) if you’re concerned about potential leaching from any wood, or for extending the life of the wood itself.

Step-by-Step Construction Guide
1. Prepare Your Wood
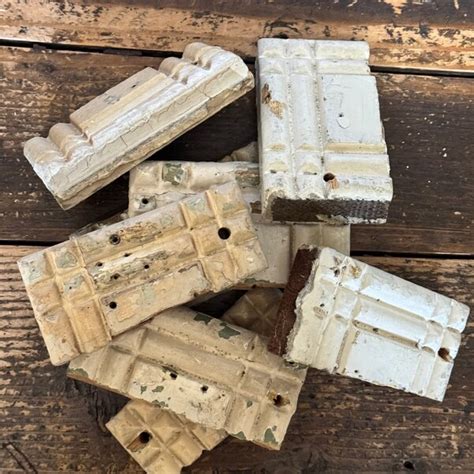
Clean off any dirt, loose paint, or debris from your salvaged wood. If using pallets, you’ll first need to dismantle them carefully, removing nails and separating the planks. Sand down any rough edges or splinters to prevent injury during construction.
2. Cut to Size
Based on your plan, measure and cut your planks for the long and short sides of your raised bed. You’ll need two pieces for each length and two for each width for each layer of height. For a multi-layer bed, ensure all pieces for one layer are consistent.
3. Assemble the Frame
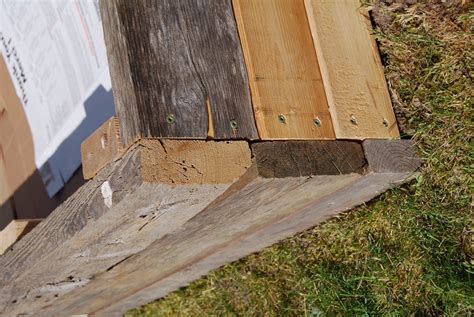
Start with the first layer. Join the cut planks at the corners. The simplest method is a butt joint where the end of one plank meets the face of another. Secure with two or three exterior-grade screws at each joint, pre-drilling pilot holes to prevent splitting, especially with older, drier wood. Ensure corners are square using a builder’s square.

4. Stack and Secure Additional Layers (if applicable)
If your bed is taller than one plank high, stack subsequent layers, staggering the joints for increased stability. Secure each layer to the one below it using screws, ensuring they are aligned and level. Adding vertical corner posts on the inside of the bed can significantly enhance strength and prevent bowing.
5. Prepare the Base
Once your frame is assembled and in its final position, lay down a weed barrier fabric or several layers of cardboard at the bottom. This prevents weeds from growing up into your bed while allowing drainage. If using a liner, place it against the inside walls before adding soil, but ensure you punch drainage holes in the bottom if you’re using an impermeable material.
6. Fill Your Bed
Fill your newly constructed raised bed with a good quality soil mix suitable for gardening. A common recommendation is a blend of topsoil, compost, and an aeration material like perlite or vermiculite.
Tips for Longevity and Success
Even if wood is untreated, some older woods might naturally contain compounds that could affect soil pH. Consider a food-safe plastic liner for extra peace of mind, or paint the inside with a non-toxic, water-based sealant.
Ensure your beds have adequate drainage. If placed on concrete, add drainage holes and feet. Salvaged wood might harbor pests; inspect it thoroughly before building. Periodically check screws and joints for tightness, especially after heavy rains or soil settling.
Building raised garden beds from salvaged wood is a rewarding and sustainable project. It allows you to create a thriving garden space at minimal cost, adds unique character to your yard, and contributes to reducing waste. With careful planning and execution, your upcycled beds will provide years of bountiful harvests.


