


How to build simple, sturdy DIY pantry shelving for canning jars on a budget?
Canning is a rewarding hobby that provides delicious, preserved foods year-round. However, storing those heavy canning jars requires shelving that is not only sturdy but also thoughtfully designed to maximize space. Building your own pantry shelving specifically for canning jars allows you to customize dimensions, ensure structural integrity, and save money compared to off-the-shelf solutions. This guide will walk you through creating simple, durable shelving that will safely house your preserves for years to come.
Why Build Your Own Canning Jar Shelves?
Opting for DIY shelving over pre-made units offers several distinct advantages, especially when it comes to storing heavy items like canning jars. Firstly, it’s significantly more cost-effective. By selecting economical lumber and doing the work yourself, you cut down on material and labor costs. Secondly, custom dimensions mean you can utilize every inch of your pantry space, fitting shelves perfectly into awkward nooks or along full walls. Finally, you have complete control over the sturdiness and quality of the construction, ensuring your shelves can bear the considerable weight of full canning jars without bowing or collapsing.
Planning Your Shelving Project
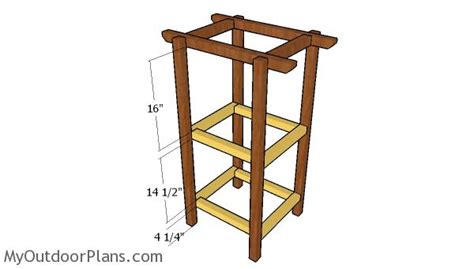
Successful DIY projects begin with meticulous planning. Start by accurately measuring the available space in your pantry: width, height, and depth. Consider the types and sizes of canning jars you primarily use (pint, quart, half-gallon) to determine appropriate shelf heights. A good rule of thumb is to allow an extra 1-2 inches above your tallest jar for easy access. For shelf depth, aim for enough space to fit one jar comfortably with a small amount of overhang, typically 10-12 inches for quart jars. This prevents wasted space and makes finding jars easier.
Next, sketch out your design. Decide how many shelves you need and their spacing. Remember that shelves holding heavy canning jars should be relatively short in length (around 24-36 inches) to prevent bowing, even with robust materials. If you need longer shelves, consider adding a central support leg or thicker shelf material.
Essential Materials and Tools
To keep this project budget-friendly, we’ll focus on common, inexpensive lumber and basic tools. For the uprights and cross supports, 2x4s or 2x3s are excellent choices, offering great strength for their cost. For the actual shelves, 1/2-inch or 3/4-inch plywood is ideal, as it’s strong, stable, and less prone to warping than solid wood boards, especially for deeper shelves. Alternatively, 1×10 or 1×12 common lumber can be used for the shelves if you prefer solid wood and your shelves aren’t excessively long.
Here’s a basic list:
- Lumber: 2x3s or 2x4s for frame, 1/2-inch or 3/4-inch plywood (or 1×10/1×12 boards) for shelves.
- Fasteners: 2.5-inch wood screws (star or square drive bits are recommended for better grip), 1.25-inch wood screws for attaching shelves.
- Tools: Measuring tape, pencil, speed square, circular saw or miter saw, drill/driver with appropriate bits, level, stud finder (if securing to walls).

Step-by-Step Construction Guide
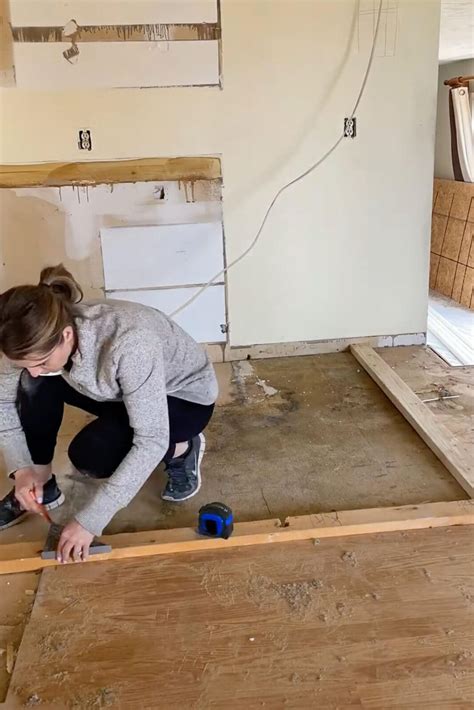
Step 1: Cut Your Lumber
Based on your design, cut all your lumber to size. You’ll need four vertical uprights for a standalone unit (or two if securing to three walls), horizontal supports for the top and bottom of each side frame, and several horizontal supports for each shelf level. Don’t forget the shelf pieces themselves. Accuracy here is key for a sturdy, square structure.
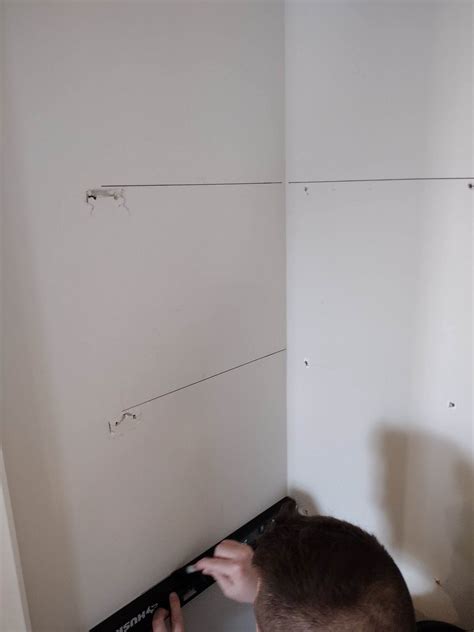
Step 2: Assemble the Side Frames
Lay two vertical uprights parallel on a flat surface. Position your top and bottom horizontal supports between them, ensuring they are flush with the ends of the uprights. Use your speed square to make sure everything is at a perfect 90-degree angle. Drive two 2.5-inch screws through the uprights into each end of the horizontal supports. Repeat this process for the other side frame. These side frames will form the backbone of your shelving unit.
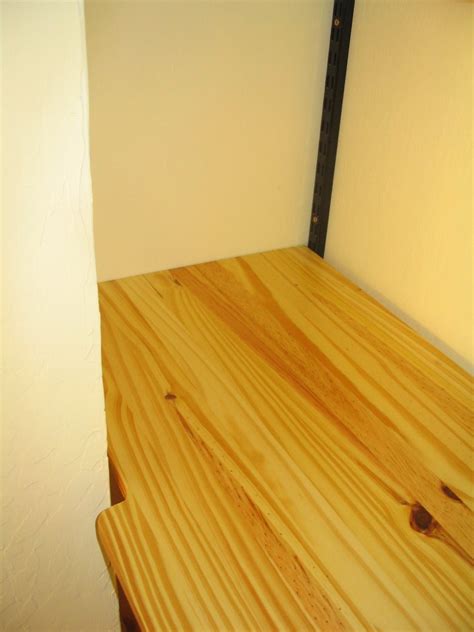
Step 3: Attach the Shelves
Stand your two assembled side frames upright, parallel to each other at the desired width of your shelves. Position your first horizontal shelf support between the front uprights and then another between the rear uprights at the same height. These will define the front and back edges of your shelf. Secure them with 2.5-inch screws. Repeat this for all shelf levels. Once all horizontal shelf supports are in place, lay your cut plywood (or solid wood) shelf pieces on top of these supports and secure them using 1.25-inch screws every 6-8 inches around the perimeter and into any internal supports.
Step 4: Secure to the Wall (Optional but Recommended)
For maximum safety and stability, especially with heavy loads, it is highly recommended to secure your finished shelving unit to the wall. Use a stud finder to locate wall studs. Position your shelving unit against the wall and use long construction screws (3-4 inches) to drive through the rear uprights of your shelving unit directly into the wall studs. This prevents the unit from tipping over, which is crucial in a busy pantry environment.
Tips for Maximum Sturdiness and Durability
To ensure your shelves withstand the test of time and weight, consider these tips: use proper wood glue in addition to screws at all joints for added strength. If you have particularly long shelves, add a vertical support leg in the middle, running from the floor to the underside of the shelf. Also, ensure all screws are driven flush or slightly countersunk to avoid snags. Don’t overload shelves; distribute weight evenly.
Finally, protect your investment. A coat of paint or a sealant will protect the wood from moisture, spills, and general wear and tear, making your pantry shelves easy to clean and extending their lifespan. Choose a durable, washable finish suitable for pantry environments.
Conclusion
Building your own simple, sturdy pantry shelving for canning jars is an achievable and rewarding DIY project that pays dividends in organization, safety, and savings. With careful planning, basic tools, and a bit of effort, you can create a custom storage solution perfectly tailored to your needs. Enjoy your well-organized pantry and the peace of mind knowing your precious preserves are safely stored on shelves you built yourself!
