


How to effectively compost kitchen scraps for enriching my country garden soil?
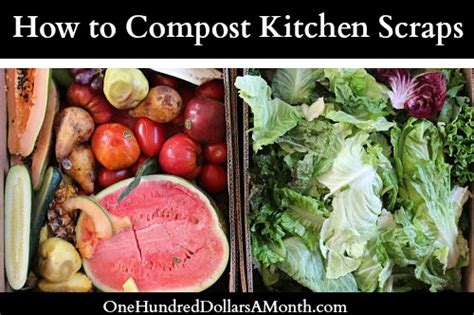
Harnessing the power of composting kitchen scraps is one of the most rewarding and sustainable practices for any gardener, especially those nurturing a country garden. Not only does it divert waste from landfills, but it also creates a rich, organic amendment that drastically improves soil structure, fertility, and plant health. This guide will walk you through the steps to effectively turn your daily kitchen discards into valuable black gold for your garden.
Why Compost Your Kitchen Scraps?
The benefits of composting are manifold. For a country garden, where soil quality can vary widely, introducing homemade compost is a game-changer:
- Enhances Soil Structure: Compost improves aeration in clay soils and water retention in sandy soils.
- Provides Essential Nutrients: It’s a slow-release fertilizer, teeming with micronutrients that synthetic fertilizers often lack.
- Boosts Microbial Life: A healthy compost pile introduces beneficial microorganisms to your soil, suppressing plant diseases.
- Reduces Waste: Significantly cuts down on household waste, lessening your environmental footprint.
- Saves Money: Less need to buy bagged soil amendments or fertilizers.
What Can (and Cannot) Be Composted?
Understanding the right ingredients is crucial for a healthy, odor-free compost pile. Composting is about balancing ‘greens’ (nitrogen-rich) and ‘browns’ (carbon-rich).
Good for the Pile (Greens & Browns):
- Kitchen Scraps (Greens): Fruit and vegetable peels, coffee grounds, tea bags, eggshells (crushed), stale bread, pasta (plain).
- Garden Waste (Greens/Browns): Grass clippings, spent flowers, healthy plant trimmings, leaves (especially dried ‘browns’).
- Other Browns: Shredded newspaper, cardboard (unwaxed), wood chips, sawdust (untreated wood only).
Avoid These Items:
- Meat, Fish, Bones, Dairy Products, and Oily Foods: Attract pests, create foul odors, and can slow decomposition.
- Diseased Plants: Can spread pathogens to your garden.
- Pet Waste (especially dog/cat): Contains harmful pathogens.
- Treated Wood or Coal Ash: May contain harmful chemicals.
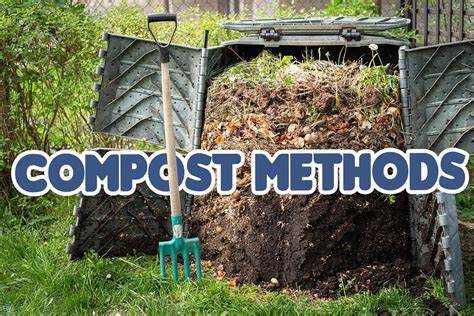
Choosing Your Composting Method
There are several ways to compost, each with its advantages. Your choice might depend on space, time, and the volume of scraps you produce.
- Traditional Pile/Bin Composting (Hot Composting): Ideal for country gardens with ample space. Involves layering greens and browns, maintaining moisture, and turning regularly to speed up decomposition. Can produce compost in a few months.
- Cold Composting: A slower, more passive method. Simply add materials to a pile or bin and let nature take its course. Takes longer (1-2 years) but requires less effort.
- Vermicomposting (Worm Composting): Excellent for smaller spaces or if you want to involve kids. Red wigglers consume organic waste, producing nutrient-rich ‘worm castings.’
Setting Up Your Compost System
Regardless of the method, a good start is key. For a traditional compost pile/bin:
- Location: Choose a well-drained spot, ideally in partial shade to prevent drying out, away from your house and property lines.
- Compost Bin: You can build a simple pallet bin, use a commercially available tumbler, or just create a contained pile. Aim for at least 3x3x3 feet for efficient hot composting.
- Layering: Start with a base of coarse brown material (twigs, straw) for aeration. Then, alternate layers of 3-4 inches of ‘browns’ with 1-2 inches of ‘greens.’ Moisten each layer as you build.
- Moisture: The pile should feel like a wrung-out sponge – damp, but not soggy. Rain usually helps, but you might need to water during dry spells.

Maintaining Your Compost Pile for Optimal Results
Once your compost system is established, a bit of regular attention will ensure it breaks down efficiently.
- Turn Regularly: For hot composting, turn the pile with a pitchfork every 1-2 weeks. This aerates the pile, mixes materials, and helps maintain high temperatures that accelerate decomposition. Cold piles don’t need turning as often.
- Monitor Moisture: Check the moisture level regularly. If it’s too dry, decomposition slows. If it’s too wet, it can become anaerobic and smelly. Adjust by adding dry browns or watering lightly.
- Chop Materials: Smaller pieces break down faster. Chop larger kitchen scraps and garden debris before adding them to the pile.
- Balance Greens and Browns: Aim for a ratio of roughly 2 parts browns to 1 part greens by volume. If your pile smells, add more browns. If it’s not heating up, add more greens.
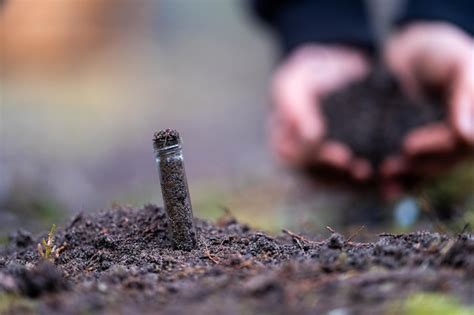
Harvesting and Using Your Finished Compost
You’ll know your compost is ready when it’s dark brown, crumbly, and smells like fresh earth. There should be no recognizable food scraps or garden waste remaining.
- Sifting (Optional): For finer compost, you can sift it through a screen to remove any larger, undecomposed pieces, which can be returned to a new pile.
- How to Use:
- Soil Amendment: Mix 1-2 inches of compost into the top 6-8 inches of your garden beds before planting.
- Top Dressing: Spread a thin layer (1/2 to 1 inch) around existing plants, trees, and shrubs.
- Potting Mix: Blend compost with other ingredients (like coir or perlite) to create your own nutrient-rich potting mix.

Troubleshooting Common Composting Issues
- Bad Odors: Usually a sign of too much green material or not enough aeration. Turn the pile and add more dry browns (leaves, shredded paper).
- Pests (Rats, Flies): Often attracted by meat, dairy, or exposed food scraps. Bury fresh kitchen scraps deep within the pile and avoid prohibited items. A secure bin can help.
- Pile Not Heating Up: Lacks enough nitrogen (greens), moisture, or air. Add more greens, water if dry, and turn thoroughly.
Conclusion
Composting kitchen scraps is a simple yet powerful practice that transforms waste into a vital resource for your country garden. By following these guidelines, you’ll soon be producing abundant, nutrient-rich compost, fostering a healthier garden ecosystem, and contributing to a more sustainable lifestyle. Embrace the cycle of nature and watch your garden thrive with the goodness of homemade compost!


