


How to get a perfect crispy crust on homemade sourdough bread?

The Quest for the Ultimate Crispy Sourdough Crust
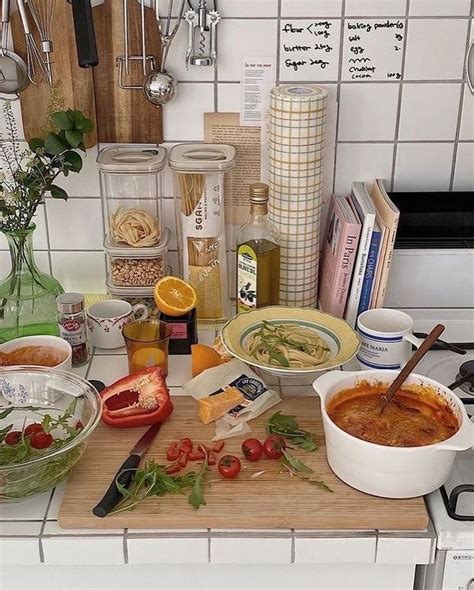
For many home bakers, the ultimate goal with sourdough isn’t just a beautiful rise and an open crumb, but that satisfying, shatteringly crisp crust that crackles with every slice. It’s the hallmark of a truly artisan loaf, a textural delight that elevates the entire experience. While sourdough baking can seem daunting, achieving that coveted crust is entirely within reach with a few key techniques and a bit of understanding.
The science behind a crispy crust involves the Maillard reaction, which browns the crust and develops complex flavors, and the gelatinization of starches on the surface, which, when dried out, contributes to the crispness. Moisture management, both within the dough and in the baking environment, is paramount.
Mastering Dough Hydration for Crust Development
One of the foundational elements for a crispy crust is adequate dough hydration. Higher hydration doughs (typically 75% or more) provide more internal moisture, which converts to steam during baking. This internal steam helps to keep the crust pliable for longer during the initial bake, allowing it to expand without cracking prematurely. As the steam eventually escapes, it leaves behind a thinner, crispier shell.
Handling high-hydration dough can be challenging, but it’s worth the effort. Techniques like stretch and folds during bulk fermentation and a gentle but firm shaping process help develop strength and surface tension without sacrificing moisture.
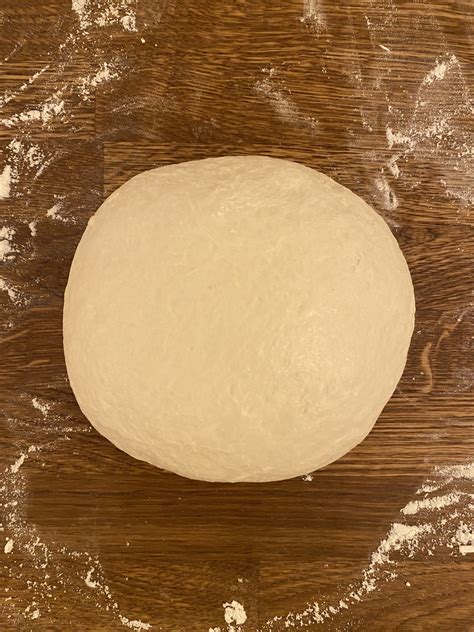
The Art of Shaping for a Taut Skin
Proper shaping is crucial for creating a taut surface on your loaf. This surface tension acts like a skin, holding the dough’s structure and ensuring an even rise. A tightly shaped boule or batard will have a smooth, firm exterior that, when baked, can achieve a more uniform and crispier crust. Focus on creating tension on the outside of the dough while keeping the inside airy.
The Crucial Role of Steam in Your Oven
Steam is arguably the single most important factor for achieving a thin, crispy crust. During the initial phase of baking, steam prevents the crust from setting too quickly. This allows the dough to continue expanding (oven spring) and develops a thinner, more delicate crust. Once the steam dissipates, the crust can then dry out and crisp up beautifully.
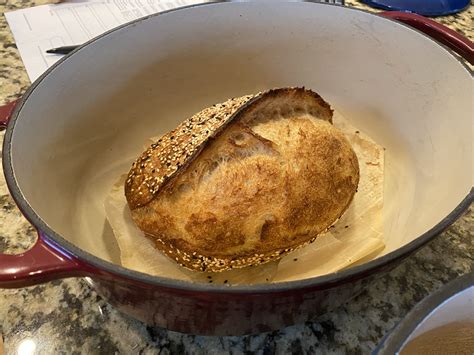
Baking with a Dutch Oven
The most popular and effective method for home bakers is using a preheated Dutch oven. The lid traps the moisture evaporating from the dough, creating a perfect steamy environment:
- Preheat thoroughly: Place your Dutch oven (with lid) in the oven as it preheats, typically to 450-500°F (230-260°C).
- Bake covered: Carefully transfer your proofed dough into the scorching hot Dutch oven, score it, and bake covered for the first 20-25 minutes.
- Bake uncovered: Remove the lid and continue baking for another 20-30 minutes, or until the crust is a deep golden brown and sounds hollow when tapped.

Creating Steam Without a Dutch Oven
If you don’t have a Dutch oven, you can still create a steamy environment:
- Water tray method: Place a cast iron skillet or baking tray on the bottom rack of your oven while preheating. Carefully pour a cup of boiling water into it just as you load your dough.
- Lava rocks: Some bakers use lava rocks or clean stones in the water tray to create even more steam.
- Spray bottle: Mist the oven walls with water during the first 10 minutes of baking (be cautious not to spray the light bulb or heating elements).
Optimal Baking Temperature and Time
After the initial steamed phase, high heat is still necessary to drive out moisture and crisp the crust. A common technique is to start with a very high temperature (e.g., 500°F/260°C) for the first part of the bake, then reduce it to a lower temperature (e.g., 450°F/230°C) for the remainder. This ensures good oven spring and then develops a deep, rich crust.
Don’t be afraid to bake your loaf until it’s a dark, rich brown, almost mahogany in color. A pale crust is often a soft crust. The darker it is, the crispier and more flavorful it will be.
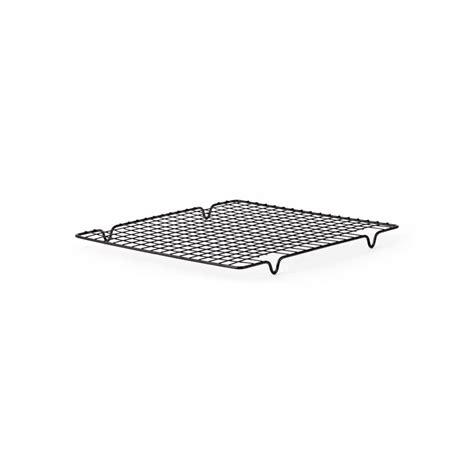
The Post-Bake Ritual: Cooling Properly
Once your sourdough bread comes out of the oven, resist the urge to cut into it immediately. This is perhaps the hardest part, but crucial. As the bread cools on a wire rack, residual moisture continues to escape, and the crust dries out and sets. Cutting into a hot loaf traps steam, making the crust softer and gummy, and can also negatively affect the crumb texture.
Allow your sourdough to cool completely for at least 1-2 hours (or even longer for larger loaves) on a wire rack. This period is vital for the crust to become truly crispy and for the flavors to fully develop.
Advanced Tips for Ultimate Crispness
- Rice Flour Dusting: Dusting your banneton with rice flour instead of wheat flour can help prevent sticking and contributes to a beautiful, crisp crust.
- Leaving Oven Door Ajar: For the last 5-10 minutes of baking, you can slightly crack open your oven door (if not using a Dutch oven) to allow more moisture to escape, further drying out and crisping the crust.
- Good Quality Flour: High-protein bread flour can help develop better structure, which indirectly supports a crispier crust.
Conclusion
A perfect crispy crust on homemade sourdough bread is a testament to thoughtful baking practices. By understanding and controlling dough hydration, executing careful shaping, providing ample steam, baking at optimal temperatures, and allowing proper cooling, you can consistently achieve that coveted crunch. Don’t be discouraged if your first few attempts aren’t perfect; practice and observation are key to mastering this delightful aspect of sourdough baking. Happy baking!


