


How to get crispy garden greens without overcooking?
There’s nothing quite as satisfying as a vibrant plate of garden greens—kale, spinach, Swiss chard, or bok choy—cooked to crisp-tender perfection. However, many home cooks struggle with greens that turn watery, limp, and unappetizingly soggy. The good news is that achieving that ideal texture is entirely within reach. It’s all about understanding a few fundamental principles of preparation and cooking that prevent overcooking and moisture overload.
The Essential First Step: Proper Washing and Drying
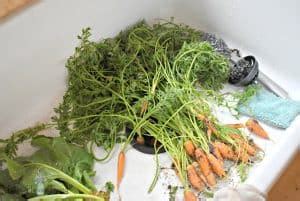
Before you even think about heat, proper preparation is paramount. Fresh greens often come with dirt, sand, and even small critters, so a thorough wash is non-negotiable. Fill a large basin or a clean sink with cold water and immerse your greens, swishing them around to dislodge any debris. Lift them out, dump the water, and repeat until the water remains clear. For leafy greens, a salad spinner is your best friend. It removes excess moisture quickly and efficiently, which is critical. If you don’t have one, lay the washed greens out on a clean kitchen towel and gently pat them dry, or roll them up in the towel to absorb the water. Any residual water on the leaves will steam them rather than sear them, leading to a soggy outcome.
Mastering the Heat: High and Fast is Key
The secret to crispy greens lies in high heat and quick cooking. Overcooking is the arch-nemesis of crispness, breaking down cell walls and releasing too much moisture. Different cooking methods work well, but the principle remains the same:
Sautéing or Stir-Frying
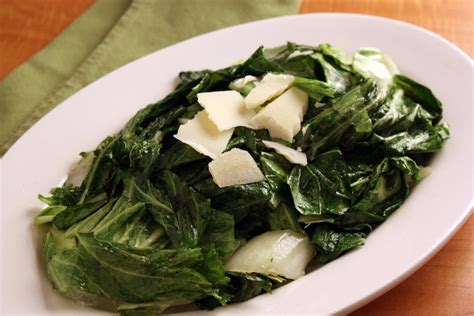
This is arguably the most common and effective method. Heat a large skillet or wok over medium-high to high heat. Add a small amount of fat—olive oil, butter, or sesame oil work well. Once the fat is shimmering, add your dried greens. Do not overcrowd the pan; cook in batches if necessary. Overcrowding drops the pan’s temperature and steams the greens. Stir frequently, allowing the greens to wilt quickly and develop a slight char in places. This usually takes only 2-5 minutes, depending on the type and quantity of greens.
Blanching and Shocking (for certain greens)
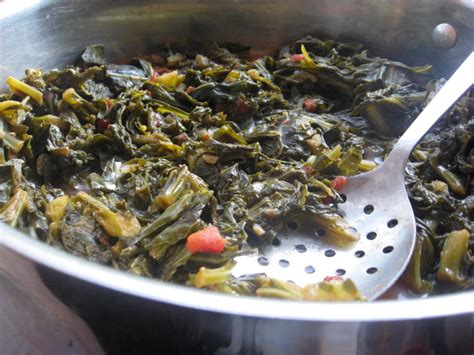
For some heartier greens like collards or kale, or if you want to prep ahead, blanching can work. Briefly immerse the greens in rapidly boiling, salted water for 30 seconds to 2 minutes, then immediately transfer them to an ice bath to stop the cooking process. This preserves their vibrant color and some crunch. Drain thoroughly and pat dry before serving or incorporating into other dishes.

Perfecting Timing and Flavor
Timing is crucial. Greens cook down significantly, so don’t be afraid to start with a large volume. Add aromatics like minced garlic or shallots to the pan before the greens, cooking them briefly until fragrant. Seasoning should generally be added towards the end of the cooking process. A pinch of salt, a grind of black pepper, a splash of lemon juice or vinegar, or a dash of red pepper flakes can elevate the flavor without making the greens watery. Adding salt too early can draw out moisture, though a little at the end helps.
Once cooked, serve your greens immediately. They tend to release more moisture and lose their crispness the longer they sit. A squeeze of fresh lemon juice just before serving brightens the flavor and enhances their natural crispness.
Your Path to Perfectly Crispy Greens
Say goodbye to soggy vegetables! By focusing on thorough drying, cooking with high heat, avoiding overcrowding, and serving promptly, you can consistently achieve deliciously crispy garden greens. Experiment with different varieties and seasonings to find your favorite combinations, and enjoy the satisfying crunch that truly fresh produce offers.